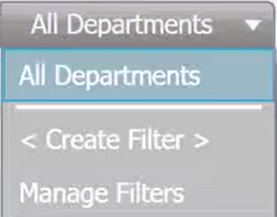
Today we will talk about the different things that you can do in the department list.
Let’s begin:
- Go to “Department List”.
- You can customize your blue button on the left side of the screen by right-clicking the field and click “Customize buttons”.
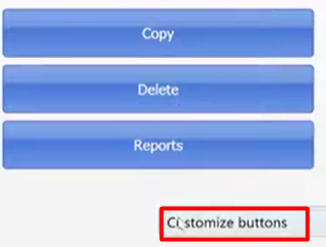
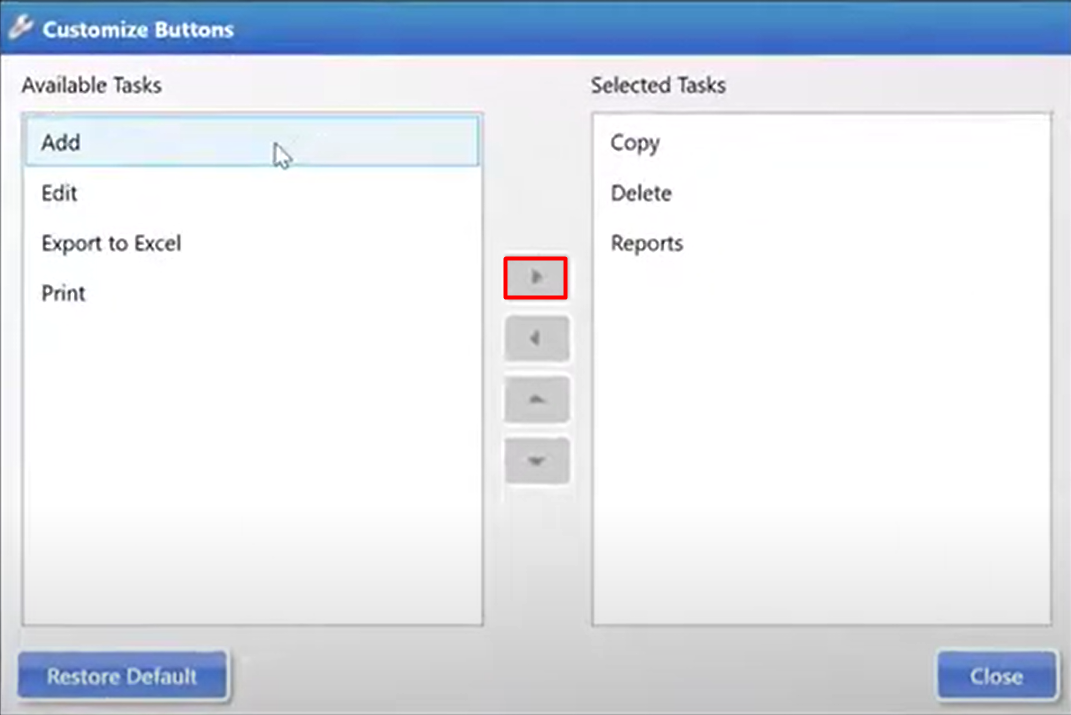
- Select the available tasks you want to put on your selected tasks, after your finish click “Close”.
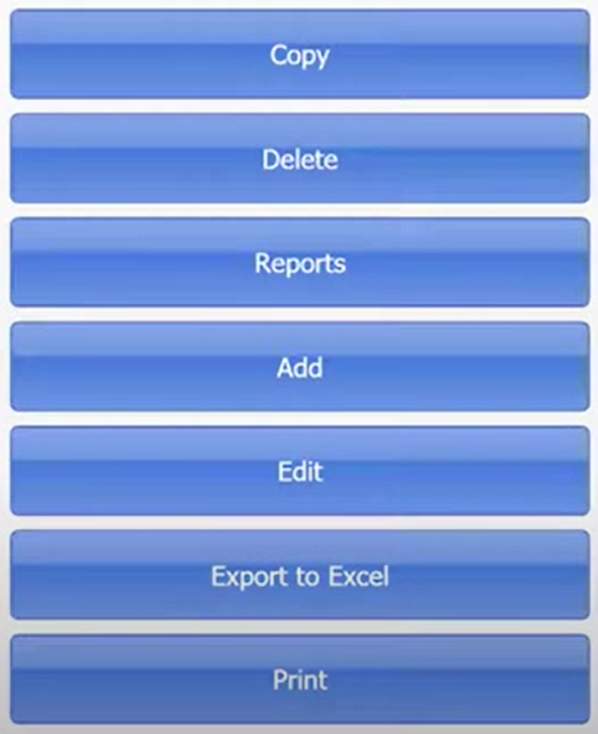
- This is now the left side of the screen will look like.
- Select the available tasks you want to put on your selected tasks, after your finish click “Close”.
- Lot of the tasks that you can set the blue buttons to do are also present on the “I want to…” menu.
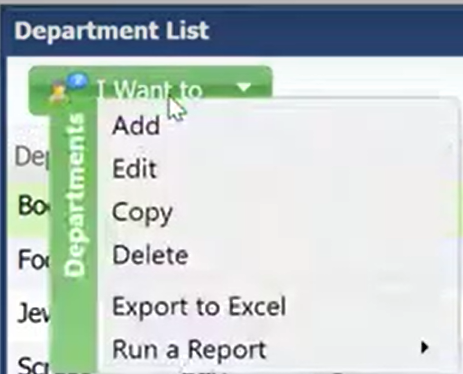
- “Run a report” is not on the blue button area so that’s going to be the difference.

- “Run a report” is not on the blue button area so that’s going to be the difference.
- If you want to copy a new department with the same exact margin and markup, for example “Socks”.
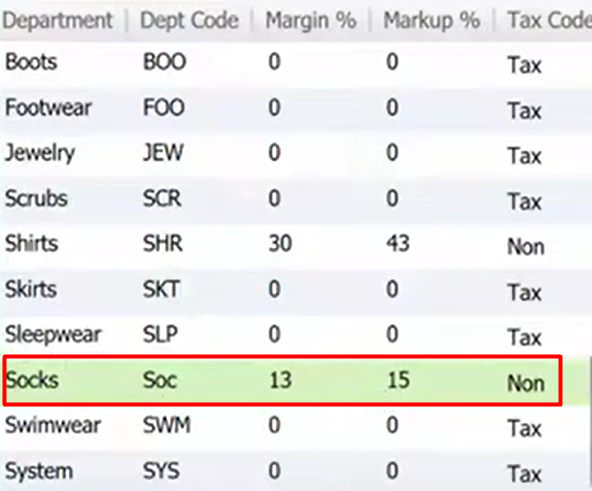
- Select “Copy”.

- Just change the Department code and Department, and you now have the same margin and markup for your new department. Select “Save”.
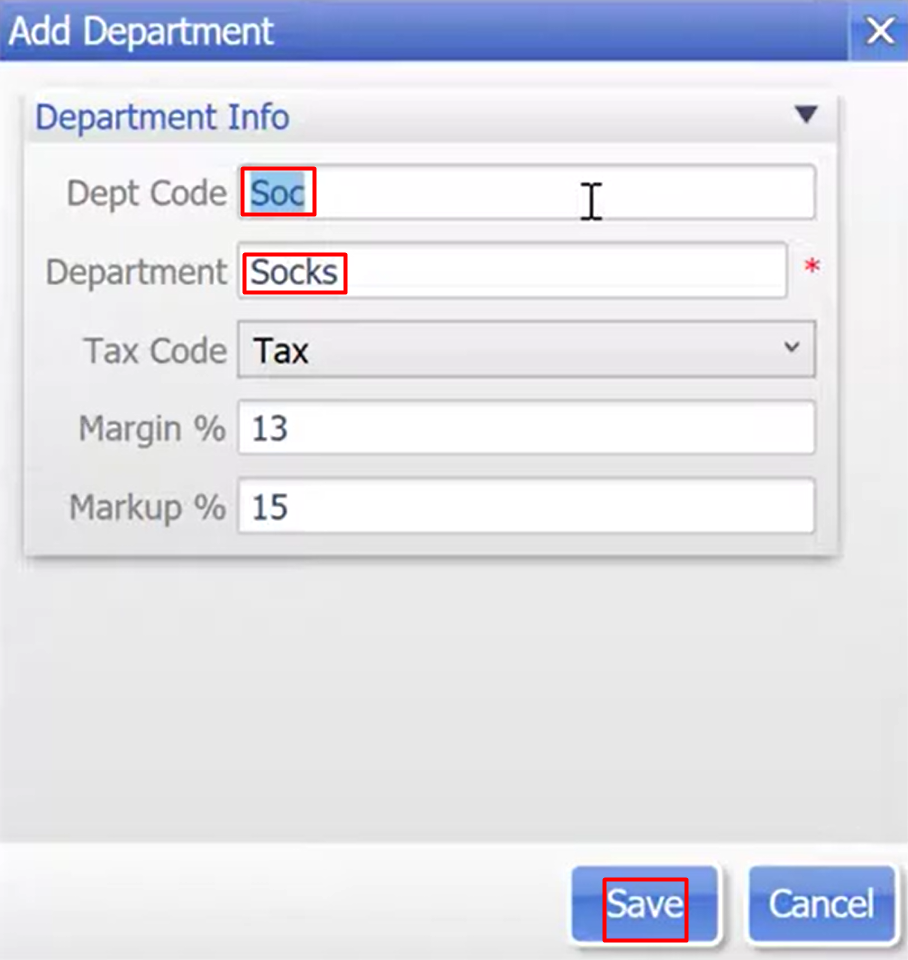
- Select “Copy”.
- Delete Blue button is going to delete department.
- Reports Blue button will directly transfer you to reports manager.
- Add Blue button will let you add department.
- Edit Blue button will let you edit a department.
- Export to Excel Blue button will export your entire department list into Excel.
- Print Blue button will let you print out your department list.
- Click column header if you want to sort every column on your department list.
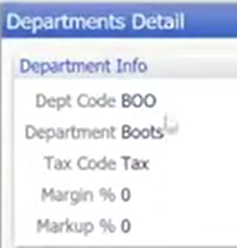
- Show Details on the left side of the screen will show the details of the department you want to look at
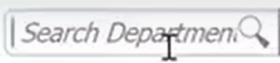
- If you want to search departments do it here.
- Filter departments if you want to look individually in a specific department.