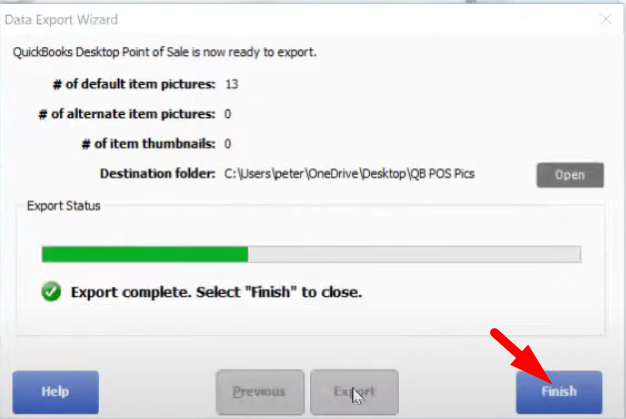
Today we will talk about on how to export pictures that you have uploaded in QuickBooks Point of Sale and getting them back out to a folder in your computer.
Here’s how:
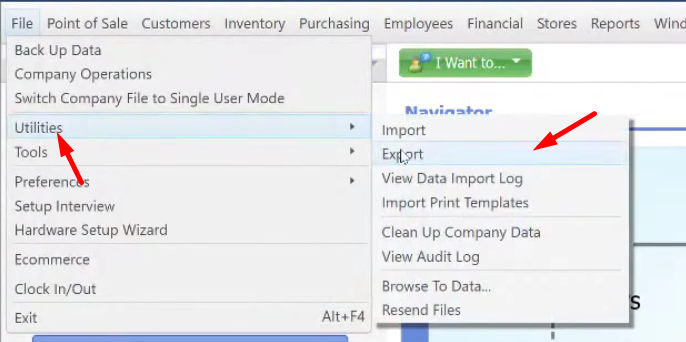
- Click on the “File” menu, select on “Utilities” and click on “Export”.
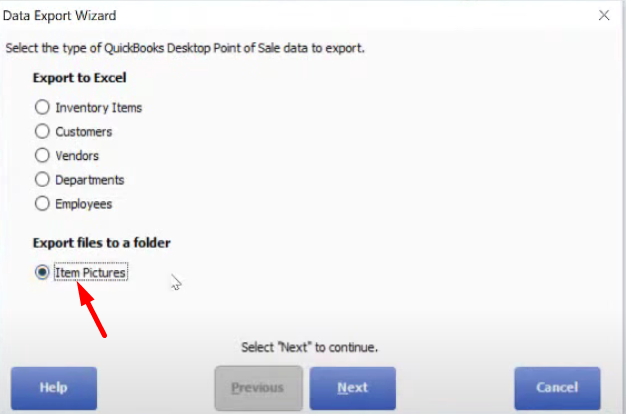
- Once you’ve clicked “Export” a dialogue box will show and tick on the bottom part “Item Pictures”.
Then click on, “Next”.
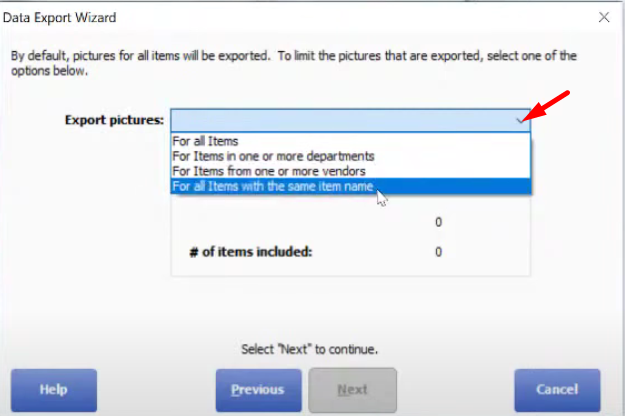
- Select which items would you want to export. Click on the drop down button on “Export Pictures” and select which option you want. When you’re done selecting an option click on “Next”.
- Click on “Browse” and then select a destination folder for the pictures of your items.
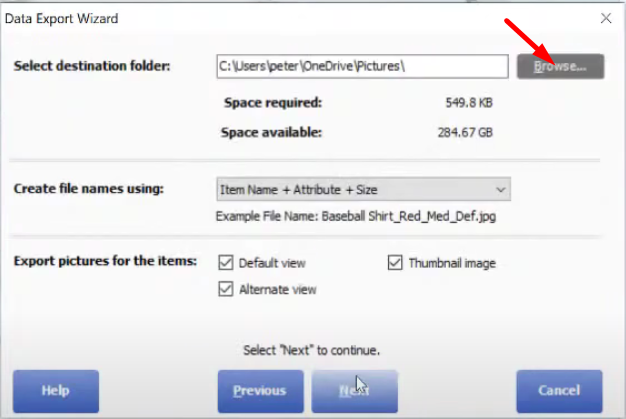
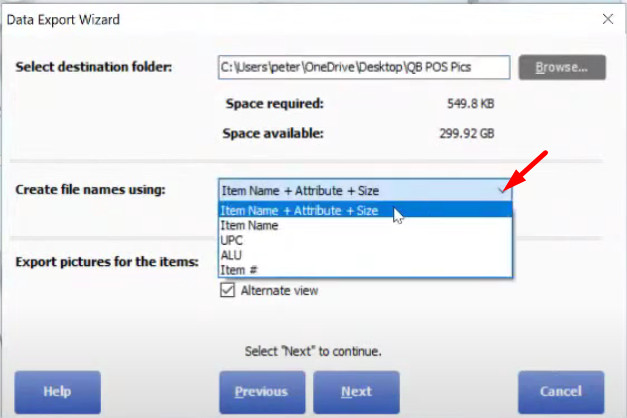
- Then select an option for the file name of the pictures that will be exported to your computer.
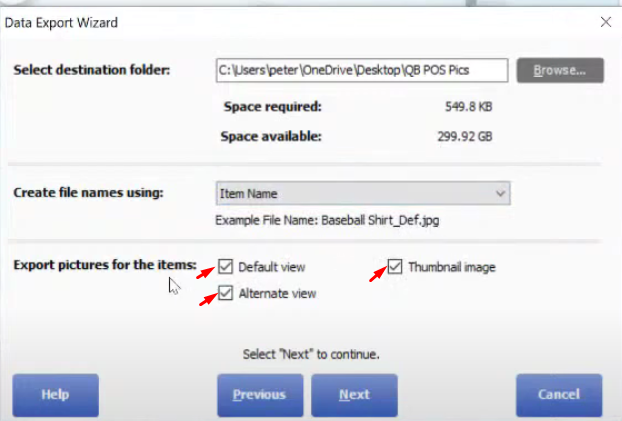
- Next, choose which pictures you would want to export. You can select from “Default view”, ”Alternate view” and “Thumbnail image”. Tick on the option that you want and then click on “Next”.
- Tick on “Open the destination folder when export is complete” and click on “Export”.
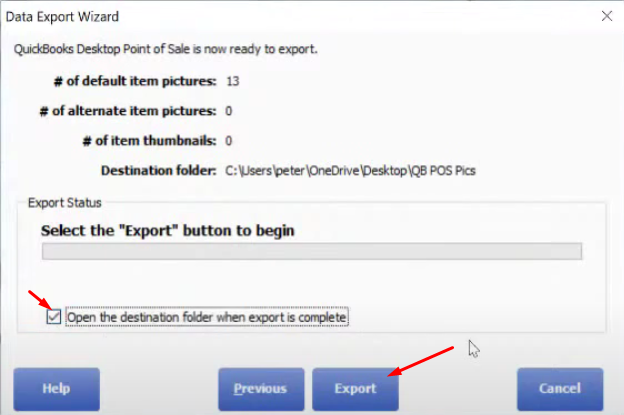
- Lastly, click on “Finish” to close the dialogue box. Then the folder where you have saved the pictures will also pop up on your screen.