
Today we’re going to talk about a payment method called Account. It is kind of like a tab or some people would call it a house account. This will allow your customer to have a credit in your store.
Here goes:
- First you have to have a customer assigned in order to charge it to Account. So let’s select a customer on the upper right side of the Sales Receipt window.
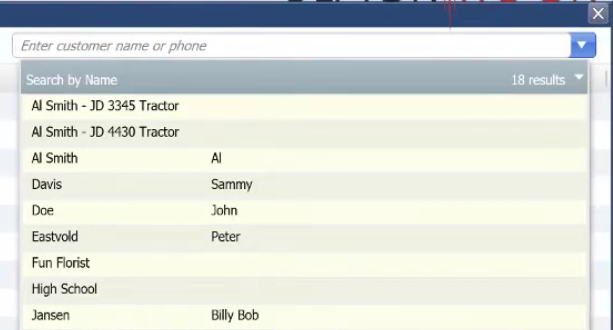
- So maybe you trust this customer or he/she is a loyal customer that usually comes back to your store. You decided to allow him/her to buy an item and charge it to his/her account.

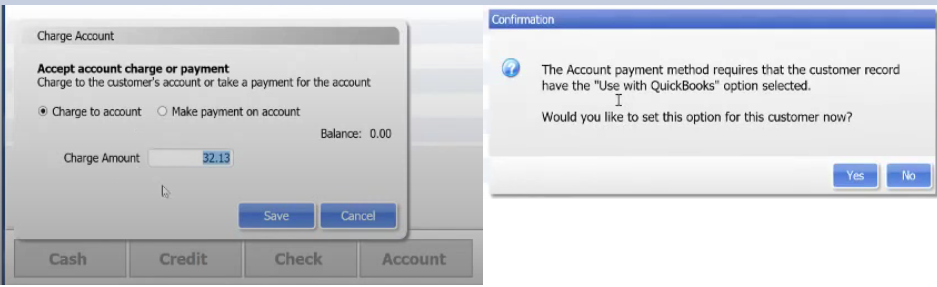
- Once the item has been added, click on “Account” on the lower left side of the window.

- Once it is charged to the Account, click “Save”. A pop-up window will appear when it is the first time for the customer to charge to account. Click on “Yes”.
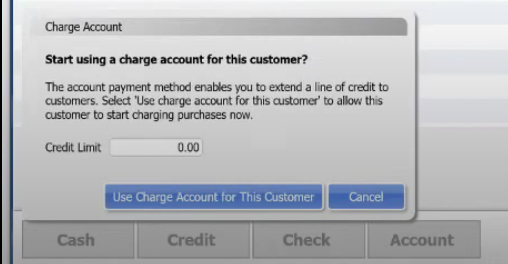
- QuickBooks Point of Sale will now ask for the Credit Limit that you’re going to give for the customer. Fill-in the desired credit limit for that customer and click on “Use Charge Account for This Customer”.
- You can now see that the account is being charged now for the item.
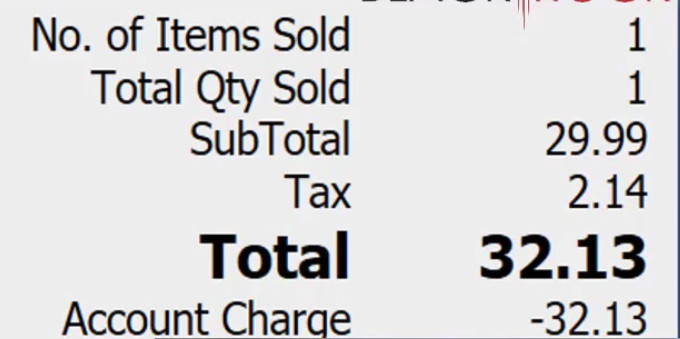
- Once the transaction has been verified. Click on “Save and Print” to have a hard copy of your transaction with your customer.
To check on a customer’s account credit limit:
- Go to “Customer List” on the home screen of QuickBooks Point of Sale.
- Select on a customer and click on “Show Detail” on the upper right side of the window.

- On the Customer’s profile you can now view the credit limit for his/her home account.
