Today we’re going to learn how to input the MSRP and add the “MSRP” field in the item list. After that, we’ll cover on how to “slash” the MSRP in the price tag. Let’s get started!
How to input MSRP:
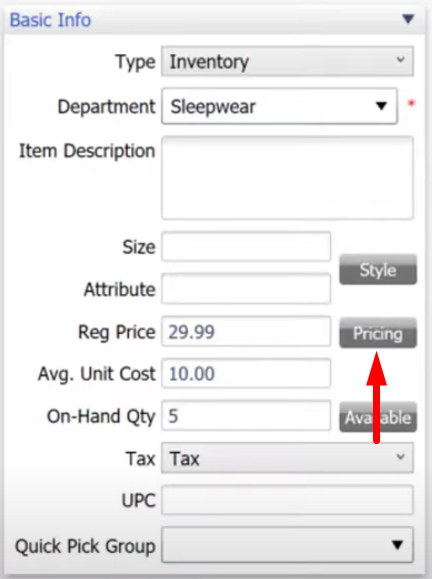
- Go to “Item List” → then click on “Edit”.
- On the Item window, click on “Pricing”
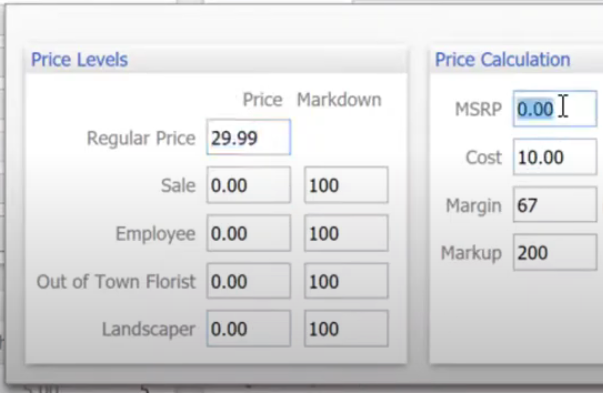
- You can now input the MSRP for that item.
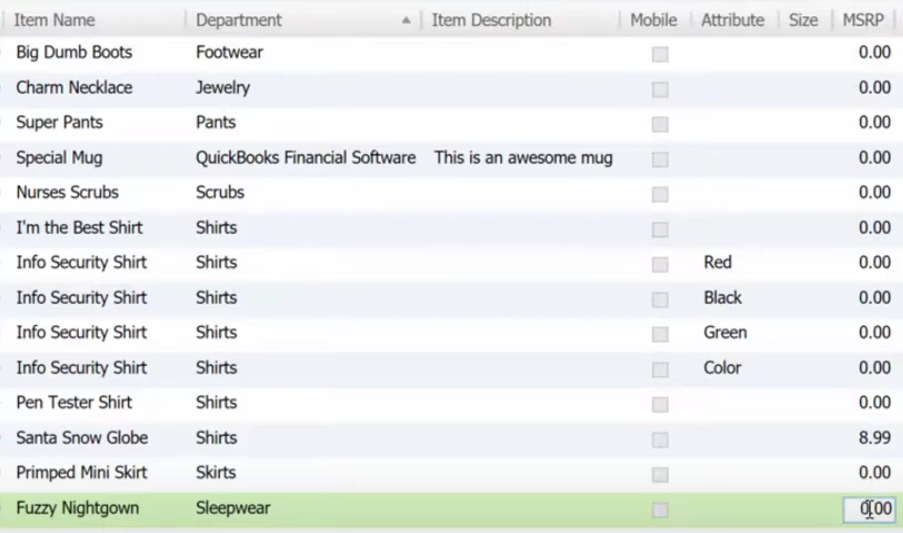
- The other way is to add the column “MSRP” in the item list window. By right-clicking at the top column then click on “Customize Columns” then select MSRP column.
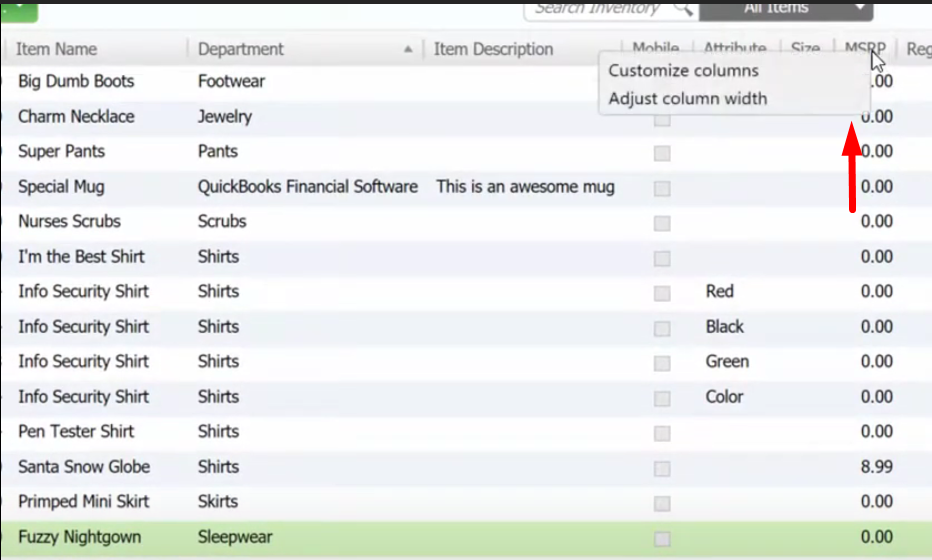
- Then just double-click on the desired item to add the MSRP value.
How to “slash” the MSRP in the price tag:
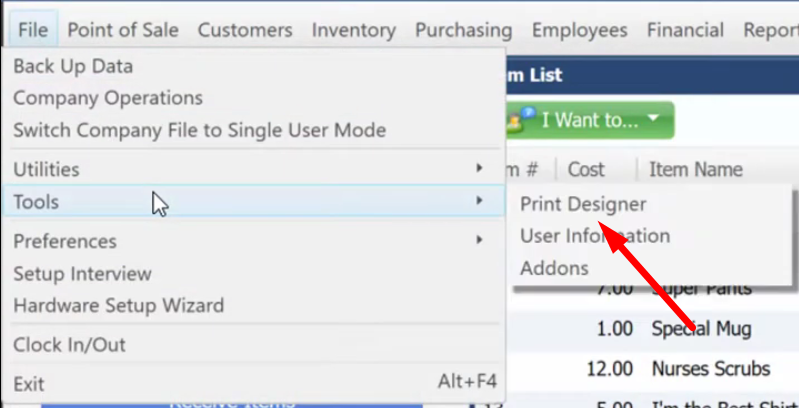
- Go to “File” menu →then “Tools” → click on “Print Designer”
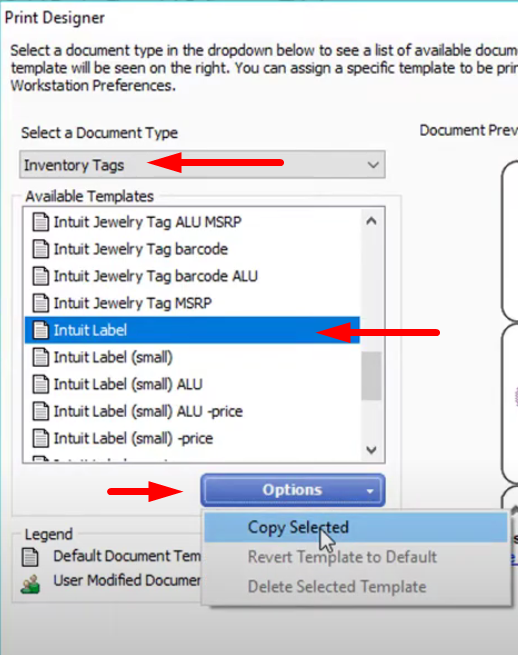
- Select “Inventory Tags” as the document type → then select “Intuit Label” as the template → click on “Options” and select “Copy Selected”. This is to duplicate the template to avoid modifying the default template.
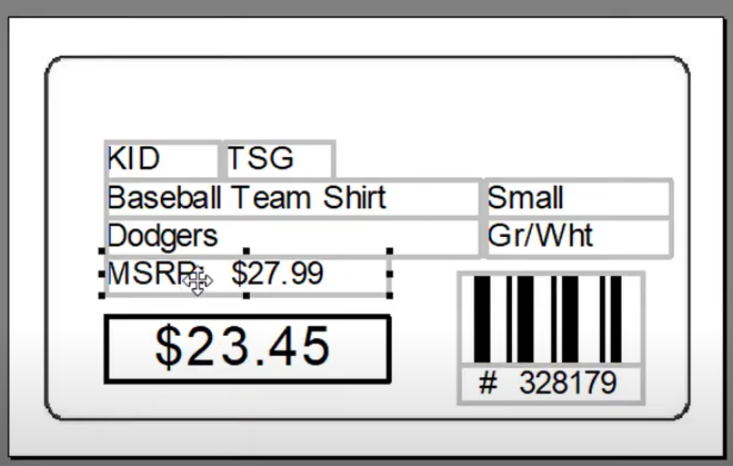
- Double-click on the “MSRP” text label on the print designer window.
- On the Properties window, click on “Change Font” and on the effects section, select “Strikeout”.
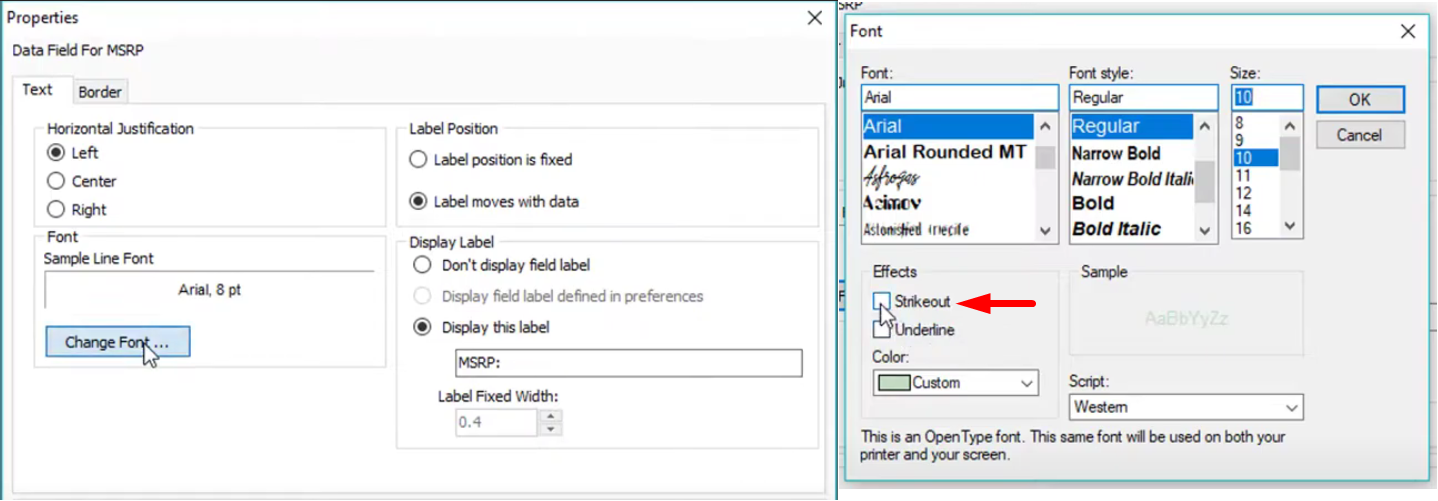
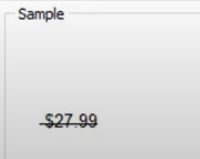
- After applying the desired style, size and effects. The outcome for the “Strikeout” effect will look like the image below.
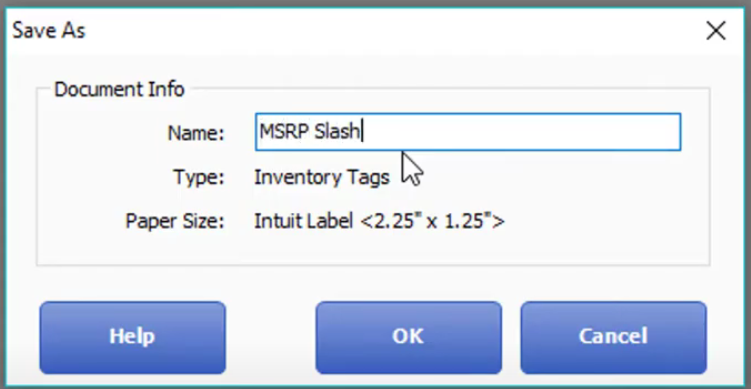
- Save the customized price tag template and set a name for the customized template. Then click “Ok”.
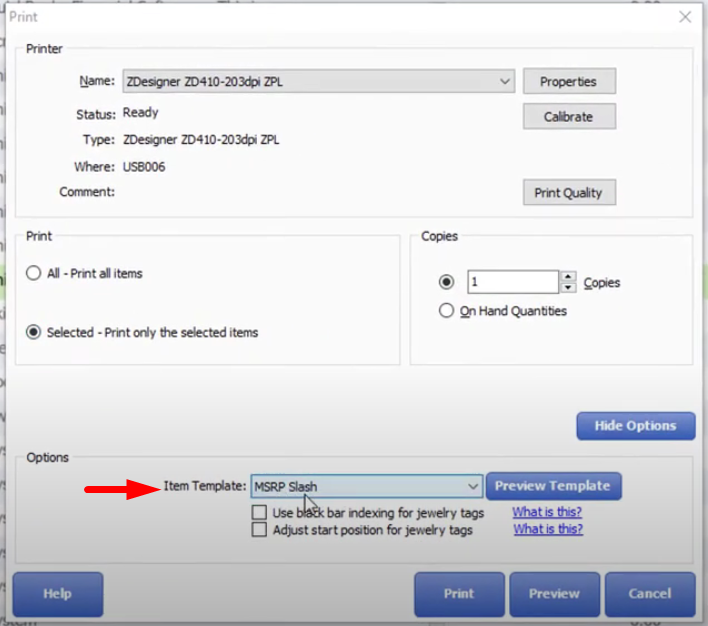
- Then select on the desired item to print a price tag for. Then click on “Print Tags”
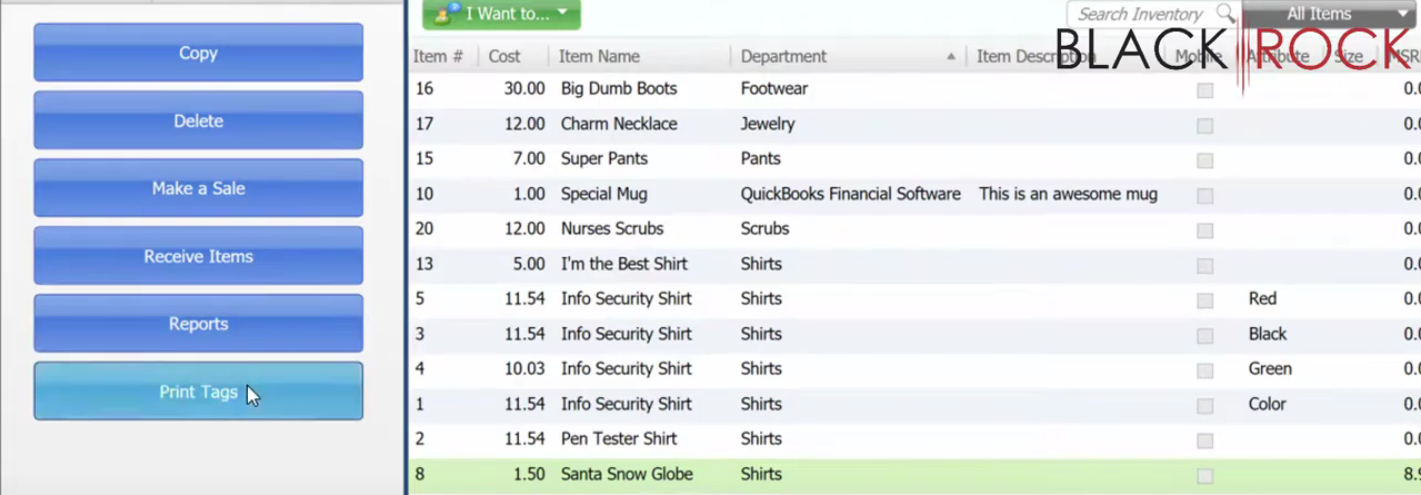
- Select the customized template → then click on “Print”.