
Today we are going to talk about financial settings area.
Let’s begin:
- On your “File” menu go to “Preferences” then select “Company”
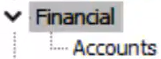
- Select “Financial”.
- “Send receipts and vouchers with” section.

- Summarized Item Totals – this is every receipt and document that goes over QuickBooks accounting just has a single line item and the text description would be all the items listed out each and everything on the whole receipt in one line item.
- Detailed Item Descriptions – is our Default in QuickBooks accounting.
- Detailed Item Description sent for customer charge account transactions only – this is for some reason if you want to edit one of your documents over in QuickBooks accounting, after it’s synchronized then you could edit it line by line.
- “Send discounted items with” section. This is the settings on how to send over your discounted items.
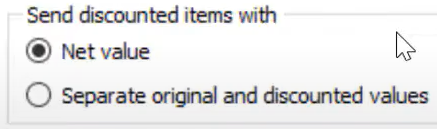
- Net value – is our default in QuickBooks accounting. To explain this, if you got a receipt let’s say you have an item for $5 and they get a discount they get a $1 off so that would be sent over on the receipt to QuickBooks accounting when it’s synchronized as a $4 item.
- Separate original and discounted values – you could activate this for the chart accounts to track their discounts. You could also separate the original item and the discounted value values so then on the receipt you would see the $5 item would be its own line item and then you will also see a line or designation for the discount, in that way $5 would come into your income account and the $1 would be a minus on your discount account so they would end up in different places on your chart of accounts.
- “Customer Name Order” section.

- This is how your customer’s name order would be set up in QuickBooks accounting, by default it’s going to be Last name then First name. You could also select the drop down to choose the kind of set up you want for your customer.
- “Employee Hours” section.

- This is sending hours to QuickBooks so then it can automatically flow right into payroll.
Now, let’s go over to “Accounts”.

- “Basic” tab.
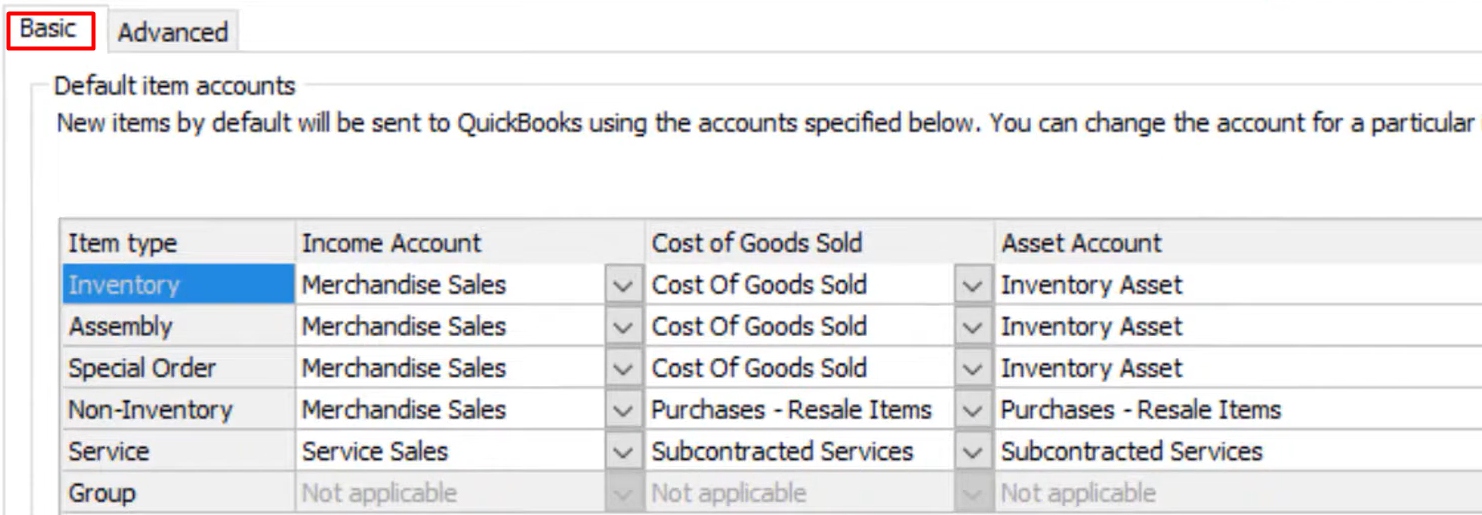
- We highly recommend that you don’t touch any of this. This is the smoothest operation that I see when people are using QuickBooks point of sale is when they don’t change any of this set up. This is already set up to all the default accounts.
- You can automatically create sub accounts based on departments. This is safe to do because it’s just sub-accounts it doesn’t change any of the main accounts.

- “Advance” tab.
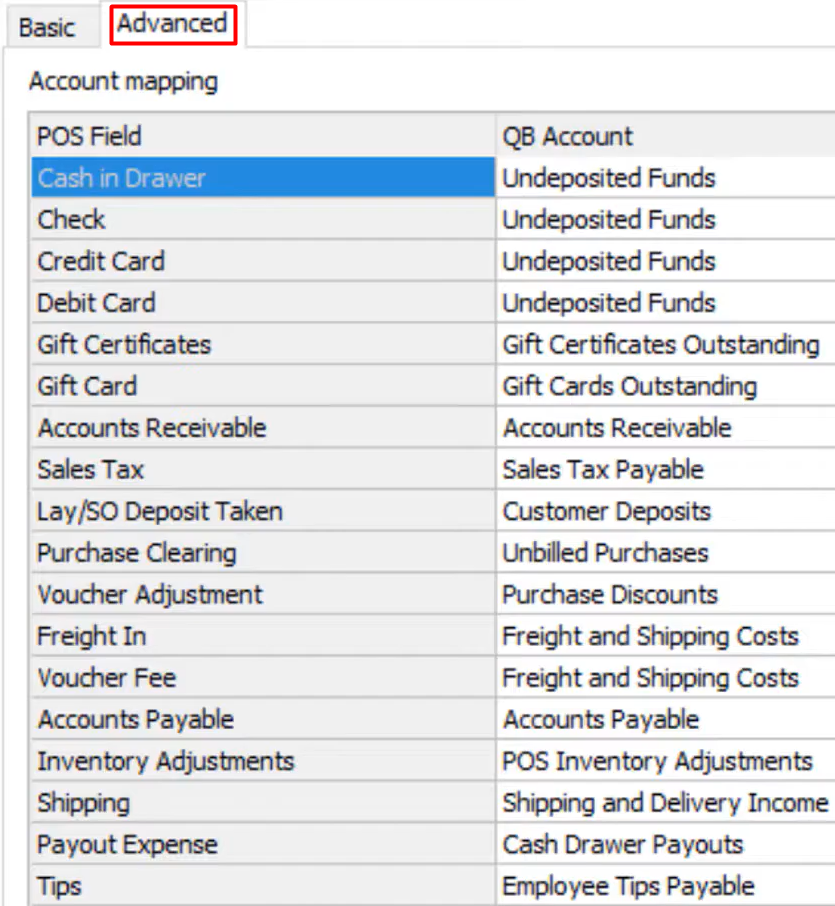
- We recommend not changing these accounts. These are already set up to default to each account in QuickBooks point of sale.