
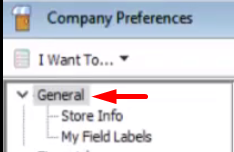
We’re going to cover the section on General Company Preferences. So let’s head real quick to General Company Preferences.
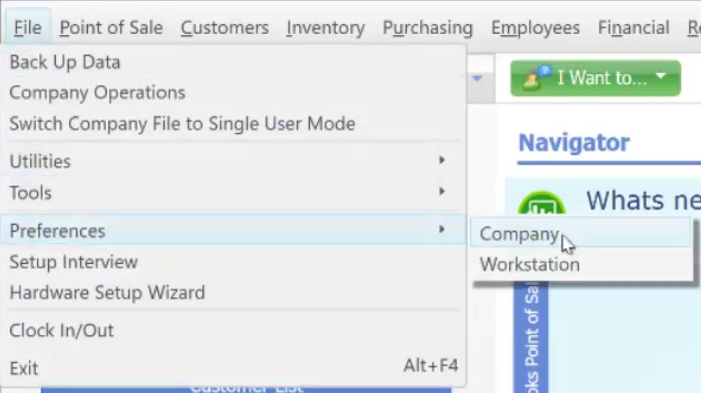
- First, we have to go to “File” menu → then “Preferences” → click on “Company”.
- Now let’s first talk about the “Options” area and checkmarks under it.
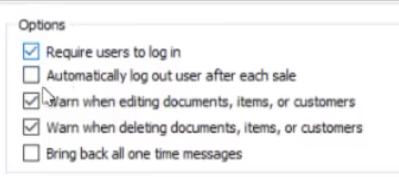
- All these checkmarks are going to be default except for probably the first one. QuickBooks Point of Sale doesn’t require users to log in by default. Checking the “Require users to log in” is pretty useful for keeping track of your employees and their actions. Also when you are doing commissions, it’s very useful since the commission can go to the right employee.
- The second checkmark can be useful to track employee sales on who does more sales. It will also help you in tracking for giving out commissions to your employees.
- For the third and fourth checkmark, it is recommended to keep this on check. It is very important to be warned when making changes or deleting documents in QuickBooks Point of Sale. This avoids accidents and mistakes that can cost your sales.
- Last checkmark doesn’t really matter that much, this one time messages are those things that popped up to help you out when you first ran QuickBooks Point of Sale. It can be applicable if to check this if you have a new employee to help them maneuvering through QuickBooks Point of Sale.
- For the “Select features to use”
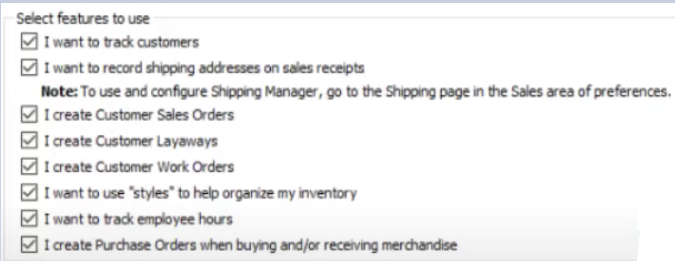
It is strongly recommended unchecking these checkmarks as these features are very useful and are very good marketing tools to use. It is very difficult to have a reason to uncheck any one of these. - The next section is the “Data Safeguard” it is the most important section. It automatically creates backup of the company data. It is by default at “Once a day when exiting Point of Sale”. It is better to have it at “Every day at:” to always have a backup everyday even if you don’t exit QuickBooks Point of Sale. Just make sure to adjust your power settings to avoid overheating problems to your workstation/desktop.
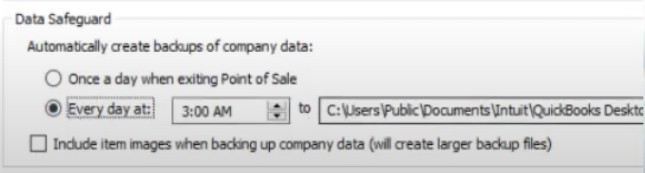
- Including item images in back up is completely optional as it takes up more memory.
- For the last two sections, we have the “EMV Reports” and “Usage Study”.
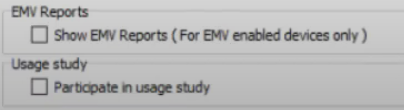
- Show EMV Reports is just so that you can get an intricate data on credit card processing. Mostly just for troubleshooting when somebody’s having some issues with the EMV.
- Usage study is one of those things where it sends your data and how you use QuickBooks Point of Sale over to Intuit.
- Under the General Section we have two subsections. The “Store Info” and the “My Field Labels” let’s quickly make a quick overview about these two subsections.
- Store Info:
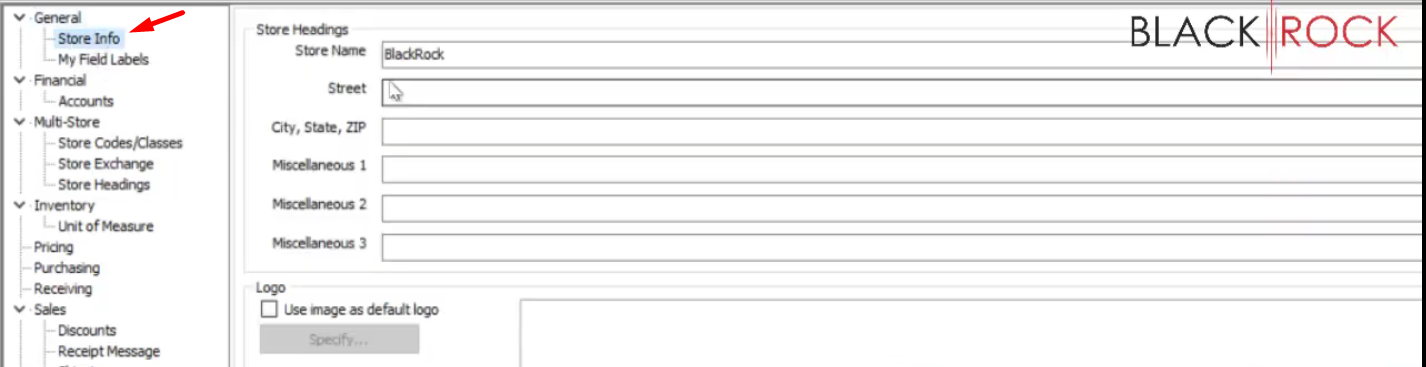
- This should have your Business Information that you have filled in on the startup interview when you first created your QuickBooks Point of Sale Company. You can also add your company logo so that it will be included on your printed receipt.
- My Field Labels:
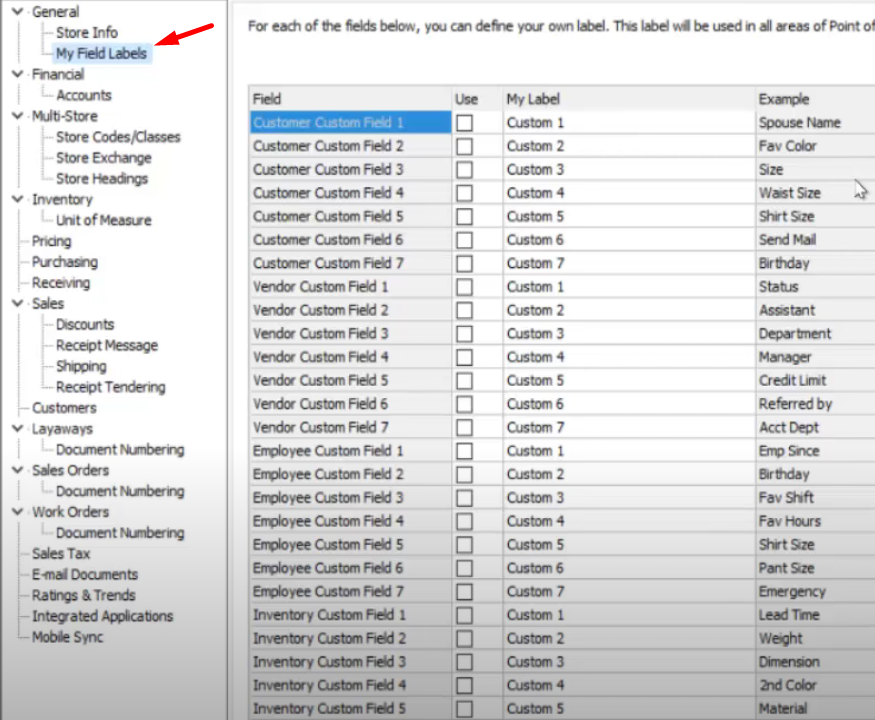
- This is the Field Label section where you can create your own custom fields for customers, vendors, employees and your inventory items. Those would be special fields that you make up in order for QuickBooks Point of Sale fit your business better.
- Store Info: