Today we are going to talk about on how to install price tag printer.
Let’s begin:
Zebra ZD410 is the price tag printer that we will install.
- On your “Web Browser” go to “download.blackrocktest1.wpenginepowered.com”.
- Select “Download QuickBooks POS Hardware Drivers”.

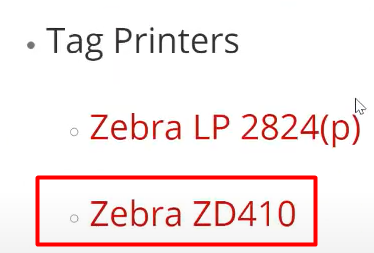
- Scroll down to the Tag Printers, then select “Zebra ZD410” to download.
- On your “File Explorer” go to “Download”, then select the file that you download.
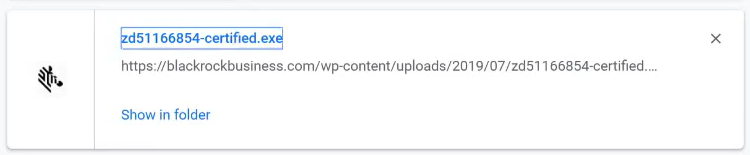
- It will now start Installing.

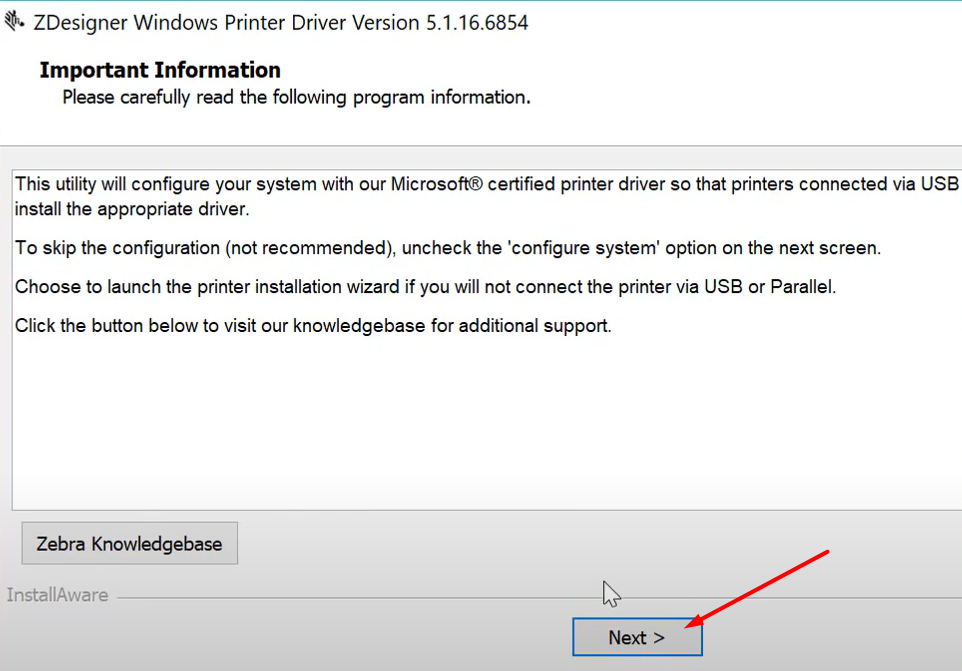
- Select “Next”.

- Select “Next”.
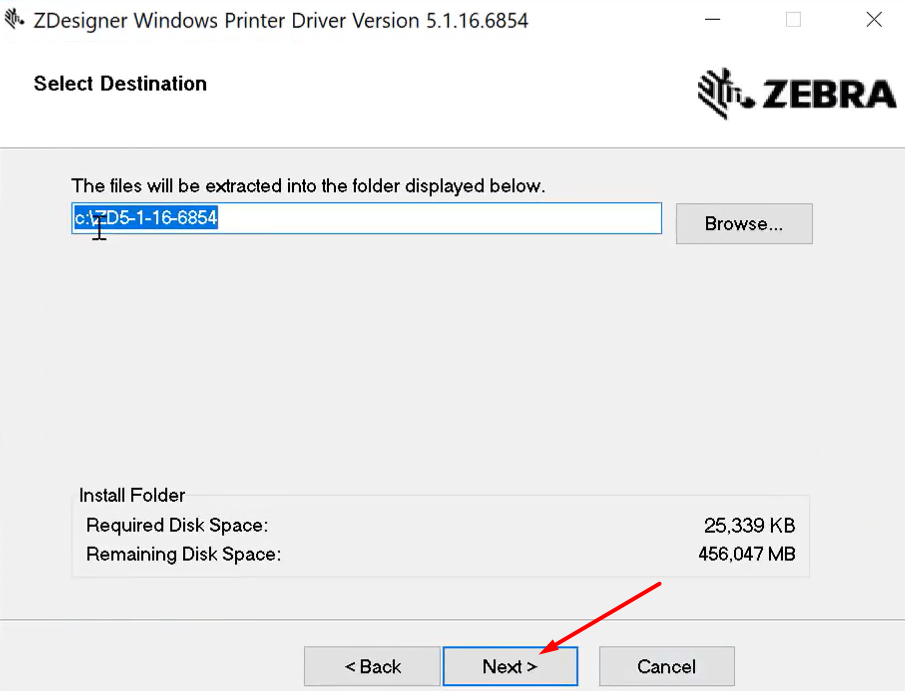
- Select “Next”.

- Select “Next”.
- Unchecked the two boxes, then select “Finish”.
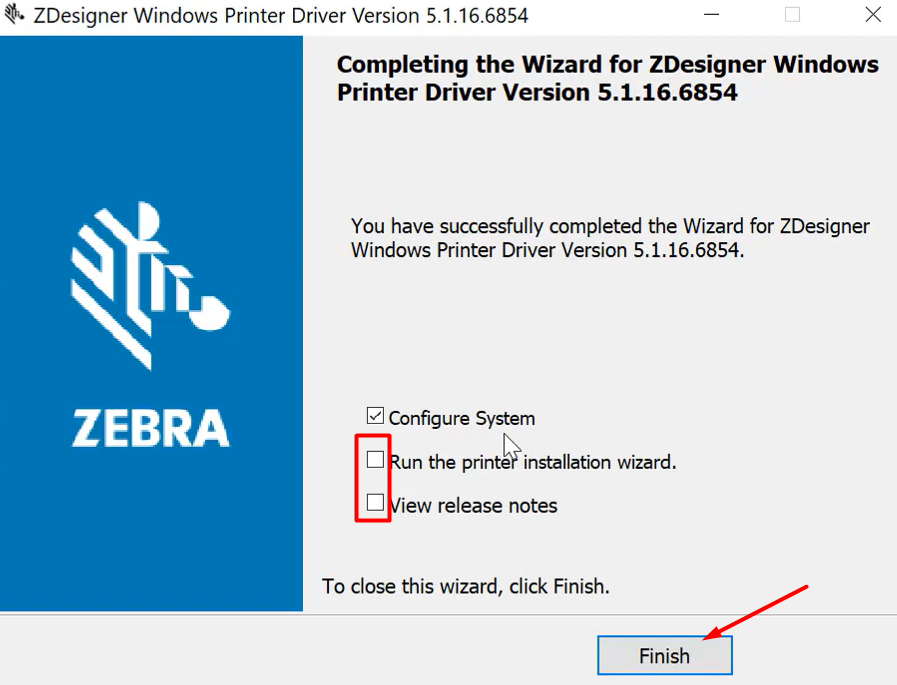
- You have now successfully installed your Zebra ZD410.
Let’s now connect the printer into your computer.
- Now, plug in the two cables into your Zebra ZD410.
- Turn on the power button on your printer. You will notice an orange light on your printer.
- Wait until the windows detect your printer.
- When the orange light turned to green, it means that you are now connected.
To check whether your printer is connected or not:
- On your “Desktop” go to “Start” menu.
- Search “Control Panel”.
- On your “Hardware and Sound” select “View devices and Printers”.
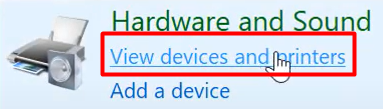
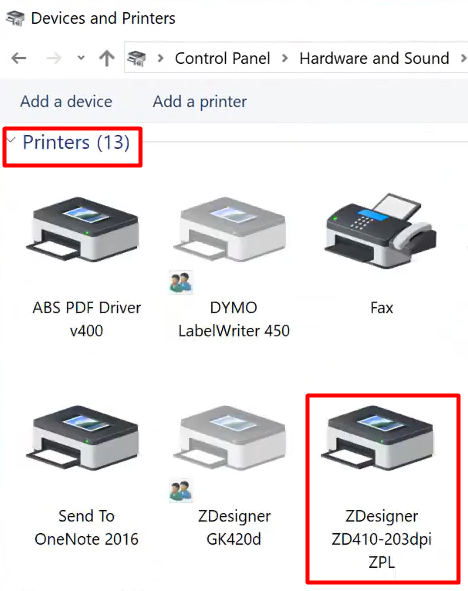
- Scroll down to your “Printers”, then if you find there the “ZDesigner ZD410” it means you are already connected to the computer.