
Today we are going to talk about on how to customize your toolbars.
Let’s begin:
- On your Home screen go to “Make a Sale”.
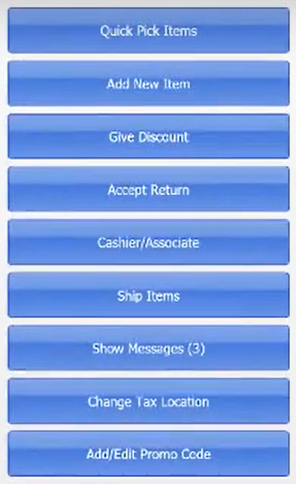
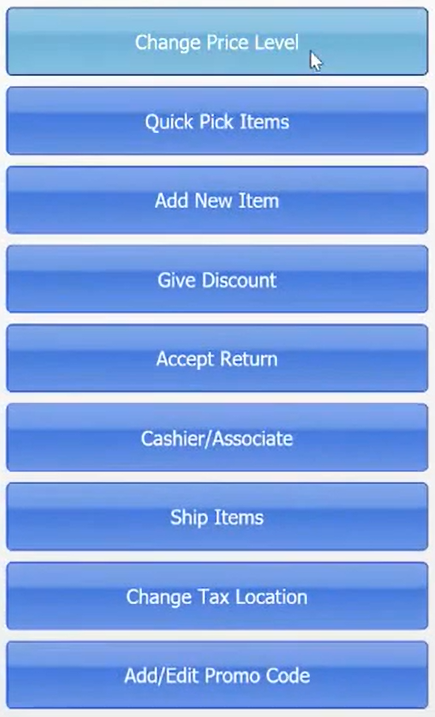
- This is your toolbar in your Make a Sale.
- Select “Customize” on the lower left-hand corner of the screen.
- On the Customize buttons screen you will see the Available tasks and the Selected tasks.
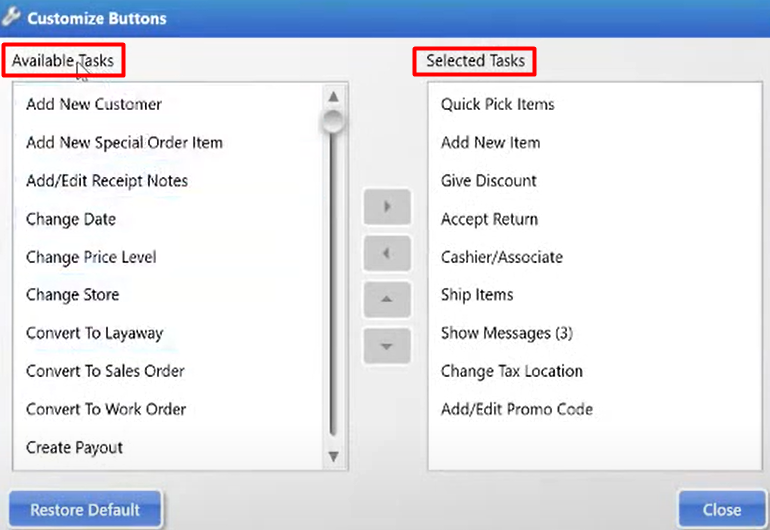
- Available tasks – these are the tasks that you can still add to your toolbar.
- Selected tasks – these are the tasks you are currently using in your toolbar.
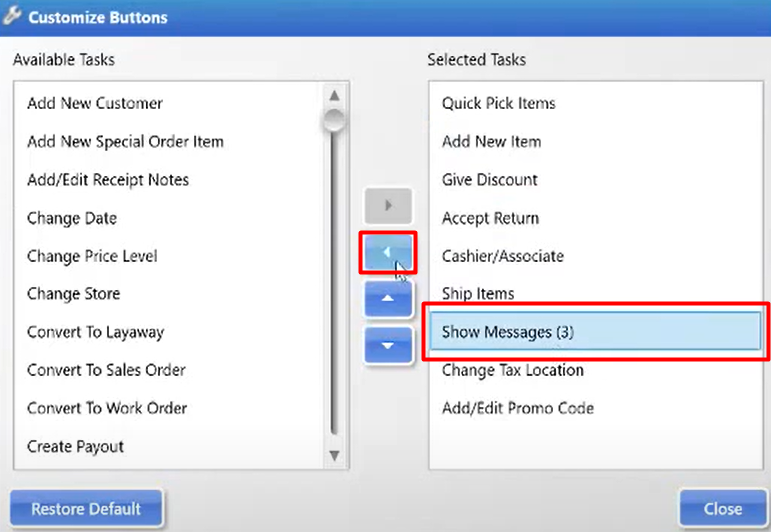
- If you want to remove a button on your toolbar, select the task you want to remove in “Selected Tasks” then select the left arrow.
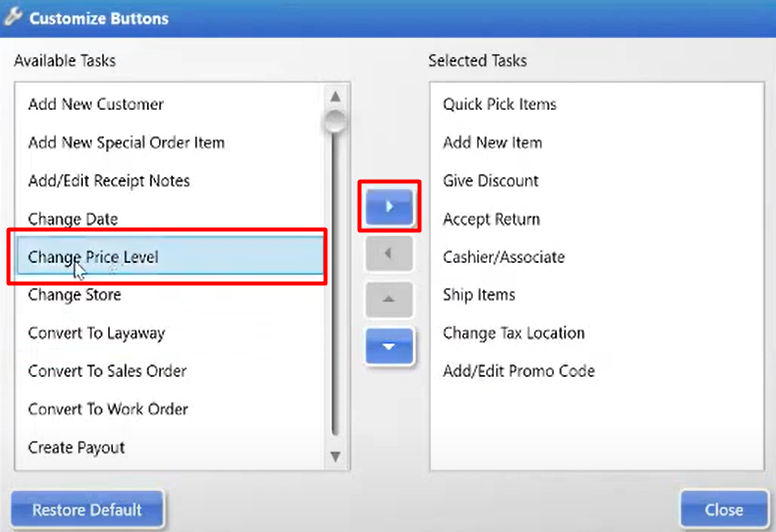
- If you want to add a task on your toolbar, select the task you want to add in “Available Tasks” then select the right arrow.
- If you want to rearrange your toolbar, on your “Selected Tasks” select the task you want to put on the first row of your toolbar then select the upper arrow.

- Up and Down arrow are use to move your task upward and downward.
- After you customize your buttons select “Close”.
- This is now your new toolbar in Make a Sale.
- Note: you can customize your buttons in all your department that has toolbar.