
Today we are going to talk about the overview of employee management.
Let’s begin:
First, enable employee logins.
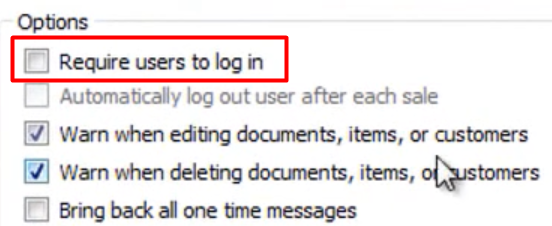
- On your “File” menu, go to “Preferences” then select “Company”.
- Enable “Requires users to log in”.
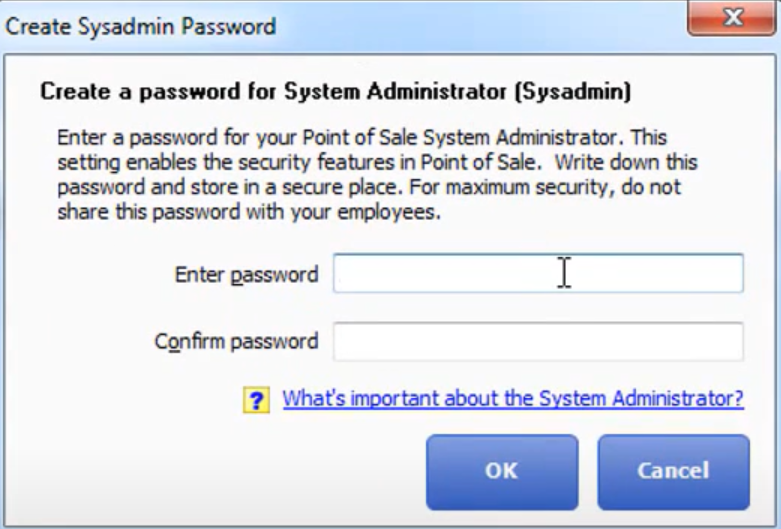
- Create your password, then select “Ok”.
- After you select Ok, Log in screen will automatically pop-up on your home screen. Fill in your username and password, then select “Log in”.
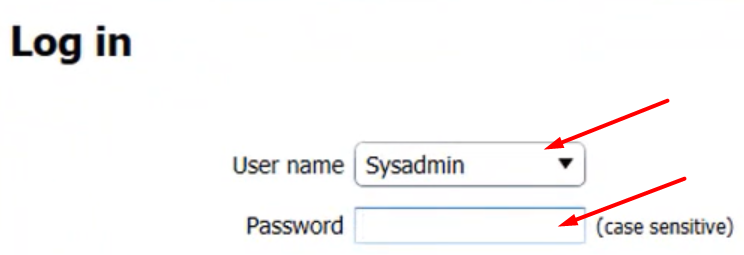
- You are now log in on your point of sale.
Now, let’s talk about some features of our Employee List.
- On your Home screen, go to “Employee” menu then select “Employee List”.
- “Employee List” screen will appear.
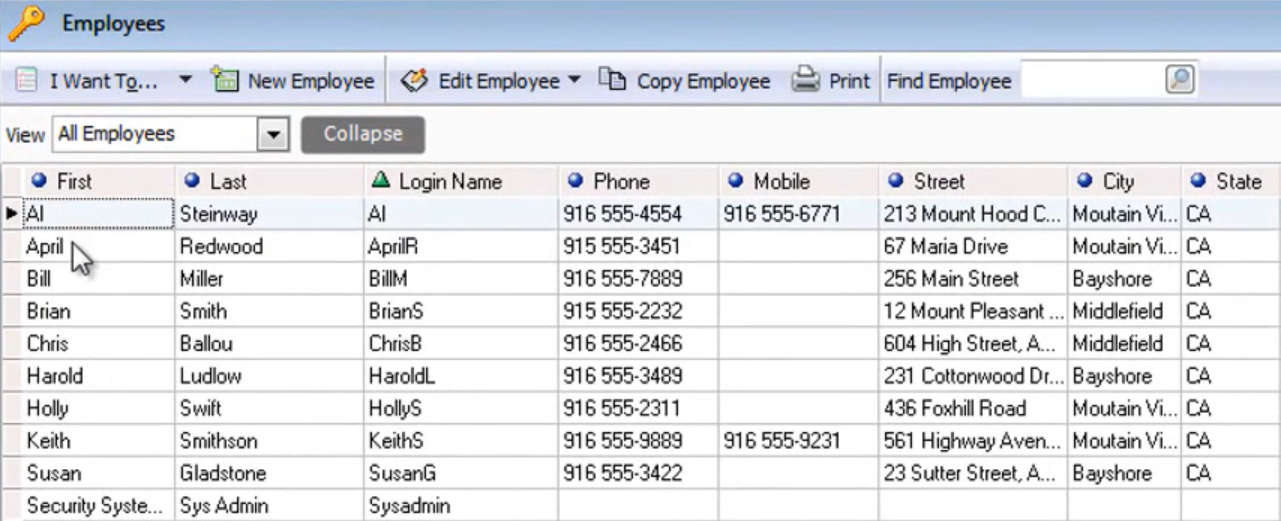
- If you want to create a new employee, on your menu bar select “New Employee”.

- Fill in every information of your new employee. (For example, you use “Peter” as your log in name)

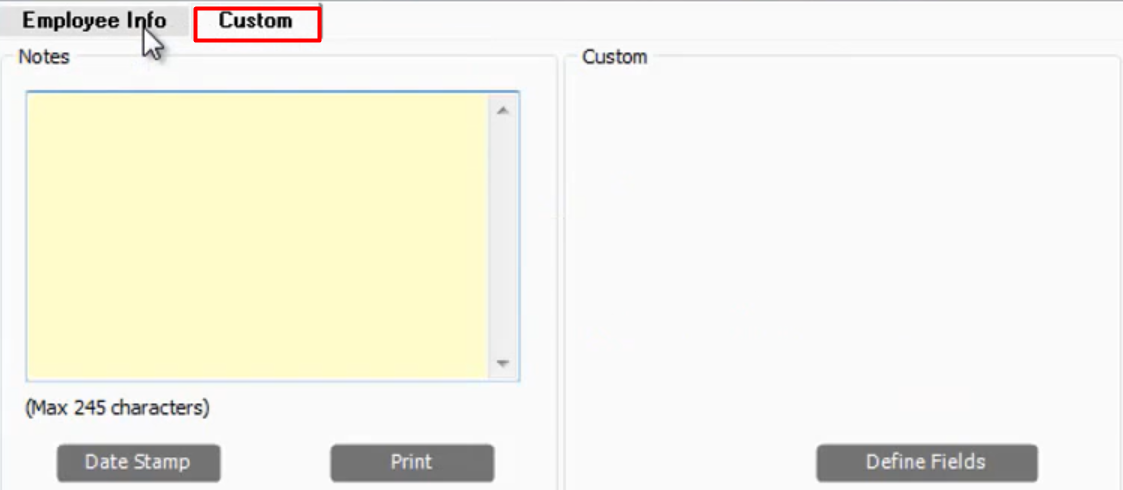
- On your “Custom” tab this is where you can create your notes for your employee and you can define custom fields that have to do with the employees if you want to track certain criteria with them.
- Your employee can create his own password.
- You can enable this to track every hour of your employee.

- You can also set your employees Commission % Rate.

- You can choose a Security Group for your employee. This will give your employee the rights to do things in your point of sale depends on what type of security group he is in.

- “I want to” menu. You can view and edit your security rights, and you can export the whole new employee screen to excel.

- On your “Custom” tab this is where you can create your notes for your employee and you can define custom fields that have to do with the employees if you want to track certain criteria with them.
- Fill in every information of your new employee. (For example, you use “Peter” as your log in name)
- You have now added “Peter” as your new employee.
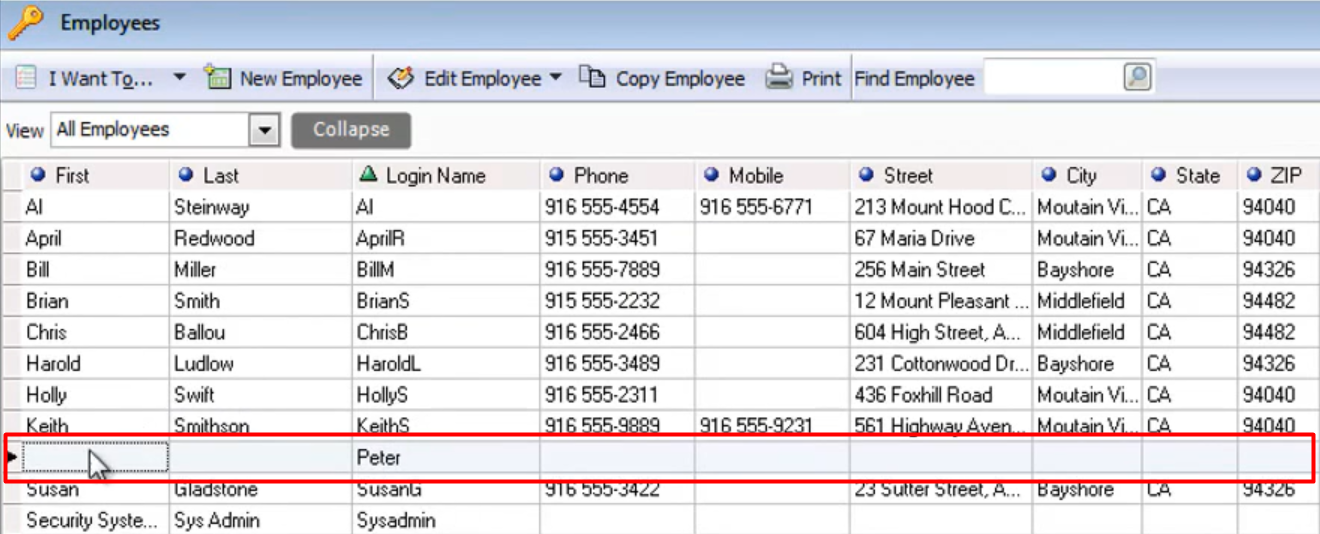
- You can print your Employee list, on your menu bar select “Print”.

- You can copy one employee and create another employee by going to your menu bar then select “Copy Employee”.
- If you click “Edit Employee” and then select “Turn List Edit On” you can already edit your employee’s information right on the Employee screen.

- After your done editing, turn off the List Edit On.
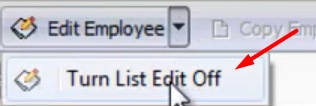
- After your done editing, turn off the List Edit On.
- On your “I want to” menu, you can delete an employee, view and edit security rights, and you can export the entire employee list to excel.

- You can print your Employee list, on your menu bar select “Print”.
Where done at Employee List, next is “Security”.
- On your Home screen, go to “Employees” menu then select “Security”.
- “Security” screen will appear.

- If you want to copy a certain security group and add some rights on it, select “Copy Group” on your menu bar.

- Copy Security Group screen will appear. Choose a group you want to copy (Associate) and enter the new group name (Super Associate), then select “Copy Group”.

- You have now added “Super Associate” as your new security group. You have the same default settings with Associates but you can add more rights with less security to your Super Associates.

- Copy Security Group screen will appear. Choose a group you want to copy (Associate) and enter the new group name (Super Associate), then select “Copy Group”.
- “Security” screen will appear.
Next is “Clock In/Out”.
- On your Home screen, look at your menu bar then select “Log In drop-down” menu. This is located at the upper right-hand corner of the screen beside the time and date.
- Log in screen will appear. Enter your username (“Peter”) and password, then select “Log in”.

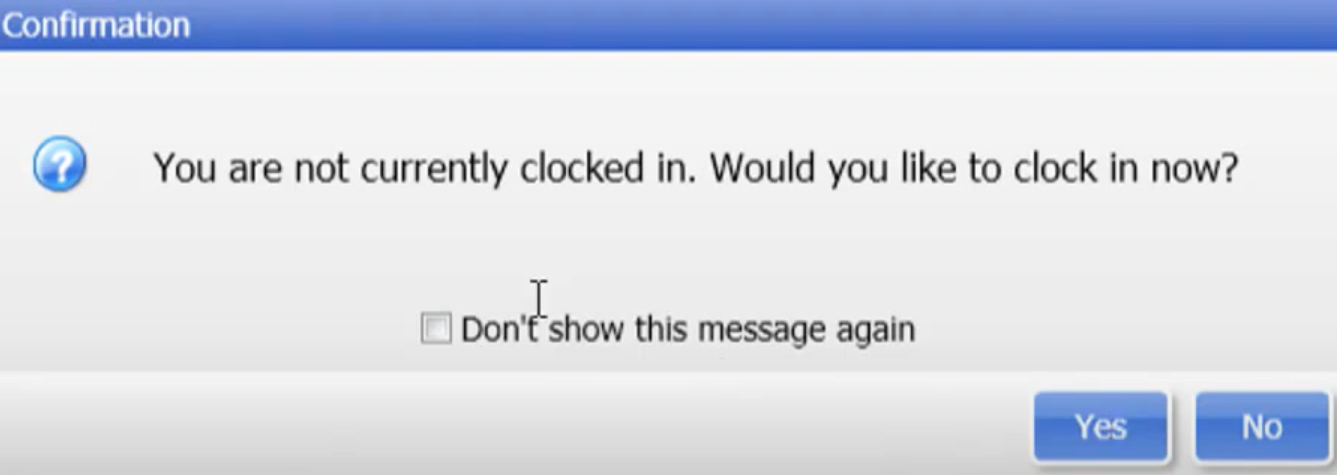
- Confirmation screen will appear. Select “Yes” to clock in.
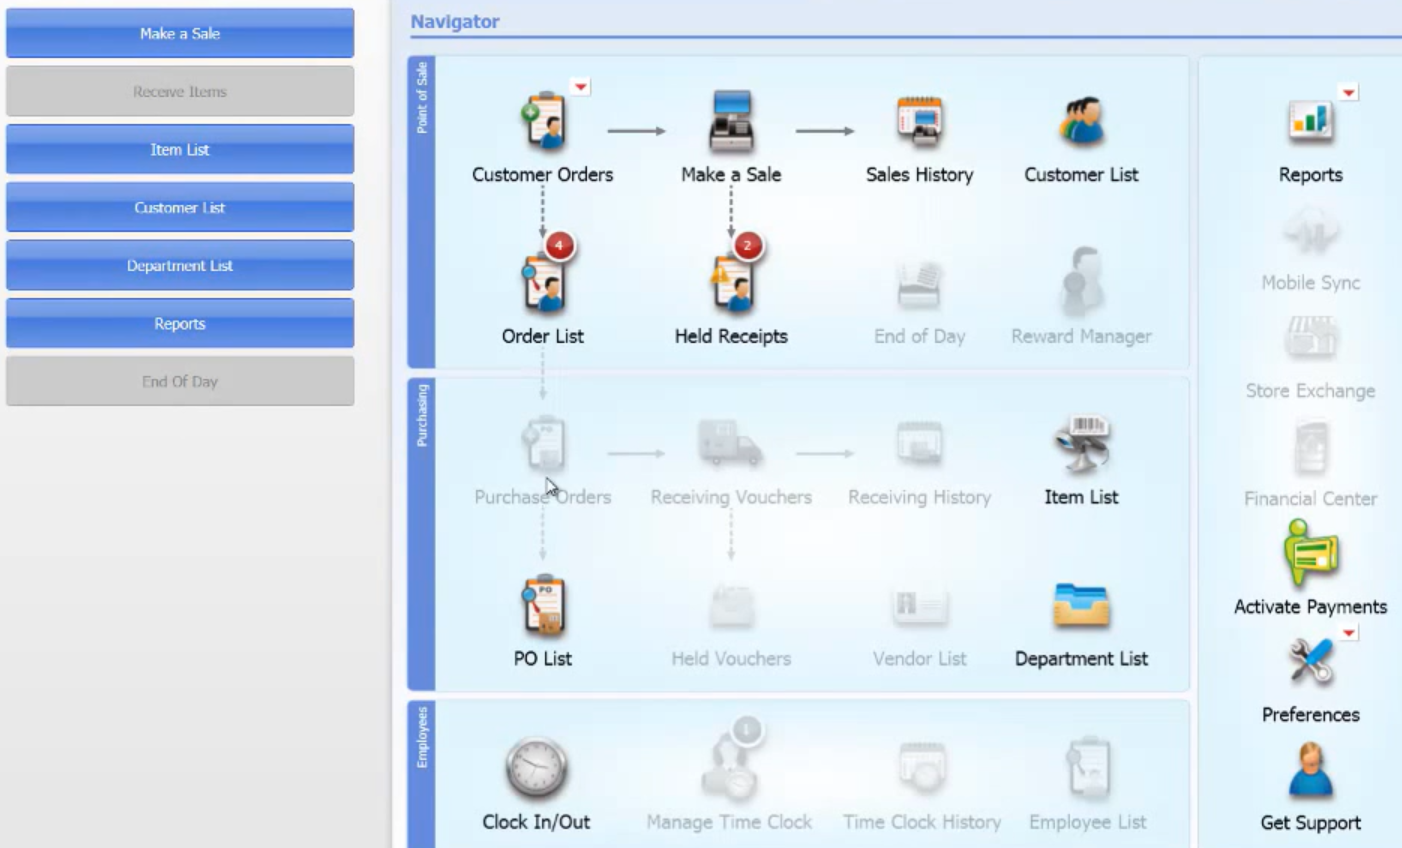
- You will see on your Home screen that “Peter” as a member of “Super Associate” security group has a limited task to do in your point of sale. This is because of the rights you only enable him to do.
Next is “Manage Clocked-in Employees”.
- On your “Log in drop-down” menu you can select “Switch User” if you want to switch user.
- Note: even if you switch user “Peter” can stay clock-in.
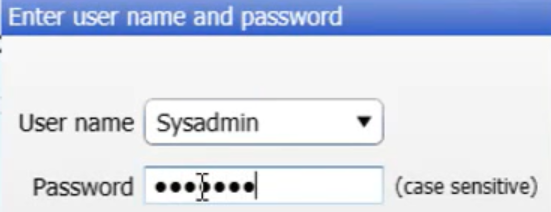
- “log in” screen will appear. Enter a username you want to switch user with (“Sysadmin”) and enter the password. Then select “Ok”.
- Now on your Home screen, go to “Employees” menu then select “Manage Clocked-in Employees”.
- Manage Clocked-in Employee’s screen will appear. You will see that “Peter” is currently clocked-in. Also, you will see here if your employee clocked-out already.

- Select “Peter”, then select “Clock Out” to clock-out peter.
- Point of Sale Message screen will appear. This will show you the Clocked in and out time of Peter, you will also see here the Elapsed time of Peter.

- Select “Yes”.
Last, “Time Clock History”.
- After you select yes, on your Home screen go to “Employee”, then select “Time Clock History”.
- Time Clock History screen will appear.

- You can double-click on Peter to edit his Time Entry.
