Today we are going to talk about manual discounts.
Let’s begin:
First, let’s enable discount reason for manual discounts.
- On your Home screen, go to “File” menu select “Preferences” then select “Company”.
- Under the “Sales” select “Discounts”.
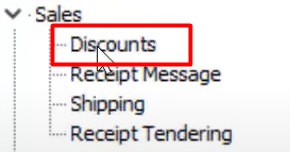
- Enable “Require a discount reason for manual discounts”.

- This will help you monitor the discount summary report on how your discounts are being applied.
Now let’s set up Manual Discounts.
- On your Home screen, go to “Inventory” menu then select “Price Manager”.
- Select “Set up Manual Discount”.
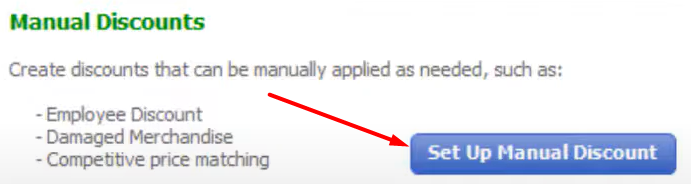
- Enter the name of your discount. Then select “Finish”.

- Discount Pricing screen will appear. You can add more manual discount, just select “New Discount” menu.
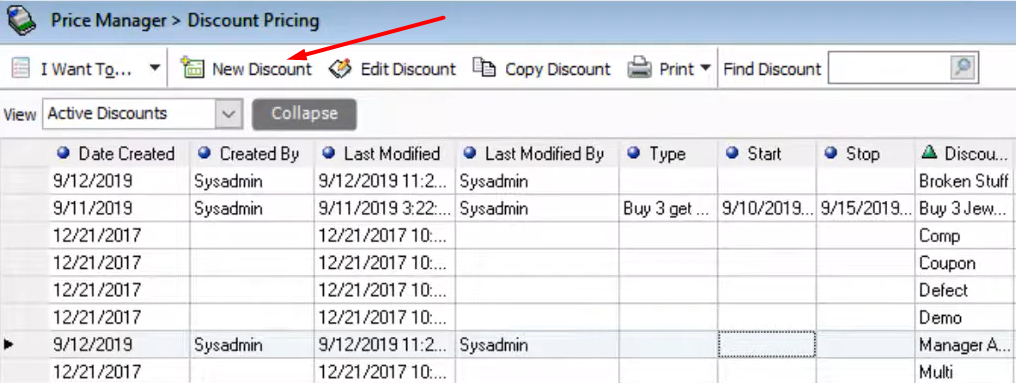
- Choose “Manual Discount”. Then select “Next”.

- Enter the name of the discount, then select “Finish”.
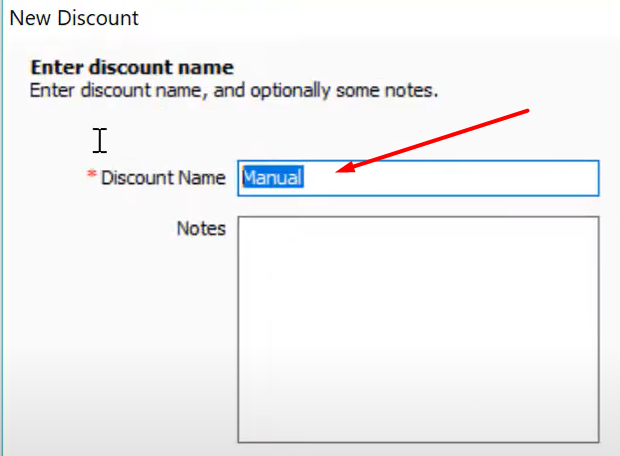
- You have now set up a number of manual discounts.

- Choose “Manual Discount”. Then select “Next”.
Now let’s make a sale.
- On your Home screen, go to “Make a Sale”.
- Choose an item.

- Select “Quantity Price and Discount”.
- Price and Discount screen will appear.
- Choose you manual discount in “Discount name”, then select “Ok”.

- On the blue buttons below, select “Cash” then select “Save”.
- Select “Save”.
Lastly, let’s go to Discount Summary Report.
- On your “Reports” menu, go to “Sales” then select “Discount Summary”.
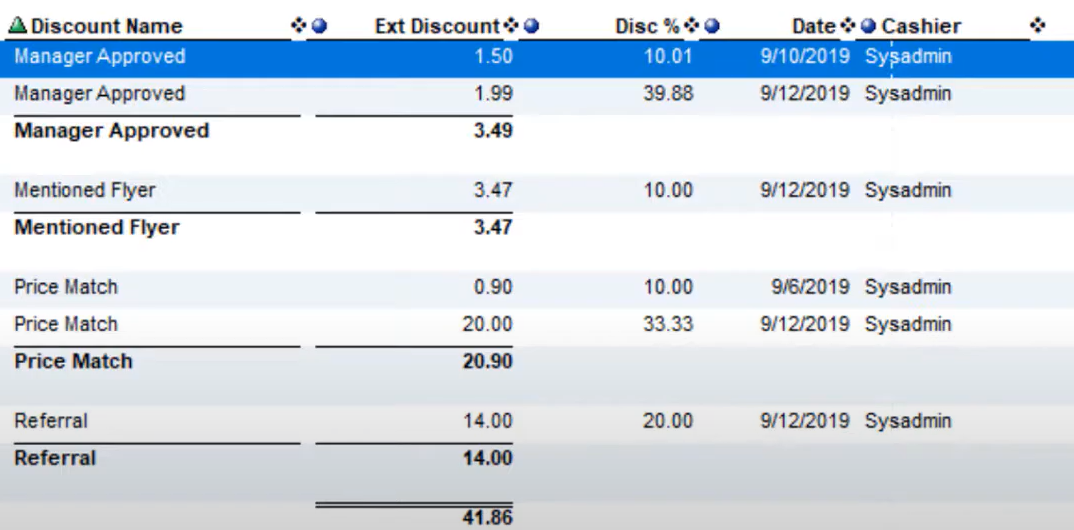
- Discount Summary tab will appear. You will see here the different manual discount that you used. Also, you will see here the discount percentage that have been used and the Ext Discount.
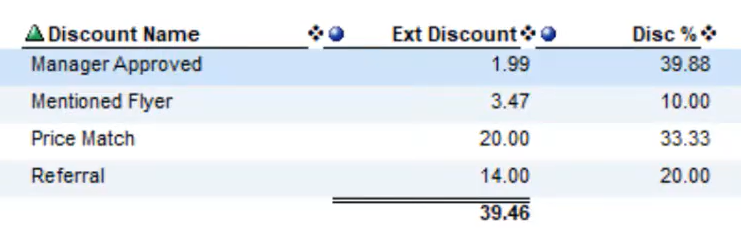
- Now we added “Date” and “Cashier” on the columns, so that you can easily check on when they use the manual discount and who among your employees used it.