Today we’re going to talk about hot to print tags from receiving voucher.
Let’s begin:
- From your QuickBooks point-of-sale screen click “Receiving Vouchers”.
- We already made a purchase order as an example for our “Receiving Voucher”.
- Click “Receive from PO”

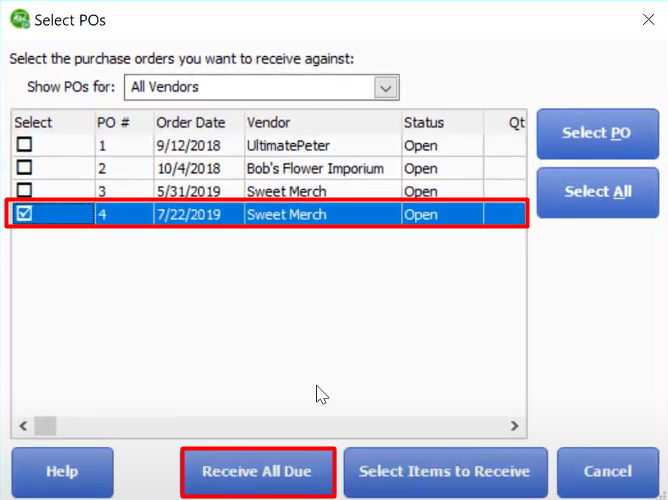
- On your Select Pos check on the PO# 4, this is the example that we created. Then click “Receive All Due”.
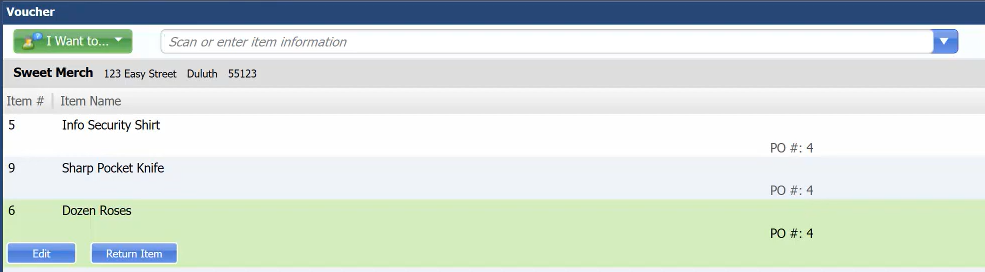
- This will appear on your screen.
- Then click “Price Tags” on the left side of the screen.

- Another way to click “Print Tags” is clicking “I Want to” menu on your “Voucher” screen, then click “Price Tags”.
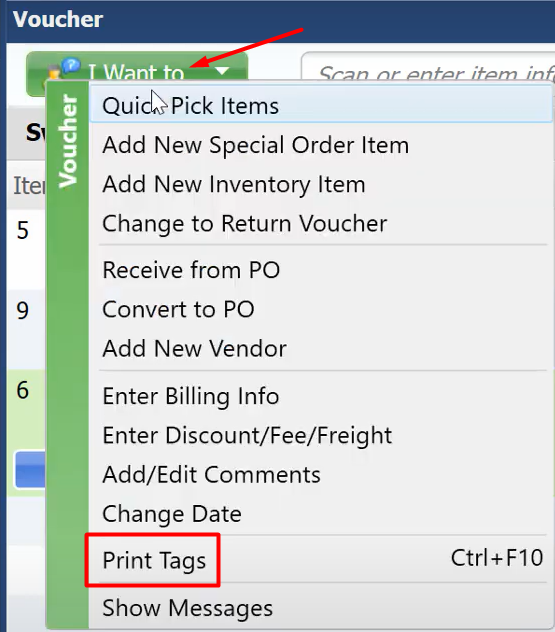
- Another way to click “Print Tags” is clicking “I Want to” menu on your “Voucher” screen, then click “Price Tags”.
- On your “Print” screen mark “All-Print tags for all items” and “Document quantity” then click “Print”.
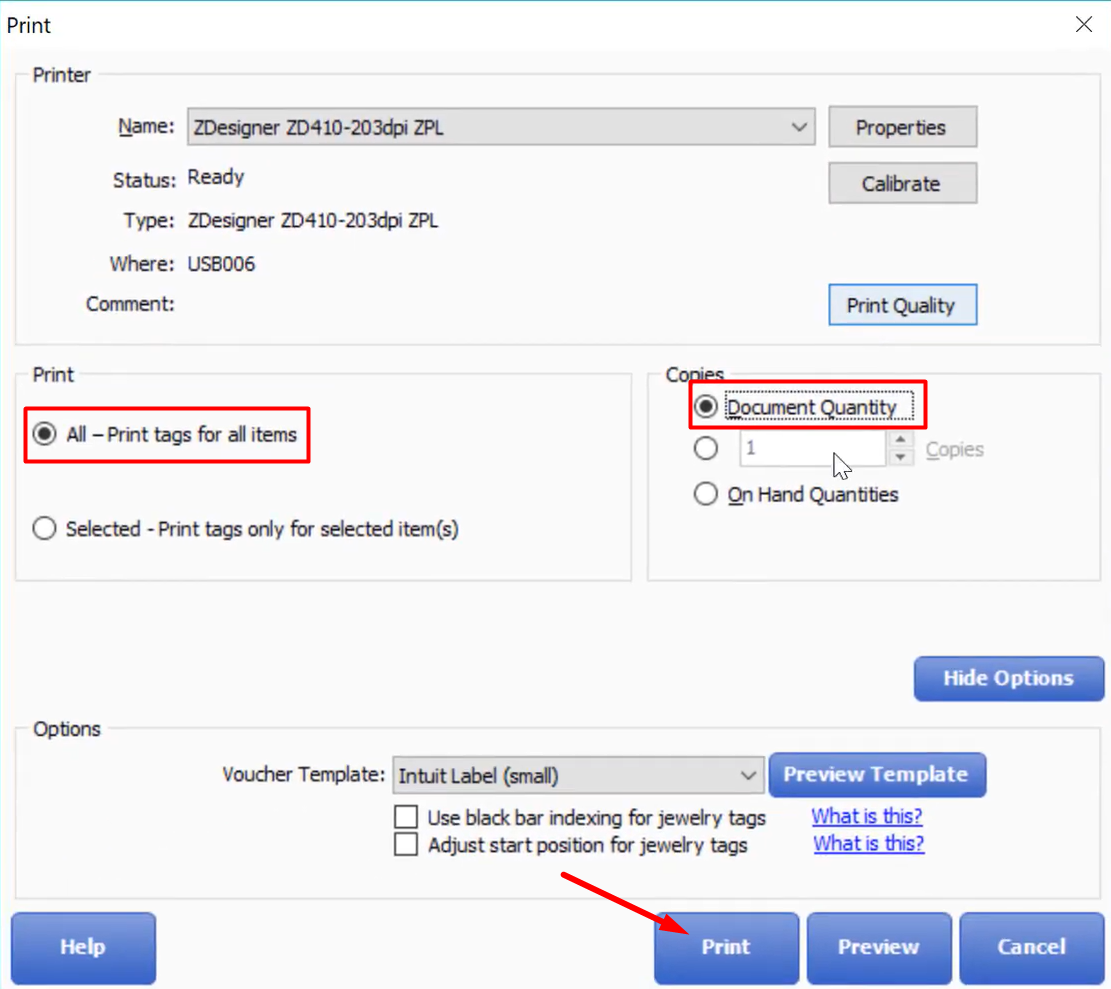
- Print tags for all items – means your printing all the items on your voucher screen.
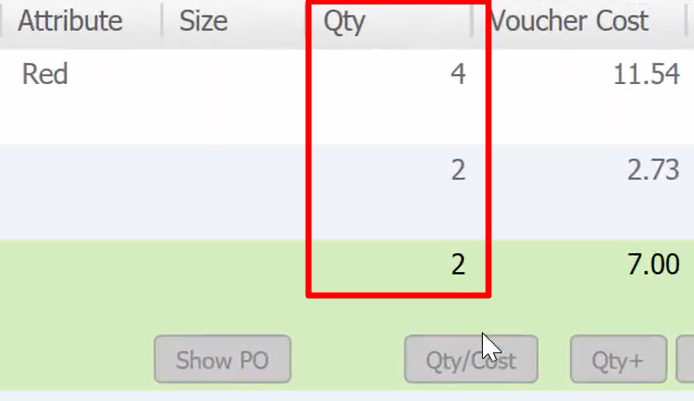
- Document Quantity – means your only printing the copies of the quantity on your item. You’ll see this on the right side of the screen of your Voucher.