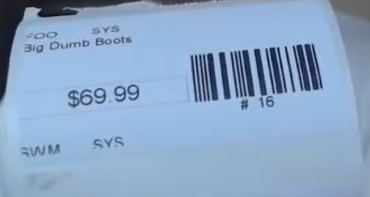
Today we are going to talk about on how to print tags on different label printers.
Let’s begin:
Today we are going to use “Dymo Printer” to print tags.
- First, go to a web browser then search “ninite.com”.
- Ninite is a website where you can install a whole bunch of programs all at once in your computer, you just put checkmarks next to each program you want then you can download and install them at once.
- On the Documents section check “Foxit Reader”.
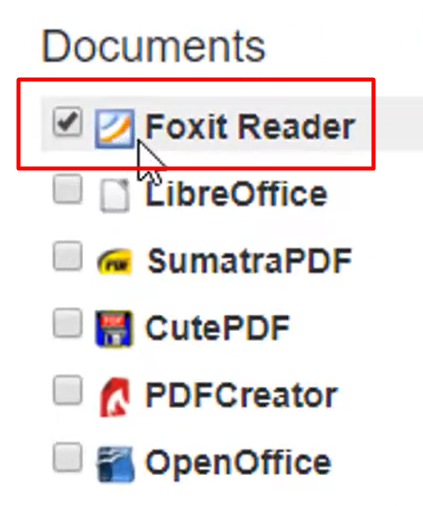
- Download and install Foxit Reader.
- After you install Foxit Reader go back to point of sale.
- On your QuickBooks point of sale Home screen select “File” then go to “Tools” then select “Print Designer”.
- On your Print Designer choose “Inventory tags” in select a document type.

- Choose “Avery 5160” in Available templates. Select “Options” then select “Copy Selected”.
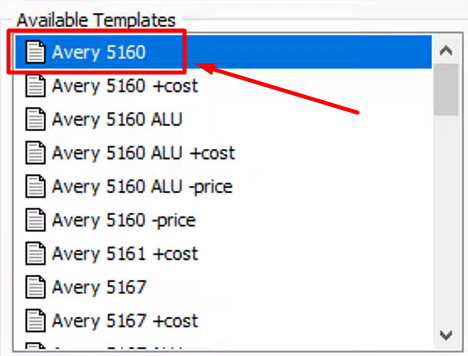
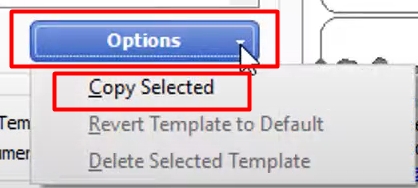
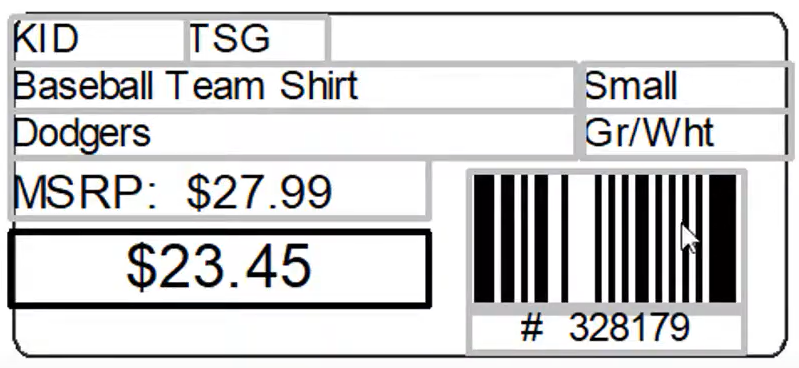
- You have now a copy of Avery 5160.
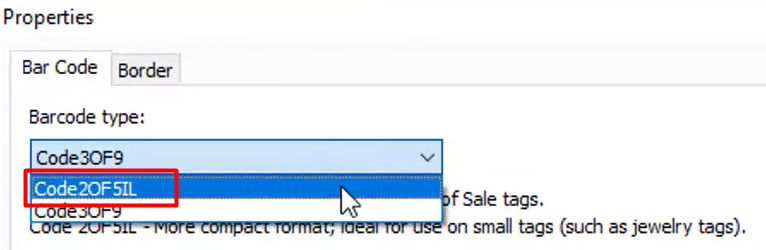
- Double-click on the bar code then choose “Code2OF5IL”, then select “Ok”.
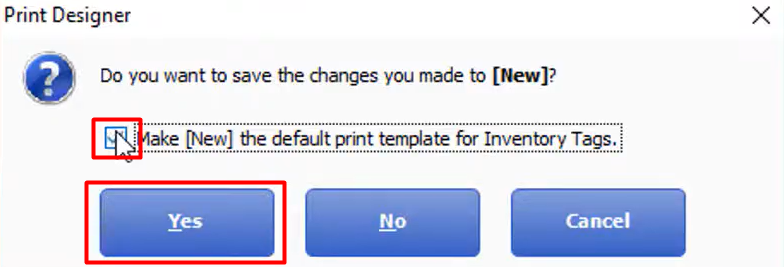
- Select “close”. A notification screen will appear. Check the box then select “Yes”.
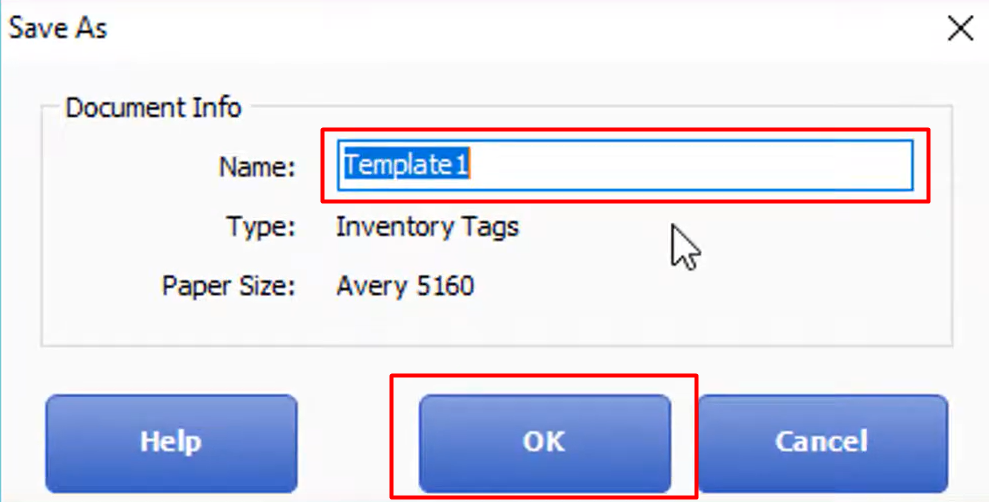
- “Save As” screen will appear. Enter the name you want for your tag then select “Ok”.
- Now, go to your “Item List”.
- Select items you want to print tags.
- After you select items, on the blue buttons select “Print Tags”.
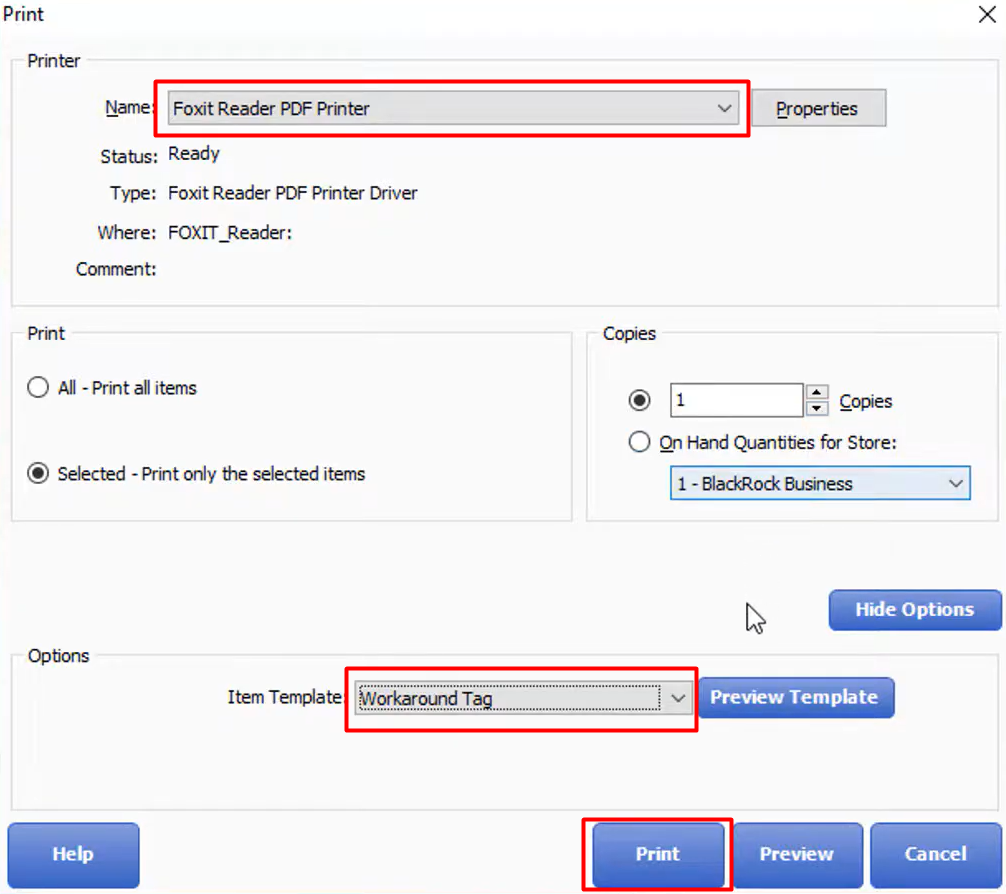
- On the printer section choose “Foxit Reader PDF Printer”, and on the Item Template choose the new template that you created. Then select “Print”.
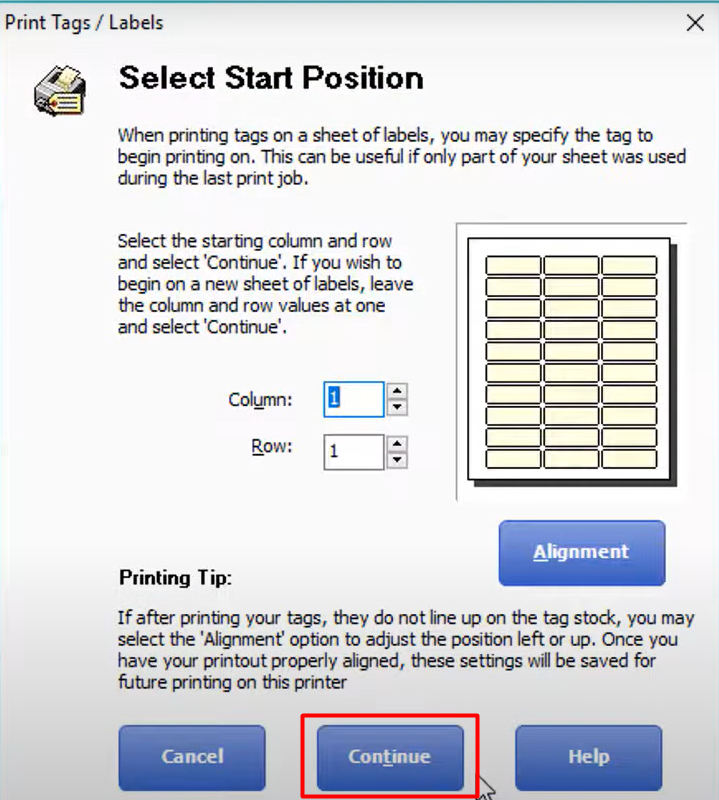
- Select “Continue”.
- It will ask you where you want to save your file, choose a place in your File explorer where you want to save it, then select “Save”.
- This will now appear on our screen after saving your pdf file.
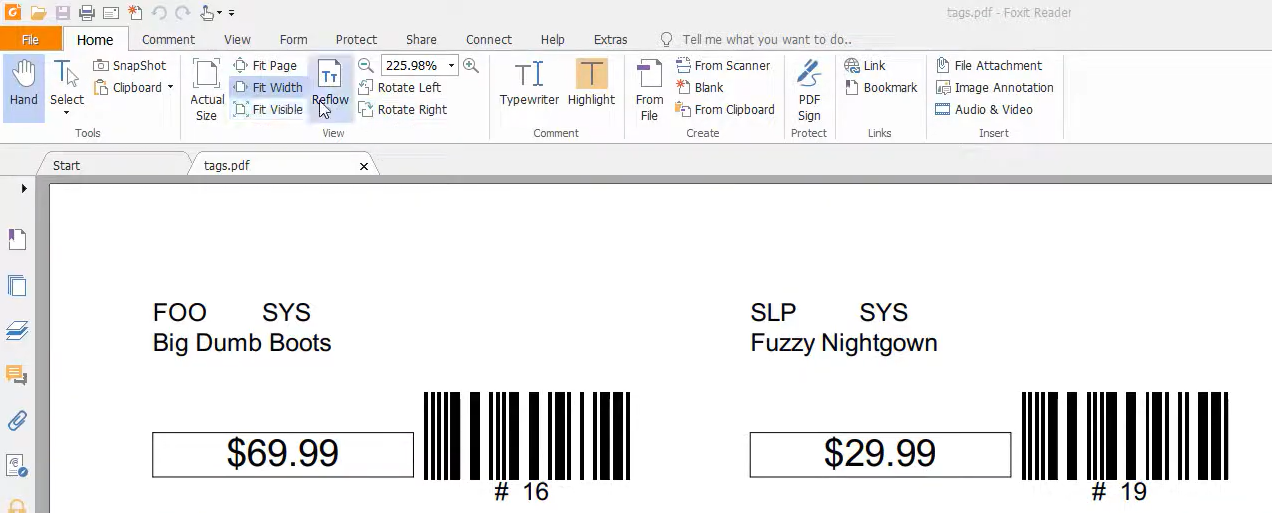
- Select “Snapshot”.
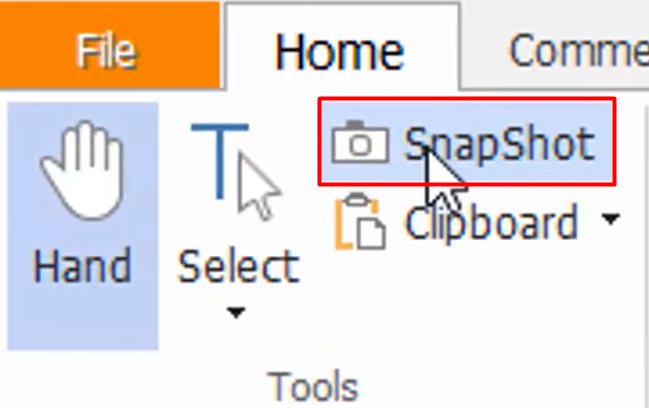
- With snapshot you’re going to draw a box around the label you want to print.
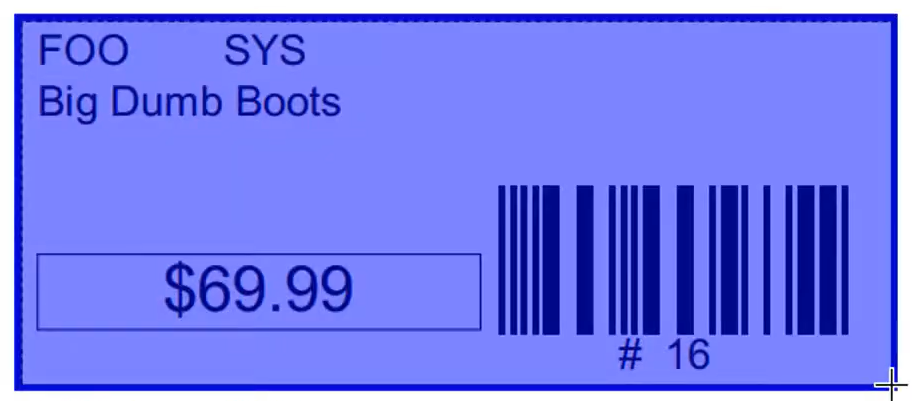
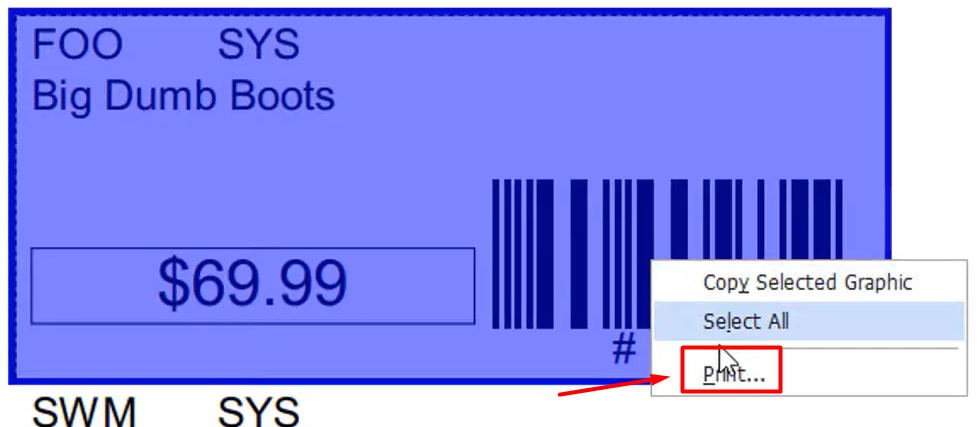
- After you draw a box on the label, right click on the box then select “Print”.
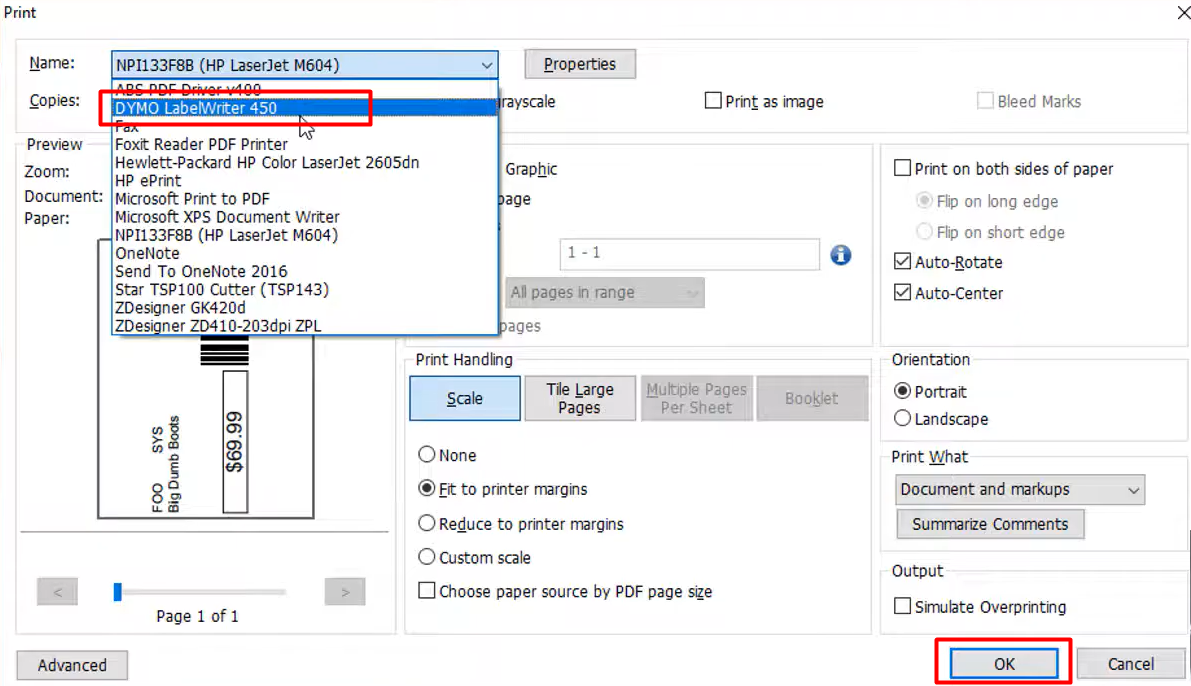
- “Print” screen will appear. On the name choose the name of the printer you are using. So, right now we are using the “DYMO LabelWriter 450”. Then select “Ok”.
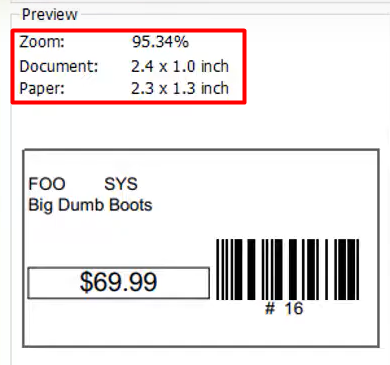
- Now, you might want to check or edit the size of the tag to the size of your printer.
- On your “Print” screen select “Properties”, then select “Advance”.
- On the Paper/Output section choose the size, then select “Ok”.
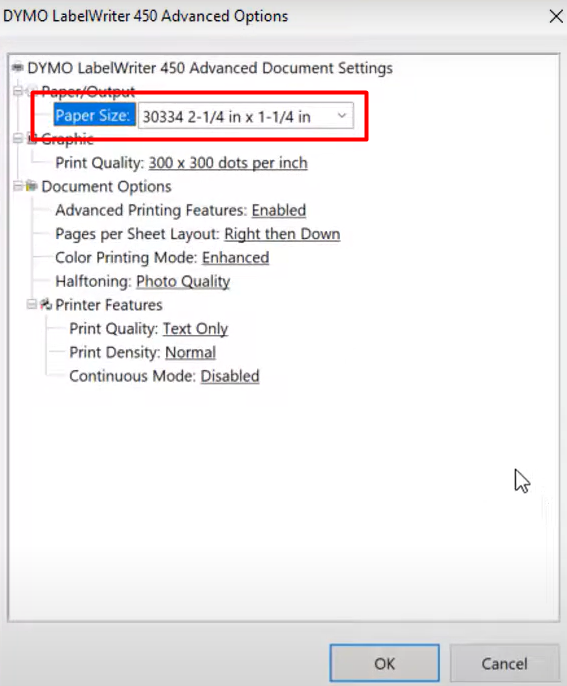
- Now, you might want to check or edit the size of the tag to the size of your printer.
- We have now printed our tag on a Dymo Printer.