
Creating a Layaway in QuickBooks POS
- Click on I Want To, select Make A Customer Order, and select Layaway

- In the next QuickBooks POS screen, enter the items either by using the drop down or scanning

- After ringing up all the items, either select the customer in the Customer Info drop down, or enter their information at this point

- In the box beside the customer’s information, outline the terms of the Layaway

- Either Save & Print or Save Only
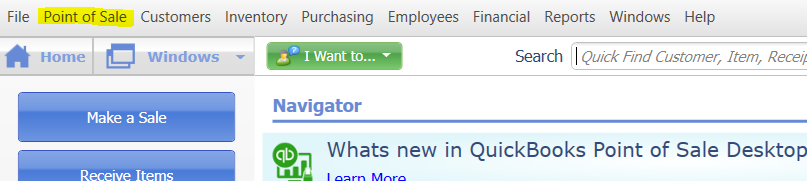
- To receive payment, go to Point of Sale and select Layaway List in the drop down
- Click on Take Deposit
- Type in the Deposit Amount. Click OK

- Accept Payment. Click Save or Save & Print Deposit

- Close window
- To see the remaining balance from the Home Menu, Select Point of Sales in the task bar, select Layaway List
- Double click on the Customer name
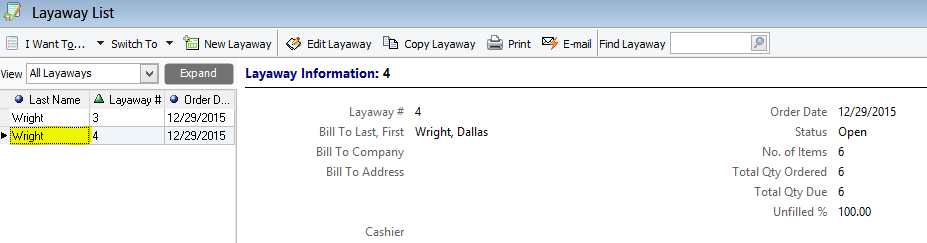
- From here, you can see the entire item list, as well as the new balance after payment.

- In the next QuickBooks POS screen, enter the items either by using the drop down or scanning