
Today we will show you how to make a custom field on your inventory items and on your customer.
Let’s begin:
- On you QuickBooks point-of-sale screen go to “FILE” and “PREFERENCES” then click “COMPANY”.

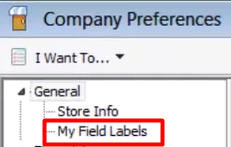
- Company Preferences will appear, click on the “My Field Labels”.

- This will appear on your screen.

- This will appear on your screen.
Now, let’s make Custom Field for our Customer.
- Check a field you want to use, for example “Inventory custom field” and you label it as a “Lead Time”.

- Then click “SAVE” on the lower right corner of the screen.
- Now go to “Item List”

- Item List screen will appear, click one of the items for example “CLEATS” then click “EDIT” on the right side of the screen.


- You have now a Lead Time on you Edit Inventory Item. You can now put a lead time for your item, for example you put “5 Days”. Then click “SAVE”.

- On your Item list you can right click on the column then choose “Customize Columns” and click “Lead Time”.

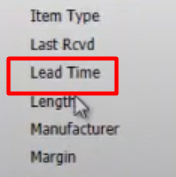
- Then “Lead Time” will add up to your column. Now there you have it, you have a Custom Field for your Lead Time on your Inventory item.

Now, let’s make Custom Field for our Customer.
- On you QuickBooks point-of-sale screen go to “FILE” and “PREFERENCES” then click “COMPANY”.
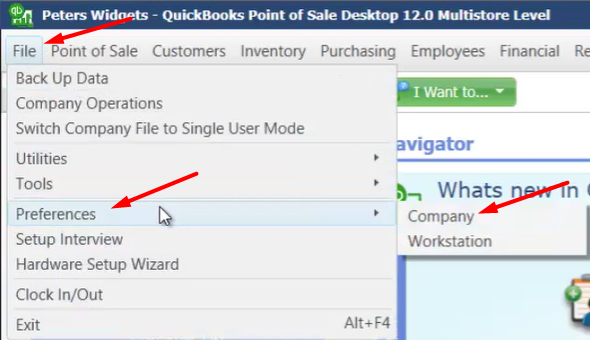
- Company Preferences will appear, click on the “My Field Labels”.
- This will appear on your screen.
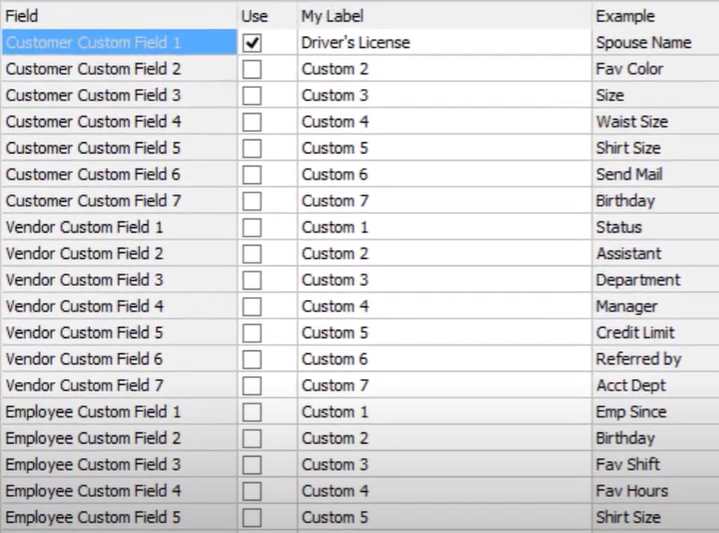
- This will appear on your screen.
- Check any of the field in Customer Field you want to use. Then rename it, for example “Membership Level”.

- Then click “SAVE” on the lower right corner of the screen.
- Now go to “Make a Sale”
- Sales Receipt screen will appear, go to “Enter customer name or phone”. Then click “Add New Customer”.


- Add Customer screen will appear. Now put a new customer and put a Membership level on it. For example, you put a new customer in a “Bronze Member” in the Membership level. Then click “SAVE”
- Note: All you checked in Customer Custom Field will appear here.

- Note: All you checked in Customer Custom Field will appear here.
- Now go to “Customer List”.
- On your Customer List screen right click on column then choose “Customize columns” and click
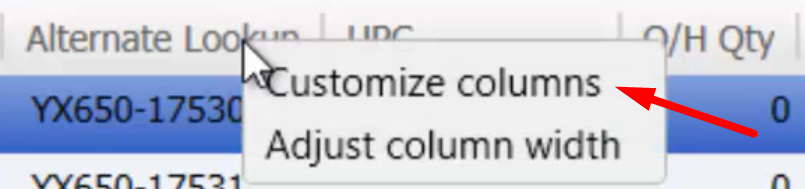

- Then “Membership Level” will add up to your column. Now there you have it, you have a new Custom Field for your Membership level on you Customer List.
