Today we are going to talk about Time Clock History.
Let’s begin:
- On your Home screen go to “Time clock history”.
- This is your Time clock history screen.
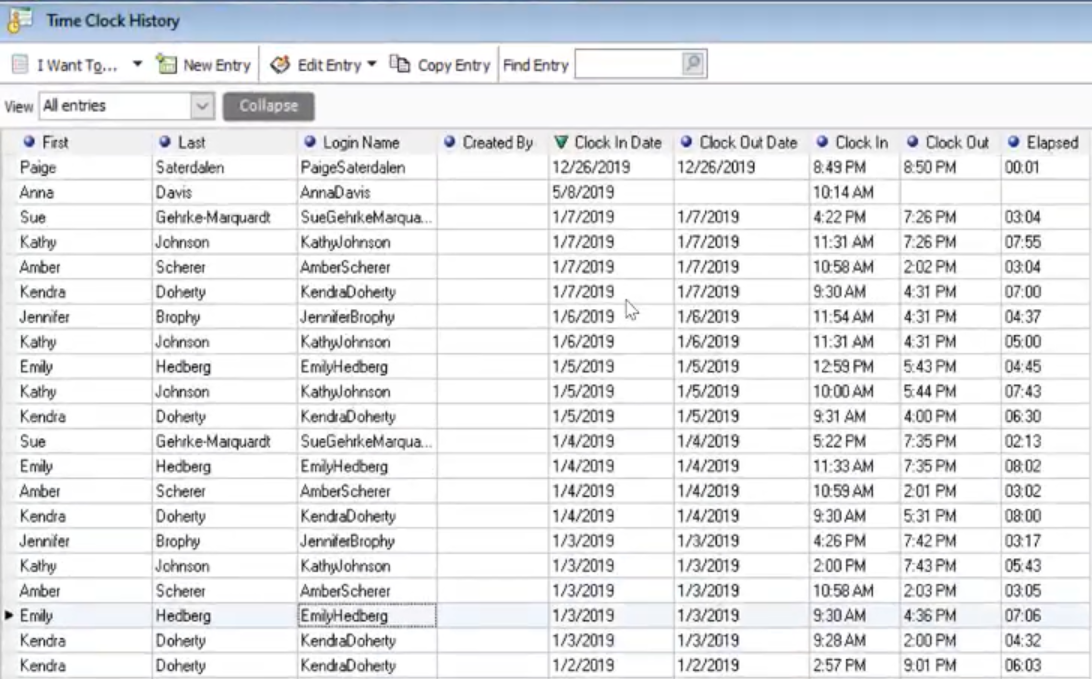
- Double-click on an entry if you want to edit the time clock of your employee.
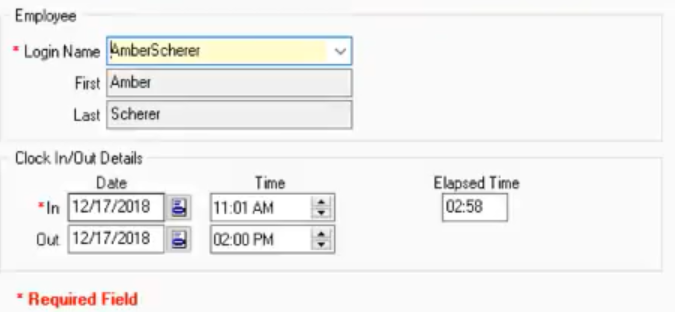
- You can also select “Edit Entry” if you want to edit the time clock of your employee.

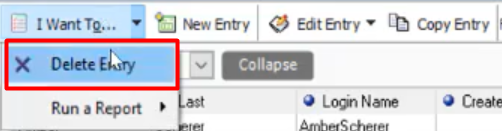
- If you want to delete an entry, just click an entry then go to “I want to” menu then select “Delete Entry”.
- If you want to create a new entry just select the “New Entry” menu.

- If you want to edit bunch of your employee’s time clock you can go to “Edit Entry Drop-down” menu. Then select “Turn List Edit On”.
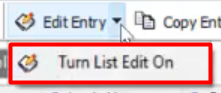
- You can now edit the entry one by one on your time clock history field.

- After you edit the entries one by one you can now turn off the List edit button.
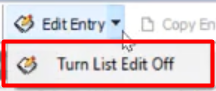
- You can now edit the entry one by one on your time clock history field.
- If you want to copy certain entries you can select “Copy entry” menu.
- You can search an entry here.

- Then this will come out on your screen, the details of the time clock of a certain employee that you searched.

- Then this will come out on your screen, the details of the time clock of a certain employee that you searched.
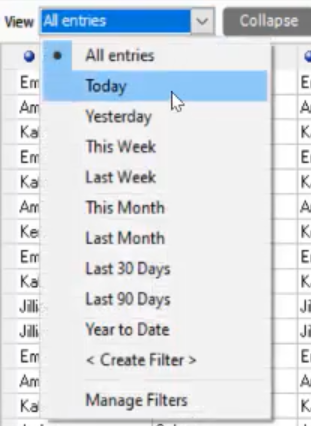
- You can change your views to what date you want to look at. You can also create a custom-made filter here.