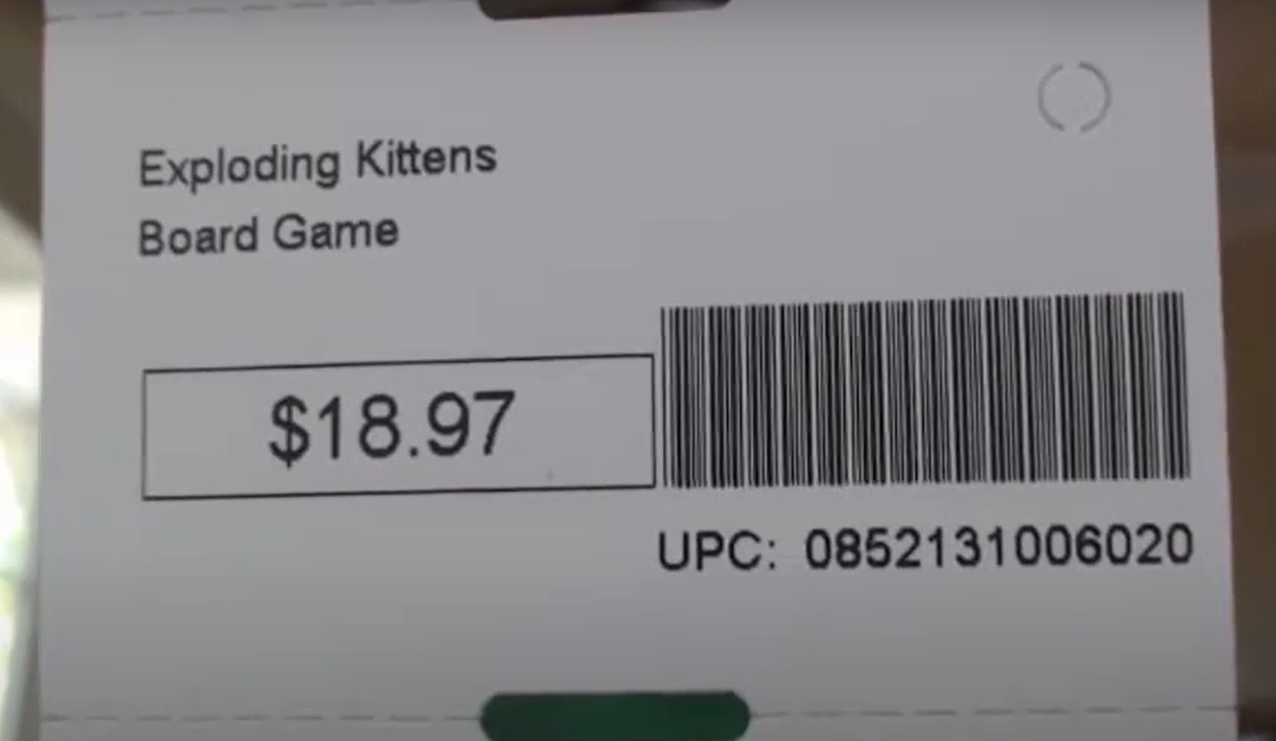
Today where going to talk about how to put a UPC barcode and UPC number on your price tag.
Let’s begin:
- On the “File” menu go to “Tools”, then click “Print Designer”.

- On your “Select a Document type” section switch to “Inventory tags”. Then on your “Available templates” choose “Intuit Hang tag”.

- Select “Options” then click “Copy selected”.
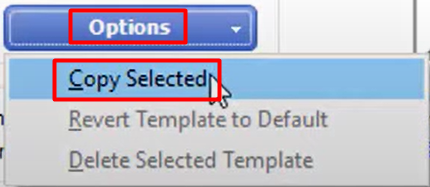
- You can now edit and delete some data fields on your hang tag.

- On adding data field on your hang tag, go to “Add” menu then click “Data field or Group of fields”.
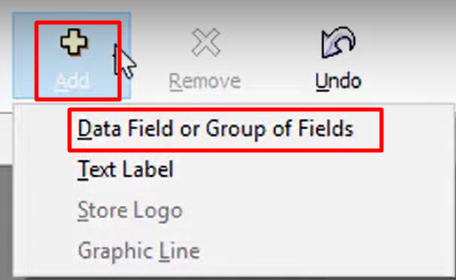
- Select “UPC Barcode” and “UPC” then click “Ok”.

- Here is the finished setup for your hang tag with UPC barcode and UPC number.
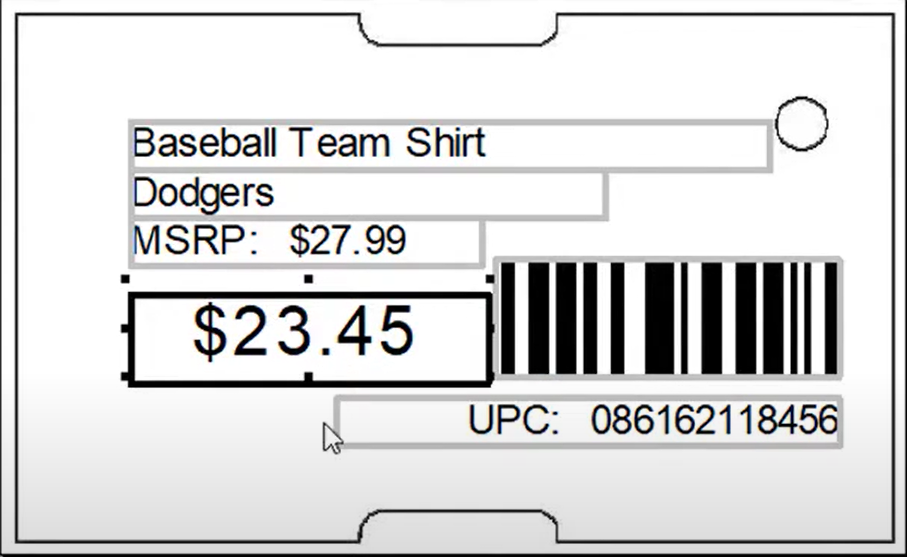
- If you want to edit a certain data field, double-click the data field you want to edit then “Properties” screen will appear. After your done editing click “Ok”.

- If you want to edit a certain data field, double-click the data field you want to edit then “Properties” screen will appear. After your done editing click “Ok”.
- When your done customizing your hang tag click “Save” on the upper right corner of the screen. Then click “Ok”.

- Put a name on your hang tag so that you can easily find the template when you’re printing a tag.
- Go to “Item List”. On your Item list look for the “UPC” column and look for the items who have a “UPC number”. For example, the Exploding Kittens.

- Then click “Print Tags”.

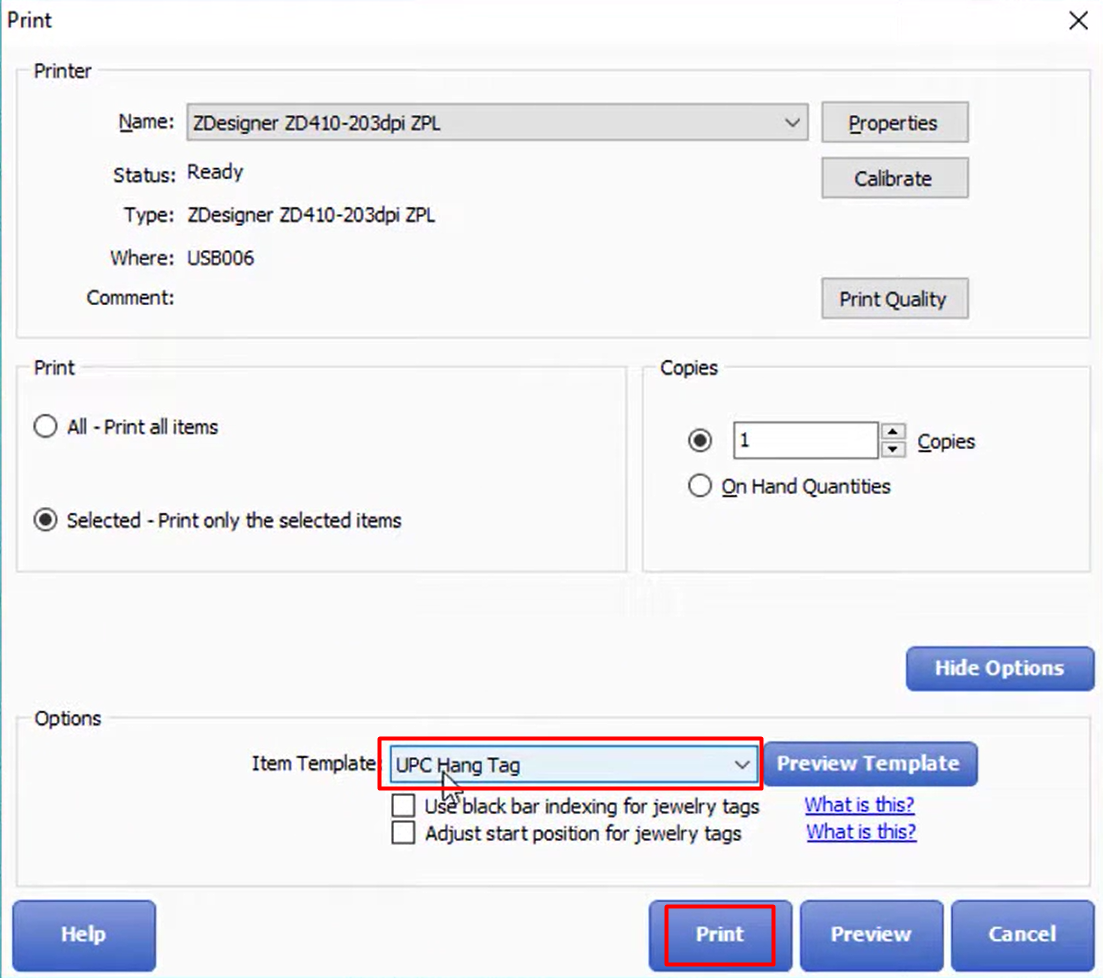
- On your “Print” screen go to “Preview Template” find the template you will use for your UPC hang tag. Then click “Print”.
- Now you have a UPC Barcode and UPC number on your price tag.