
Today we are going to talk about editing records that you’ve already scanned.
Let’s begin:
For example, where going to edit the quantity of the item on your inventory scanner.
- On your Inventory scanner, go to “Utilities”.

- Then go to “Browse Data”.
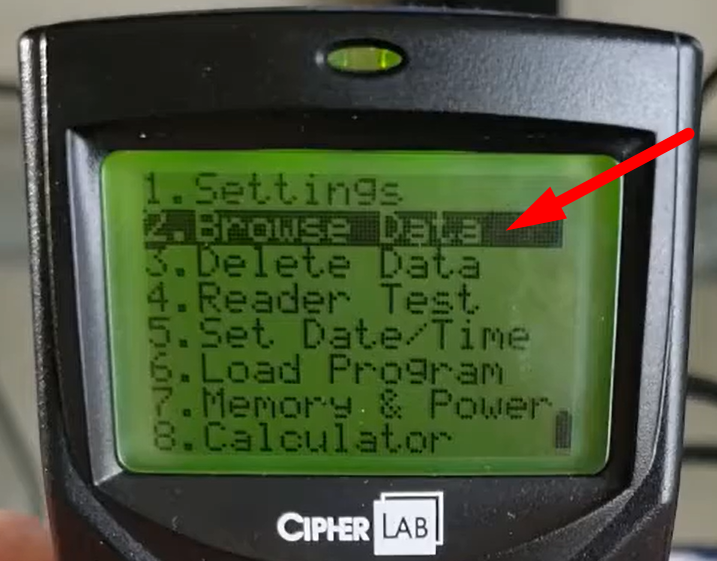
- On your browse data find the records that you want to edit.

- “0012546006088” – is your barcode for the item.
- “1” – is the amount of quantity.
- Now, let’s change the quantity of “1” to “7”.
- On your Inventory scanner keypad press “FN” then at the same time press keypad “8”.
- You will see that the “0” is highlighted which means you are on the Edit mode.

- On your keypad press the down arrow to go over the quantity, then press “7”.

- Press the blue button on the right to update changes.

- The left button is the “Escape” button, if ever you change your mind on editing a record you can press escape.
- After you press the blue button, “Updated” will show on your inventory scanner screen.

- You have now successfully edited a record on your inventory scanner.