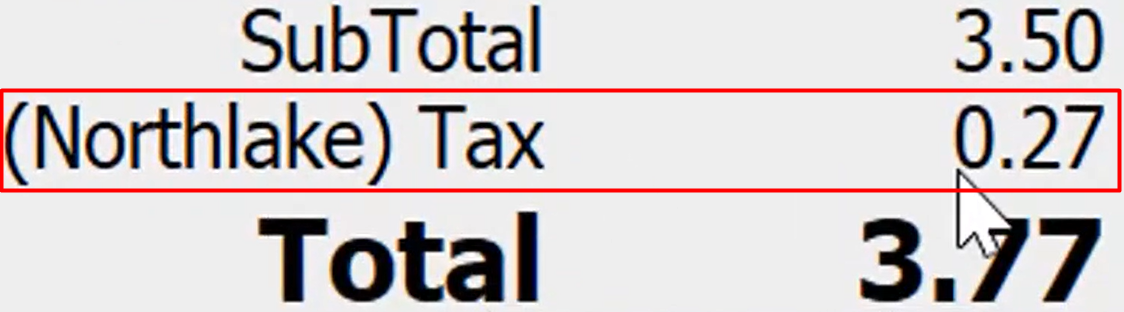
Today we are going to talk about how to assign your customer to a specific tax location.
Let’s begin:
First, we are going to check “Set up Sales Tax”.
- On your “File” menu go to “Preferences” then select “Company”.
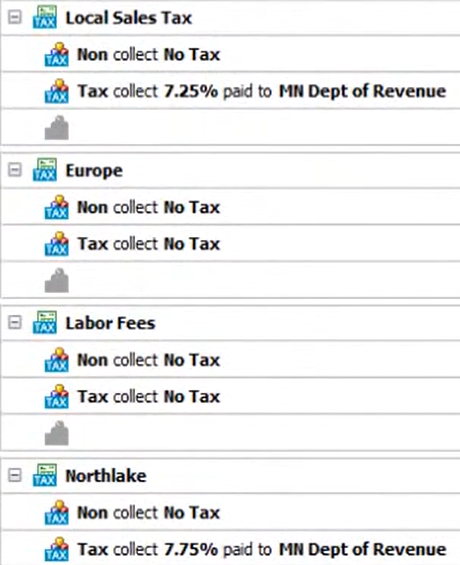
- On your “Company Preferences” go to “Work Orders” then select “Sales Tax”.
- You will see here the Tax Location you’ve set up.
Second, we are going to set a customer tax location.
- Go to “Customer List”.
- Choose a customer you want to set up his/her tax location. (For example, Tim Johnson)
- Select “Edit”.
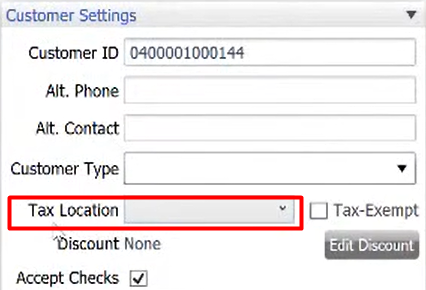
- Edit Customer screen will appear. Now, go to Customer Settings section then on Tax Location choose the tax location you want for Tim Johnson. (For example, Northlake)
- Select “Save”.
Third, we will use Tim Johnson’s tax location in making a sale. (For example, Tim called and he wants to order orange highlighter)
- Go to “Make a Sale”.
- In “Scan or enter item information” choose “Orange Highlighter”.
- In “Enter customer name or phone” select “Tim Johnson”.
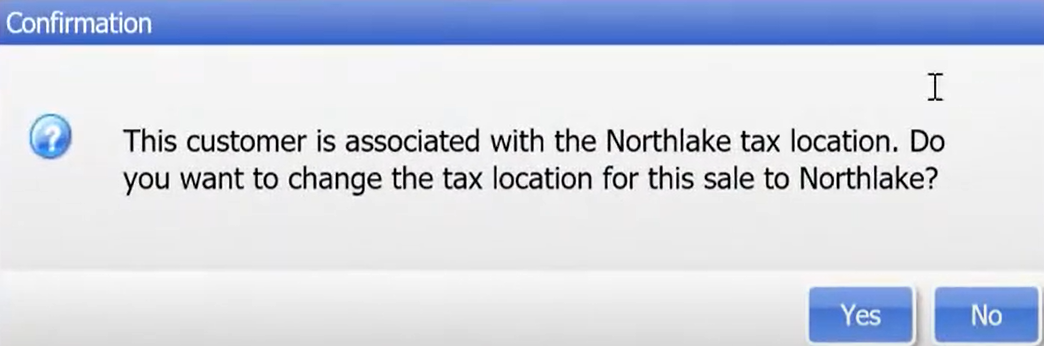
- Confirmation screen will appear. Select “Yes”.
- Change the “Tax Code” to “Tax”.

- Now the Tax location for Tim Johnson is added to his bill. Select “Save and Print”.