Today we are going to talk about resetting your prices just for a single department.
Let’s begin:
For example, we will reset the price of Shirt Department.
- On your Home screen, go to “Inventory” then select “Price Manager”.
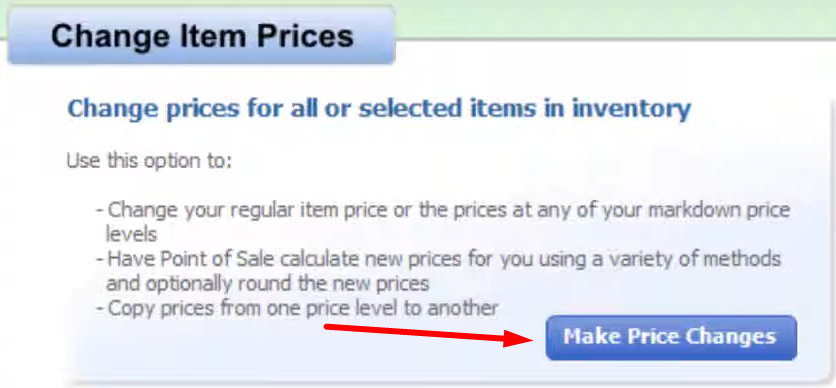
- On your Price manager, select “Make Price Changes”.
- Select Price level (for example, you choose “Regular Price”), enter the name of your new price change (for example, “Shirt Reprice 1”) then select “Next”.
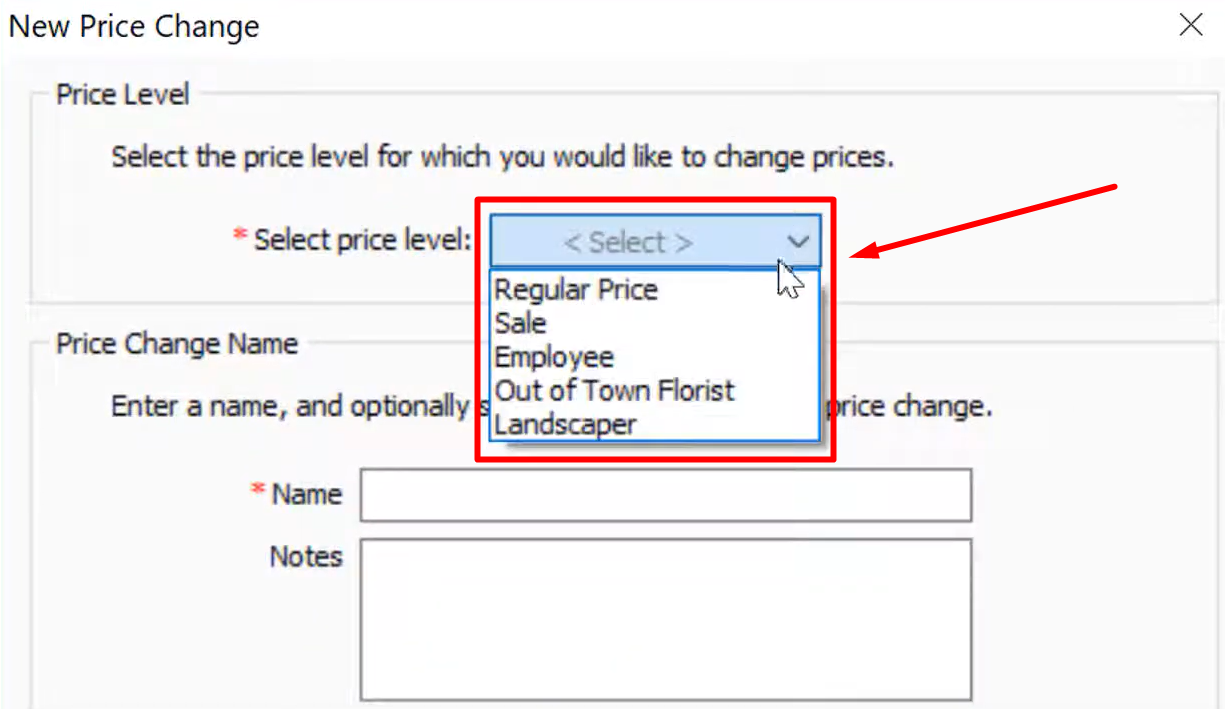
- You can also add notes for your new price change.
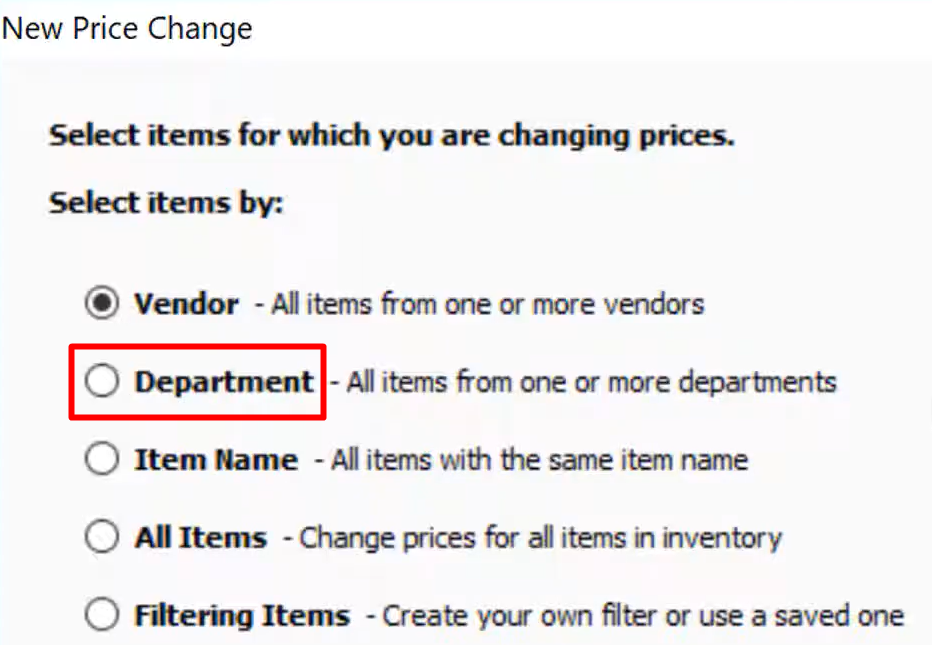
- Choose “Department”, then select “Next”.
- Choose “Shirt” department, then select “Next”.
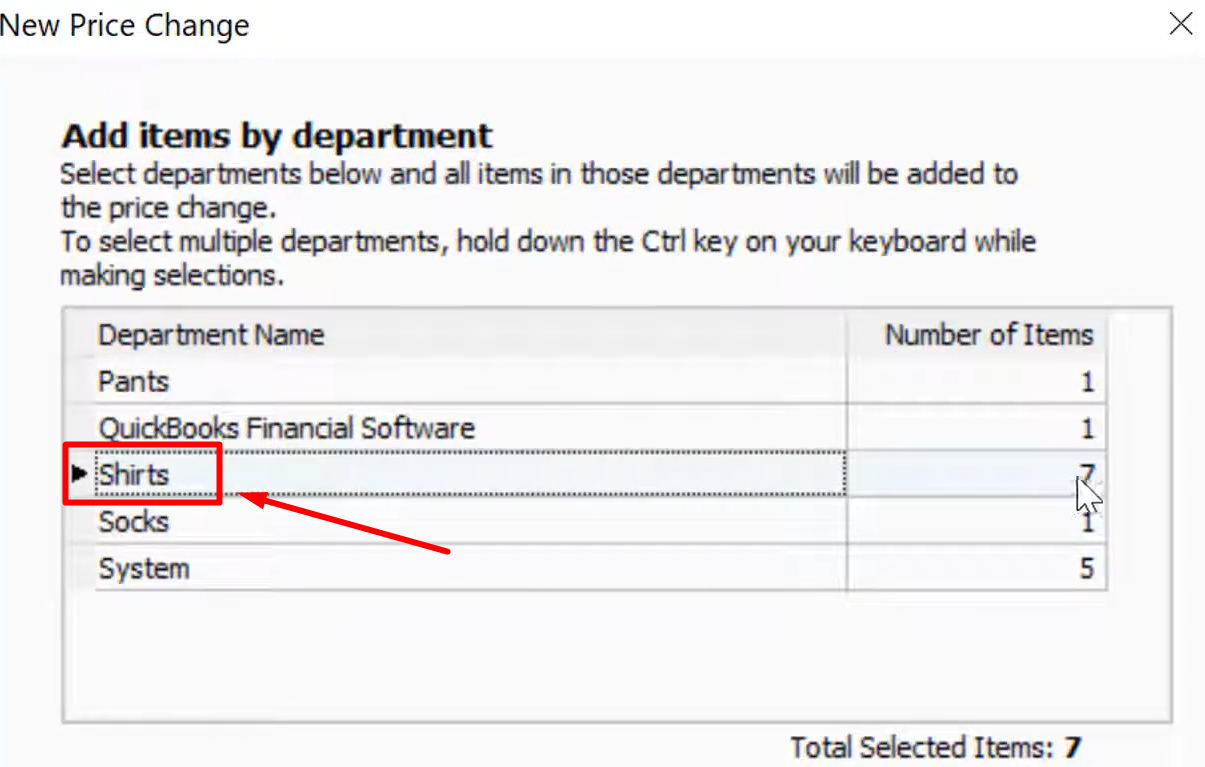
- On the next screen we will build a pricing formula for Shirt department.
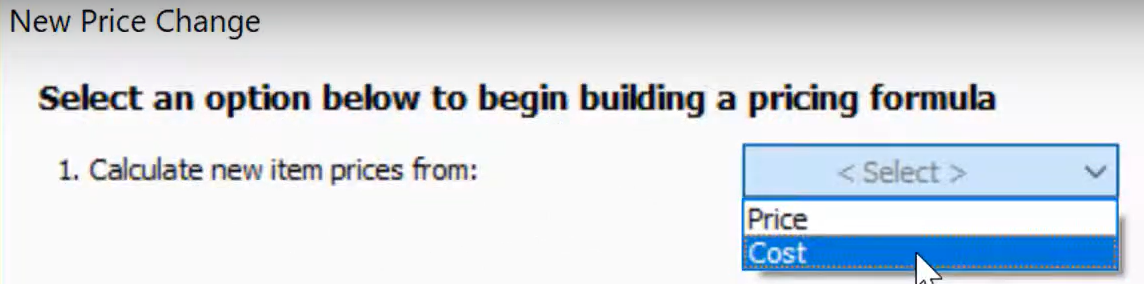
- Choose “Price” or “Cost”. (For example, we choose “Cost”)
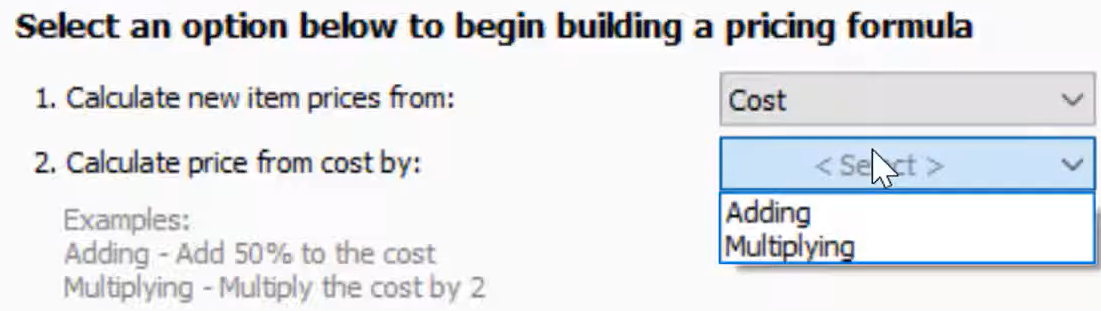
- Choose “Adding” or “Multiplying”. (For example, we choose “Multiplying”)
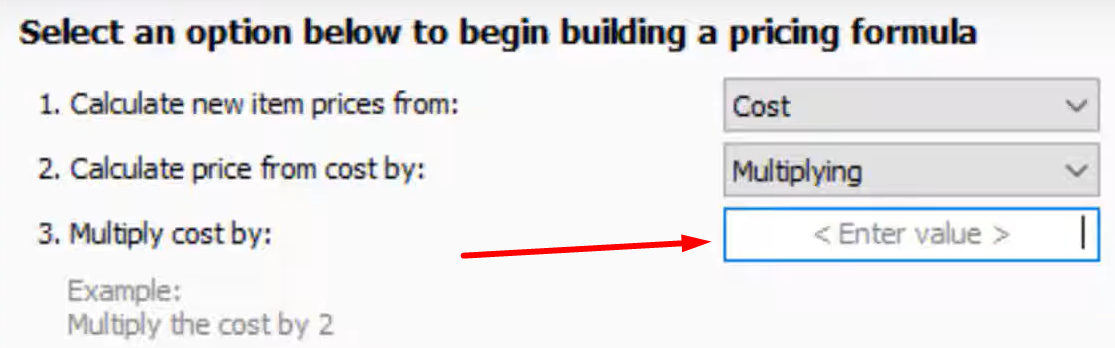
- Enter the value to which the cost will be multiplied. (For example, we enter “2.5”)
- Select “Next”.
- Choose “Price” or “Cost”. (For example, we choose “Cost”)
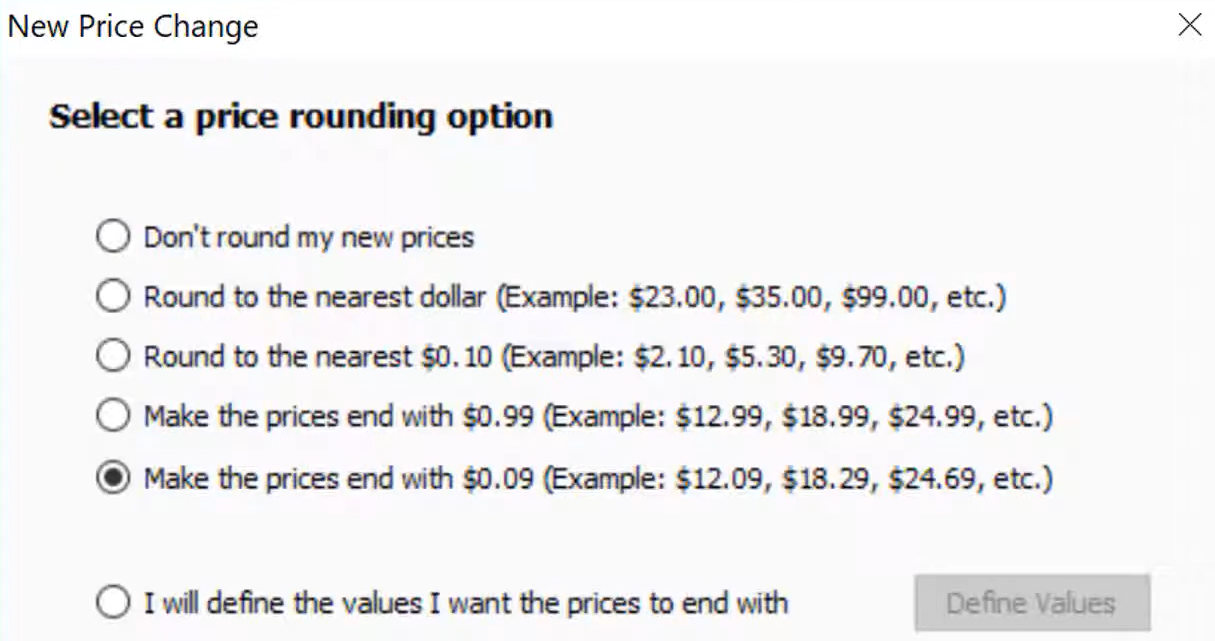
- Choose a price rounding option, then select “Next”.
- Select “Finish”.
- This is now your new price for your Shirt Department.

- You will also see here the old cost and old price of the items in the shirt department.
- Select “Apply Price Changes to Inventory”.
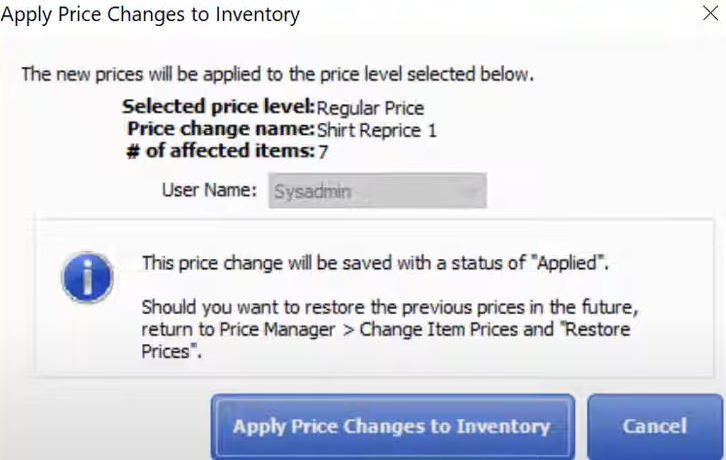
- Select “Ok”.
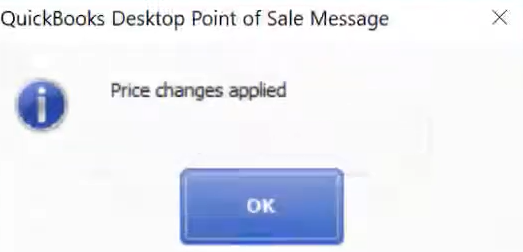
- Price Change History will appear.

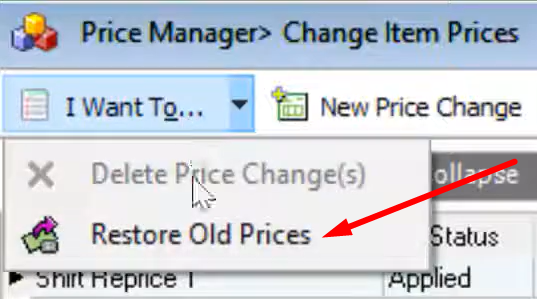
Now, if you want to restore old prices on shirt department:
- On the Price Change History, go to “I want to” menu then select “Restore Old Prices”.