Today we are going to talk about importing departments into your QuickBooks point of sale.
Let’s begin:
- First, you need to set up the department you want to import. Use Excel in doing the set up.

- This is an example of the departments that we will import in our point of sale.
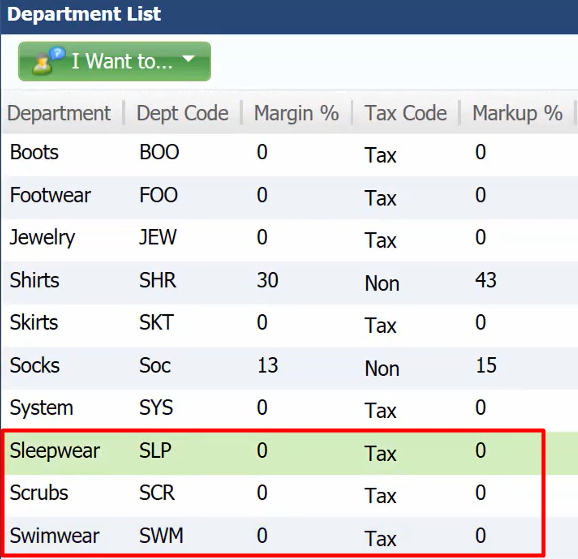
- This is our current department in our Department list in point of sale.

- Now, let’s begin importing the departments in excel to our point of sale.
- On your “File” menu go to “Utilities” then select “Import”.
- On your Data Import Wizard select “Next”.
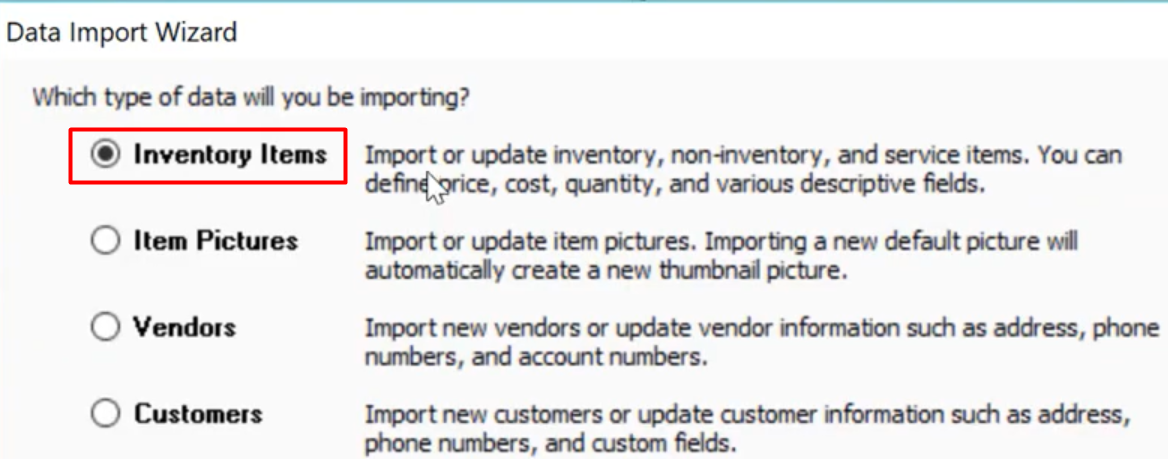
- Choose “Inventory Items”, then select “Next”.
- Choose “Custom File”, then select “Next”.

- Browse the document where you save your file.

- On the same screen, select “Manage Mappings”. This is very important so that the information of every department will fall into the right place in your point of sale.

- On your mapping screen make sure to fill in the blank with the right column name in your Excel.


- *Item Name – Item
- Department Name – Department
- Department Code – DepCode
- Regular Price – Price
- This will help your point of sale to easily designates your departments information when you import them.
- On the same screen, select “Manage Mappings”. This is very important so that the information of every department will fall into the right place in your point of sale.
- After your done browsing your file and managing your mappings, select “Next”.
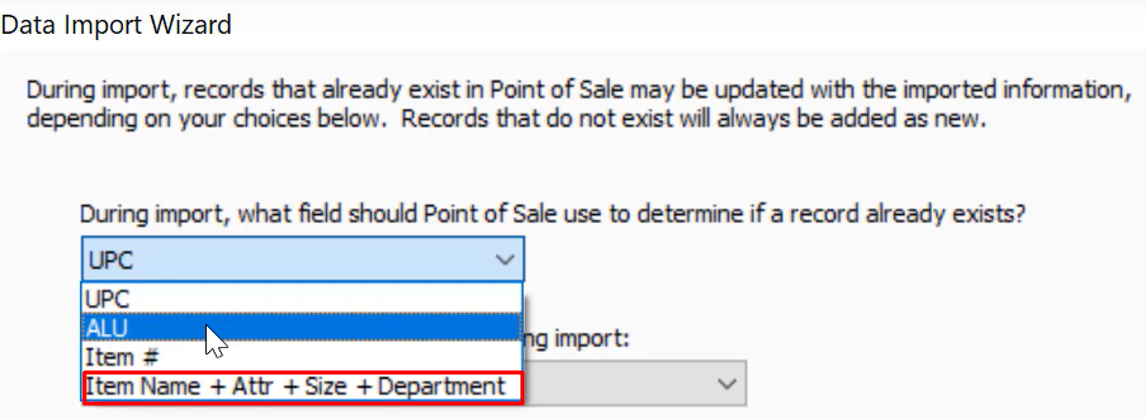
- Since we just create a simple department to import, we will just choose here “Item Name + Attr + Size + Department” (but what we usually use in importing to determine if a record already exists it’s the UPC and ALU). Select “Next”.
- Select “Import”.
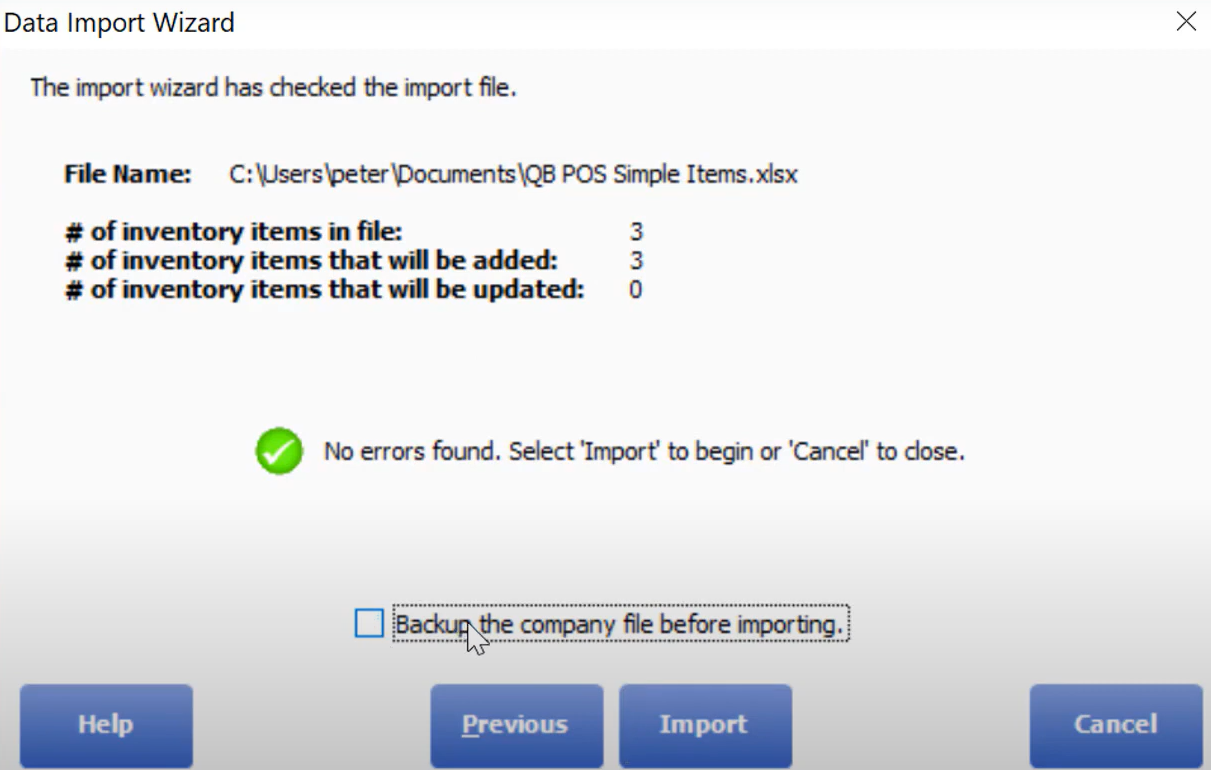
- Since this is just an example of importing, we didn’t mark the “Backup the company file before importing”.
- Import is complete, select “Close”.
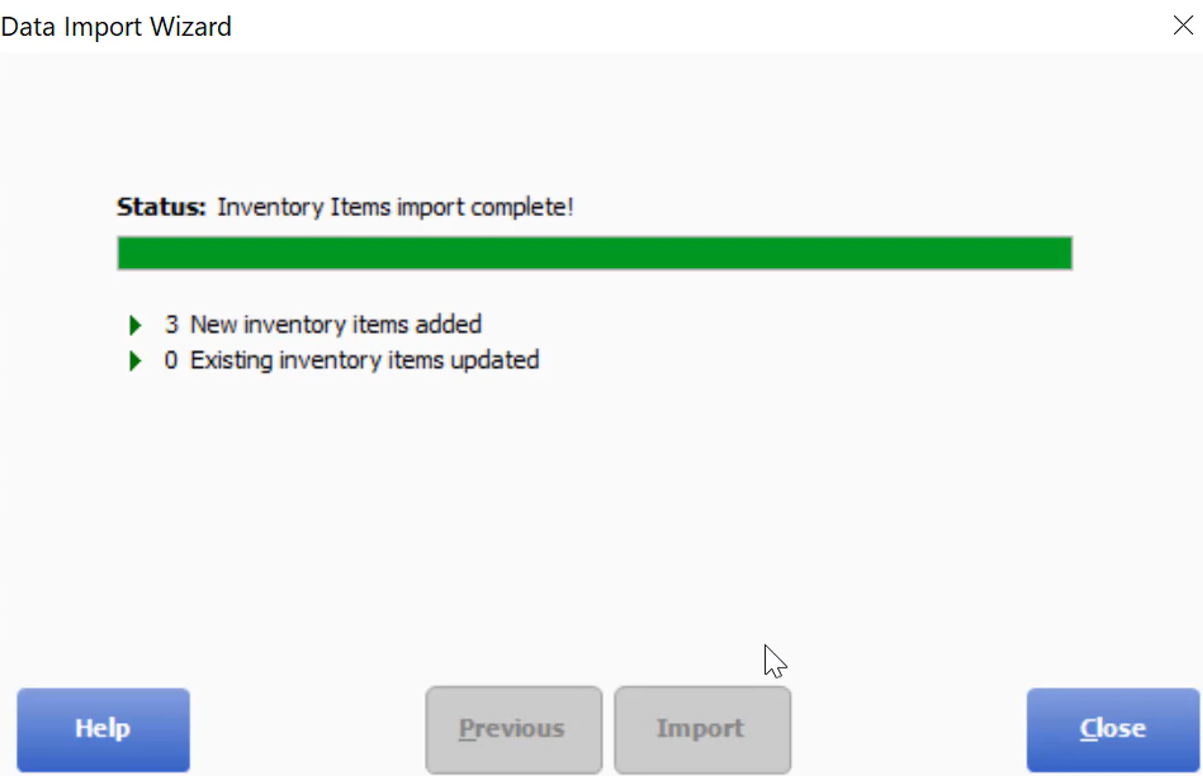
- You have now successfully imported the 3 departments in your Excel to your point of sale.