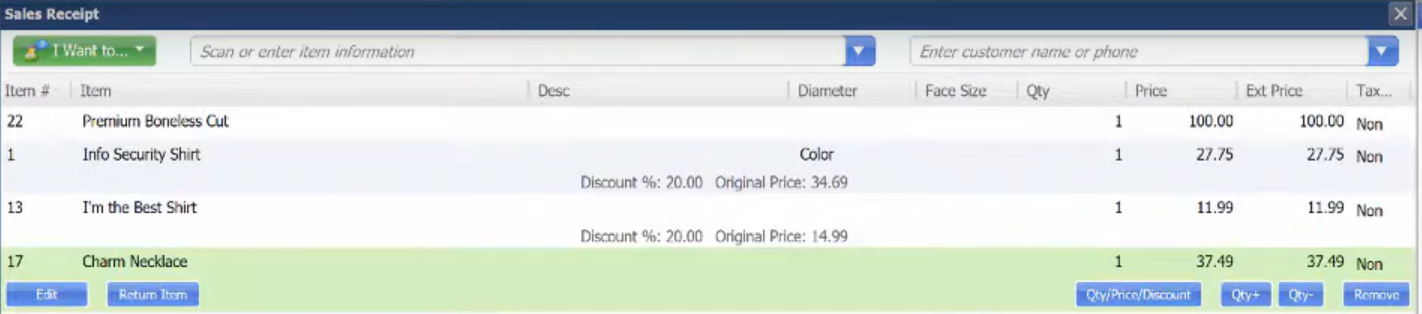
Today we will show you how to use quick pick items. Also, we will learn how to use the Quick pick feature to quickly add frequently purchased items during a sale.
Let’s begin:
First, let’s create a Quick pick group.
- On the homepage, select “Make a Sale” to start a new sales receipt.
- On the left side of the screen, select “Quick Pick Items”.

- Select “Add Group”.
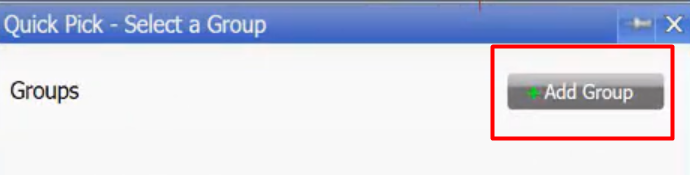
- Give the new group a name. If you need to rename, remove, or change the color of the group icon, right-click and select the option.
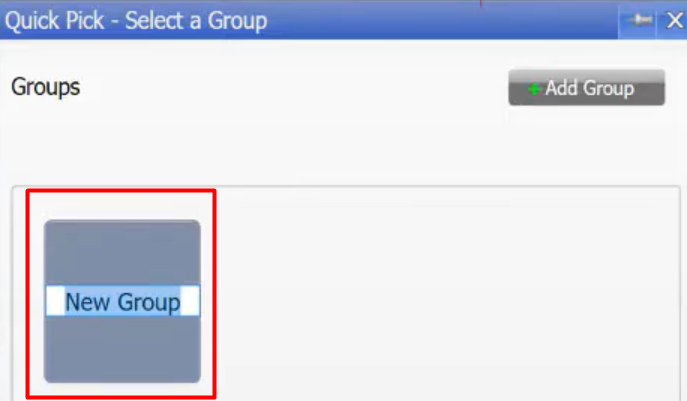
Adding items to a Quick pick group.
- On the Quick Pick field, select the group you want to add items to.

- Select “Add Item”
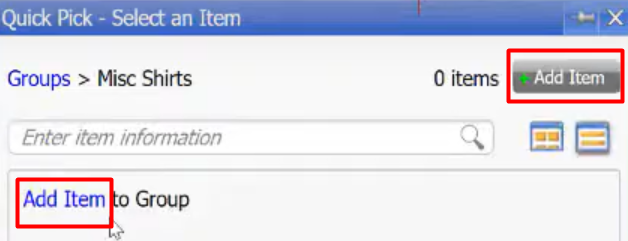
- On the “Select an Item” field, enter in the product or service name to search your inventory. Then select it from the list. You can also scan the item.
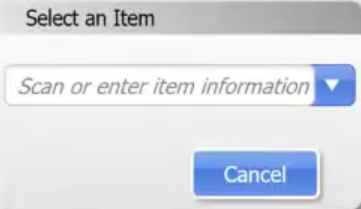
- Once you select the item, its info appears in the group.
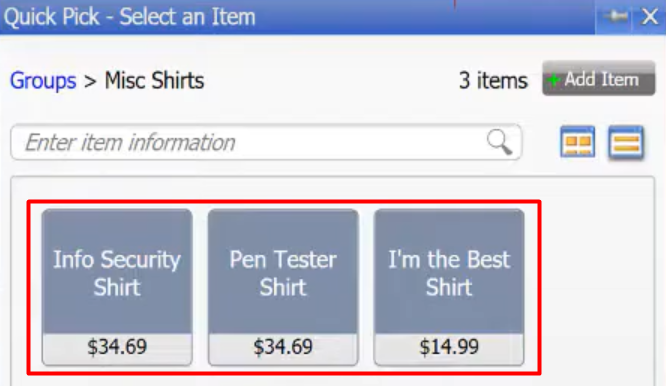
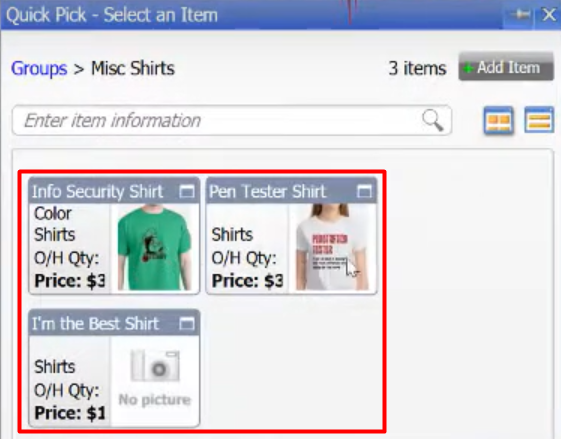
- This is very helpful if you need to identify what the items are.
Now, we’re going to show you the other way to add items to the quick pick groups.
- On your home screen, go to “Item List”.
- Select any item for example, charm necklace. Then click “Edit”.
- On your Basic Info section, you will see their the “Quick Pick Group” and if you drop down it will show you all the quick pick groups that you have created.
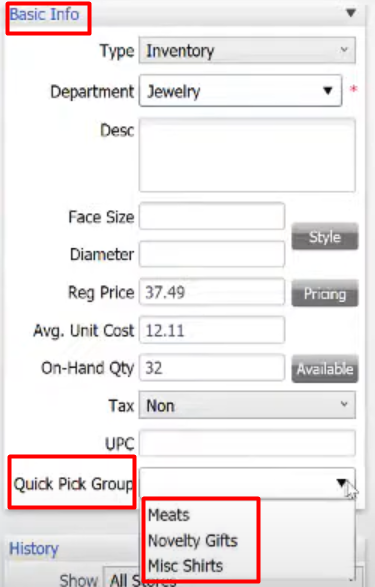
- Then click “Save” when you’re done.
- Go back to home screen, then select “Make a Sale”.
- Select “Quick pick Items”.

- Then you can add on the Sales Receipt field the quick pick groups you made. These are the example of Quick Pick Groups we made on the Item List that we put in in the Sales Receipt field.