
We will talk about the purchasing preferences and that will primarily have to do with the purchase orders. Let’s go over some more settings and preferences for the purchase orders.
Here are the different Purchasing settings:
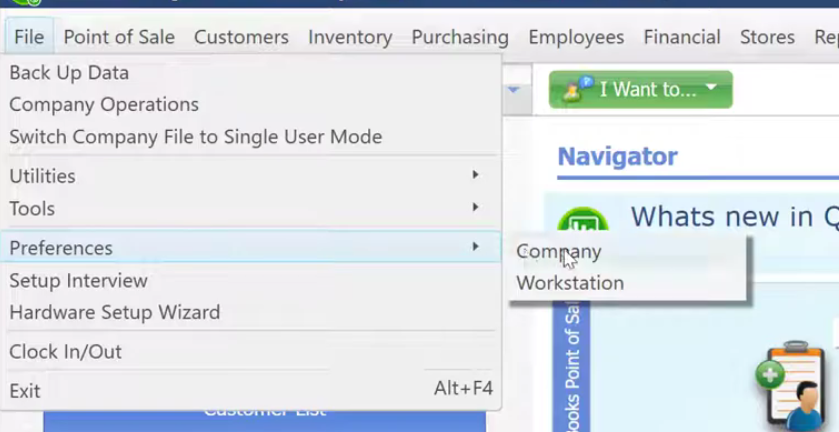
- Click on “File” menu → then “Preferences” → click on “Company”.
- Next on the left hand column, select on “Purchasing”.
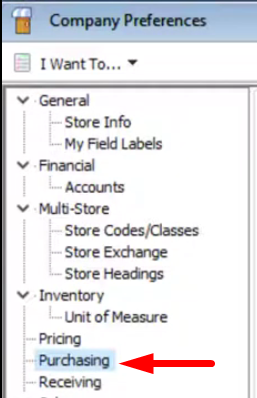
- Here we find a few settings and they all have to do with purchase orders.
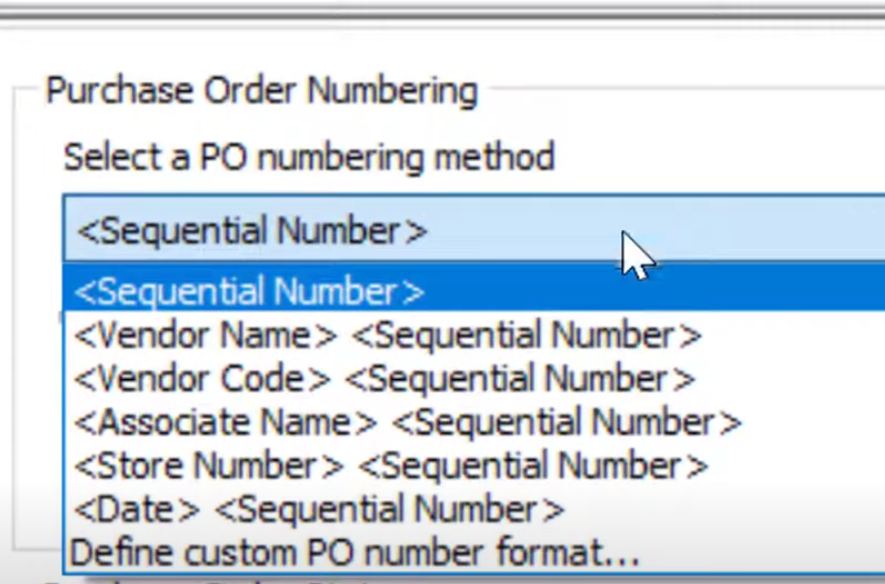
You can select a purchase order numbering method. Here are some of the default selections that you can choose from.
- If you want to customize your PO number format, select on “Define custom PO number format…” and click on “Customize”. Then you can use any of the available field as well as any static text that you want.
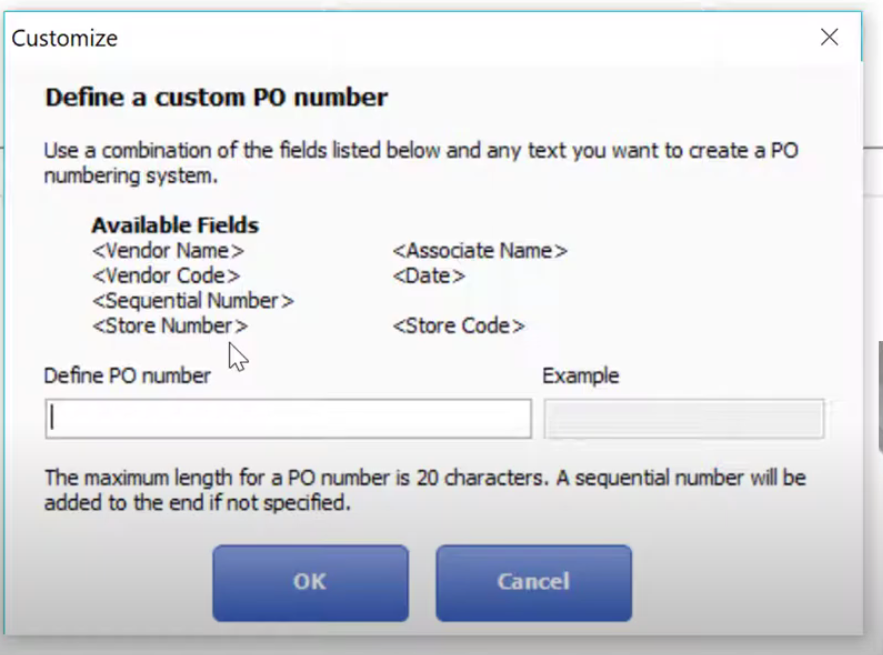
- If you want to customize your PO number format, select on “Define custom PO number format…” and click on “Customize”. Then you can use any of the available field as well as any static text that you want.
- Next, you can choose on what number you want your sequential number to start with.
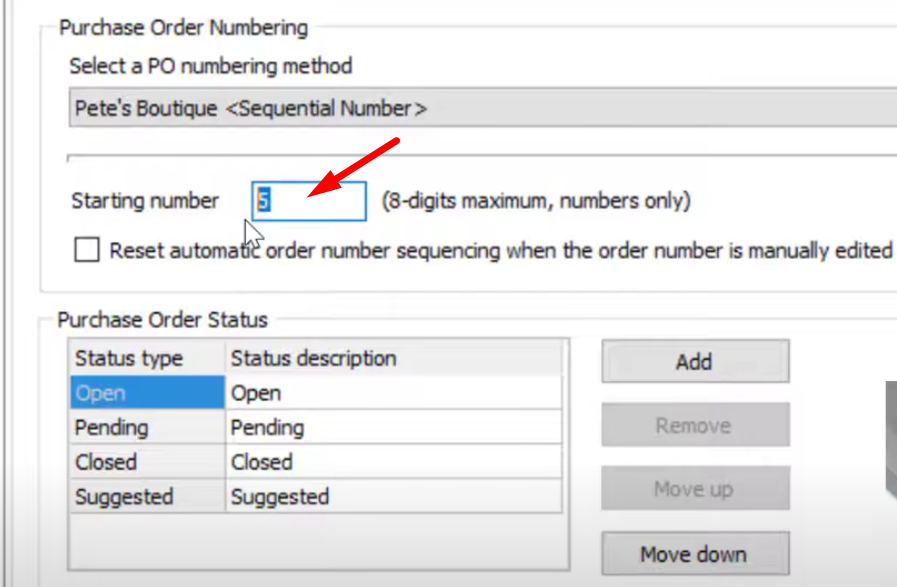
Tip: You can begin with a higher number if you don’t want to seem like a brand new store.
When you tick on “Reset automatic order number sequencing when the order number is manually edited” it means that if you manually edit the start of the sequential number it will follow the next number that you have input for the next orders to come. - Now on Purchase Order Status, you can create your own special sequence. You can add your custom statuses by clicking on the “Add” button and type in your custom status.
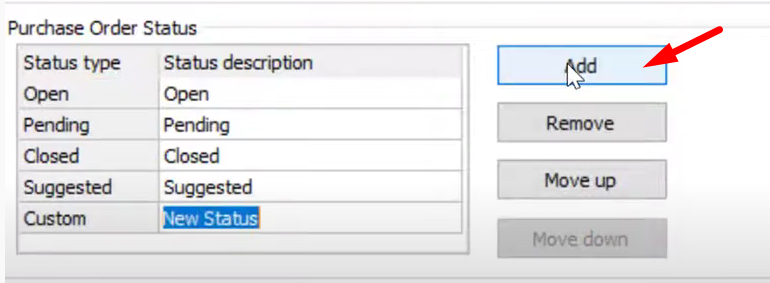
You can use whatever purchase order statuses you would like to move your purchase orders through your own individual special customized workflow. - Lastly, we have the Printed Purchase Order Message. If you want a message to be seen by all of your vendors on every order just type it in the box under the Printed Purchase Order Message.
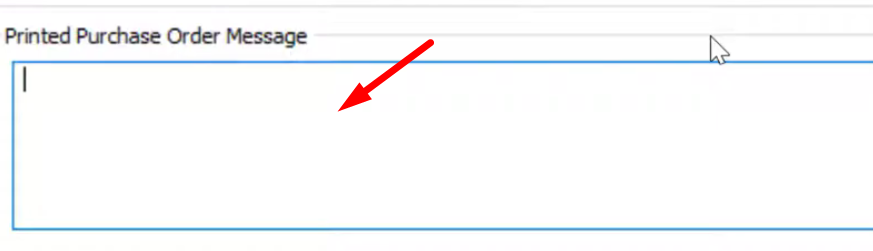
- When you’re done adding your message to the vendors, click on “Save” and that is going to end up on every purchase order that you send to anybody.