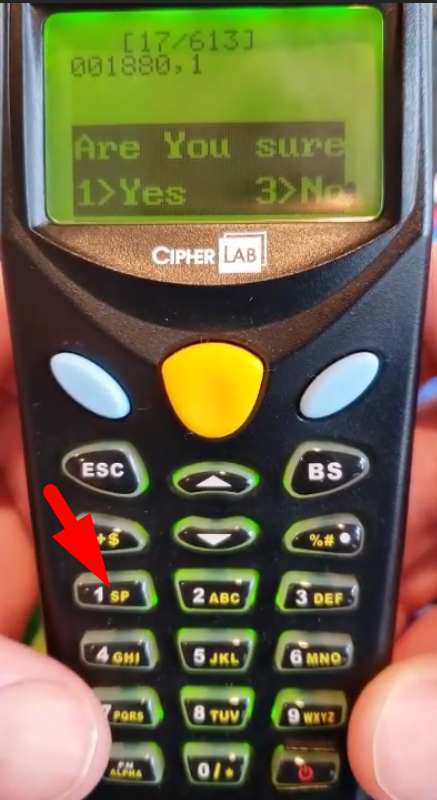
Today we will talk about on how you can browse the records that you’ve already scanned in the scanner and also on how to delete records from the QuickBooks Point of Sale Inventory Scanner.
Here’s how:
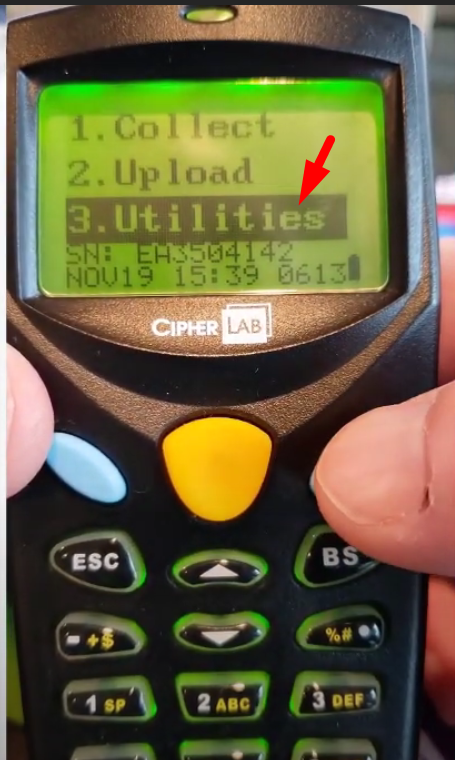
- On the main screen of the inventory scanner, head on down to the “Utilities” menu. Press on the right blue key to select the option.
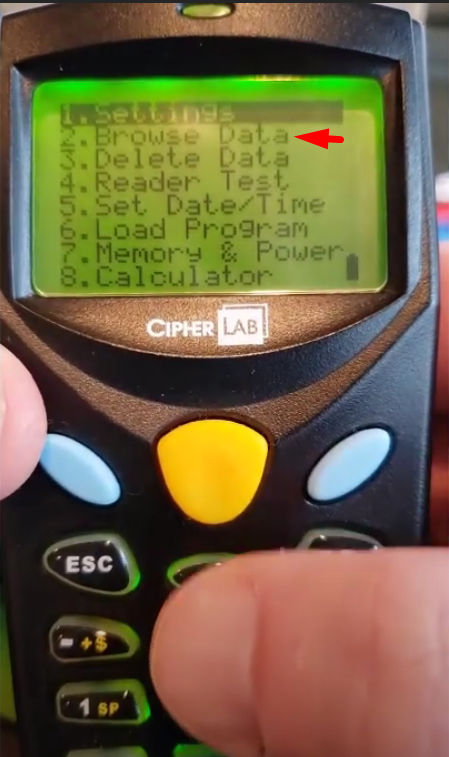
- Select on “Browse Data” by p[pressing the right blue button.
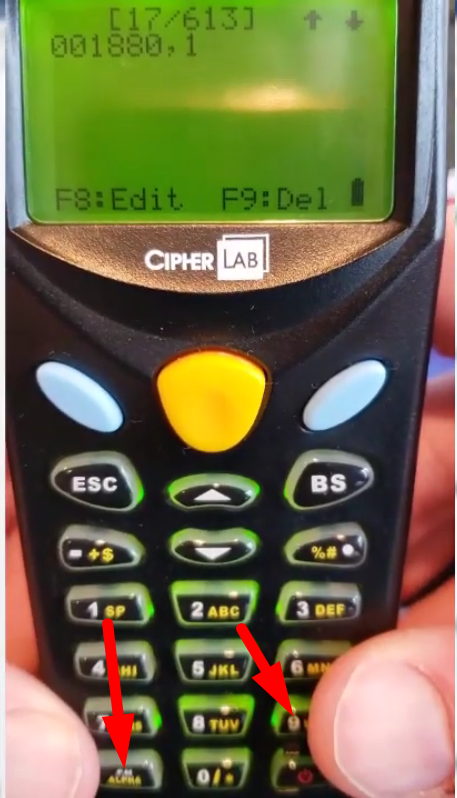
- As you browse you will see the item number and after the comma you will see the quantity. To delete the record press F9, which is the function alpha key (FN) and the number 9. Hold down the “FN” key and the press the number 9.
- A dialogue box will pop up asking if you want to delete the record. Press “7” to delete the record.

- Next press on the number “1” to continue on deleting the record.