So we’re going to cover on how to connect QuickBooks Point of Sale to Shopify. Before we start we need to have these things:
- Shopify Account.
- Webgility Account.
- Webgility Desktop Application.
Let’s proceed to connecting our QuickBooks Point of Sale to Shopify:
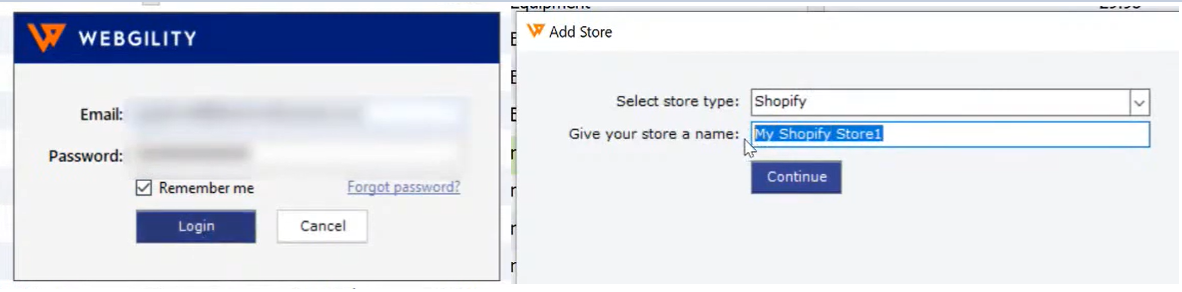
- Login to Webgility Desktop Application → then select the Type of Store → then give your store a name.
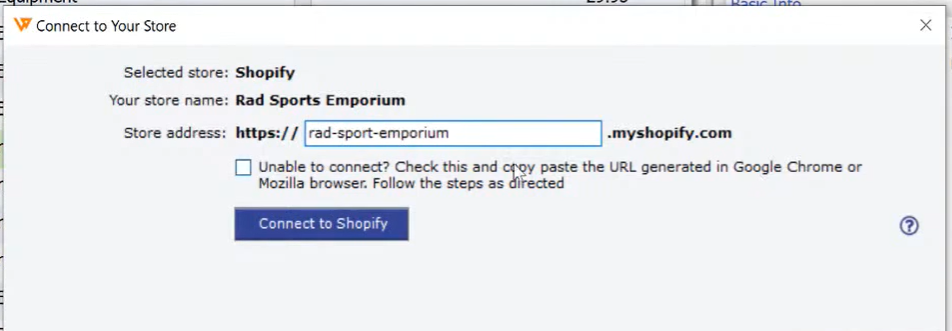
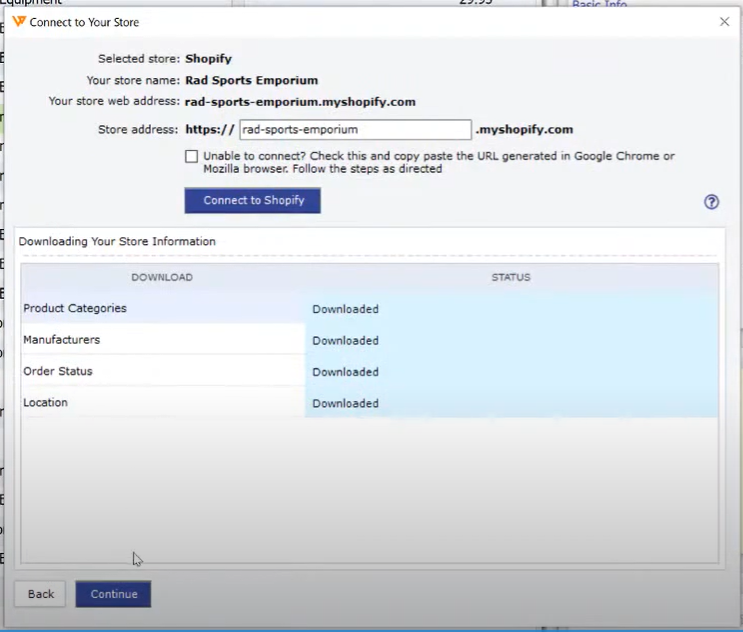
- Next is to set the store address for your shop in Shopify → then click on “Connect to Shopify”.
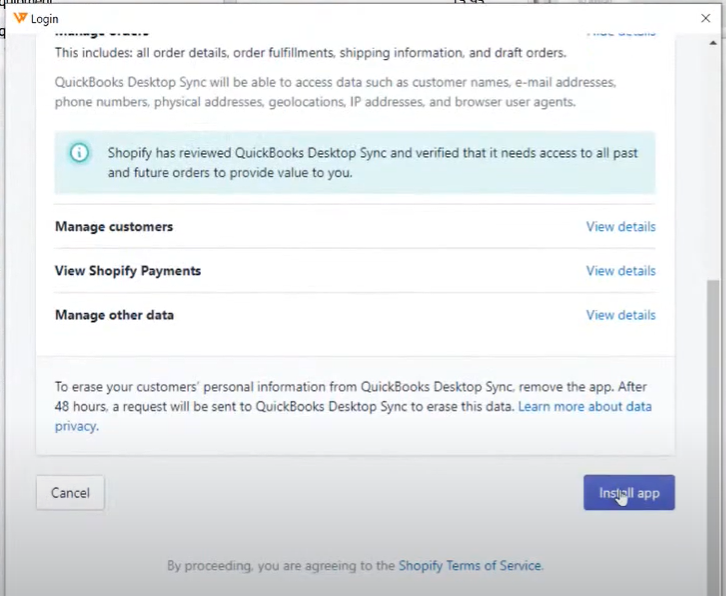
- Log in your Shopify Account to get things started.

- Webgility will ask you to install the Shopify Application and all the permission to access your Shopify Account. Once everything is downloaded, click “Continue”.
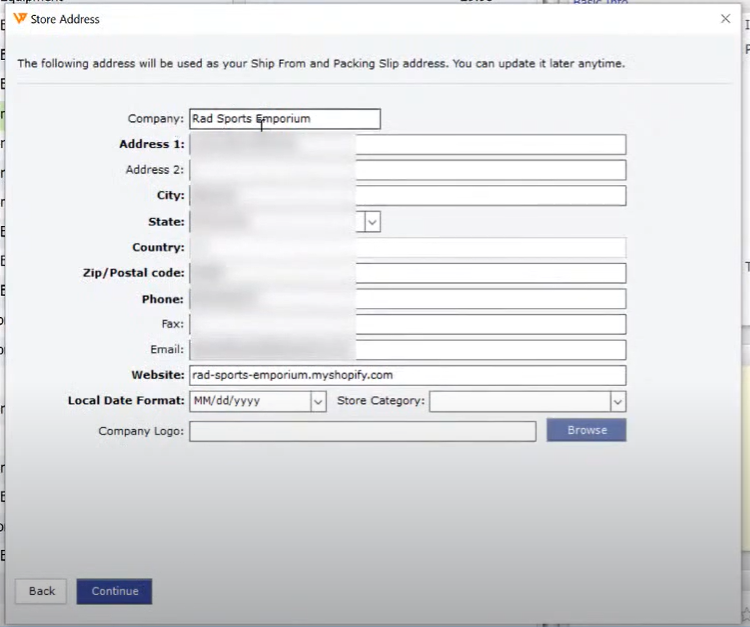
- In this window, you just have to fill all the details for your Shopify Store and click “Continue”.
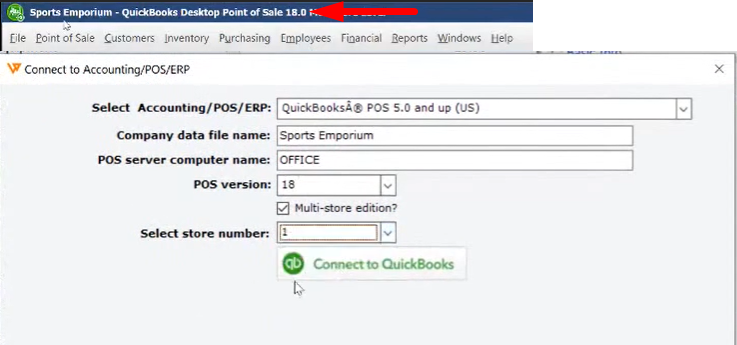
- For this window select the following:
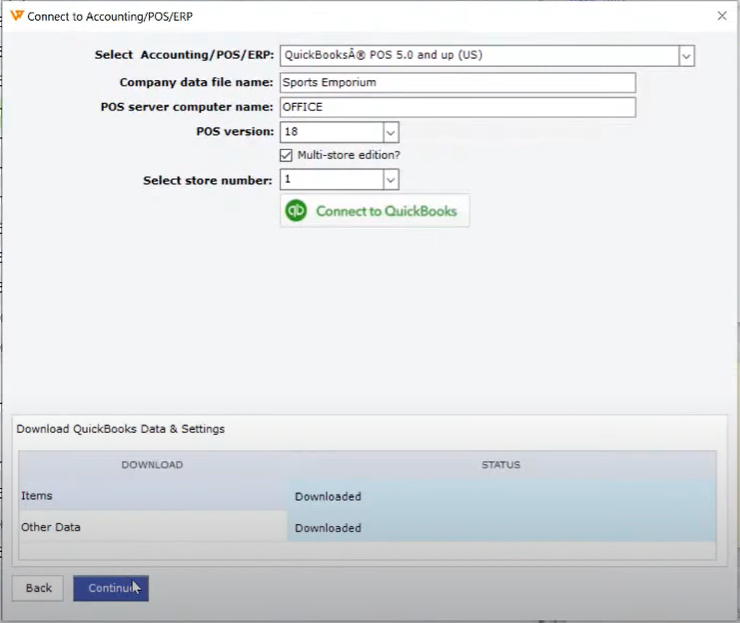
- Select Accounting/POS/ERP – Enter what edition of QuickBooks Point of Sale that you have.
- Company Data File Name – Name of your Shop
- POS Server Computer Name – Default “OFFICE”
- POS Version – In the image below, you would know what version you have indicated by the red arrow. Which is “18” for this sample image.
- Multi-store Edition – check the checkbox.
- Select store number – Select store number “1”
- Then click on “Connect to QuickBooks”
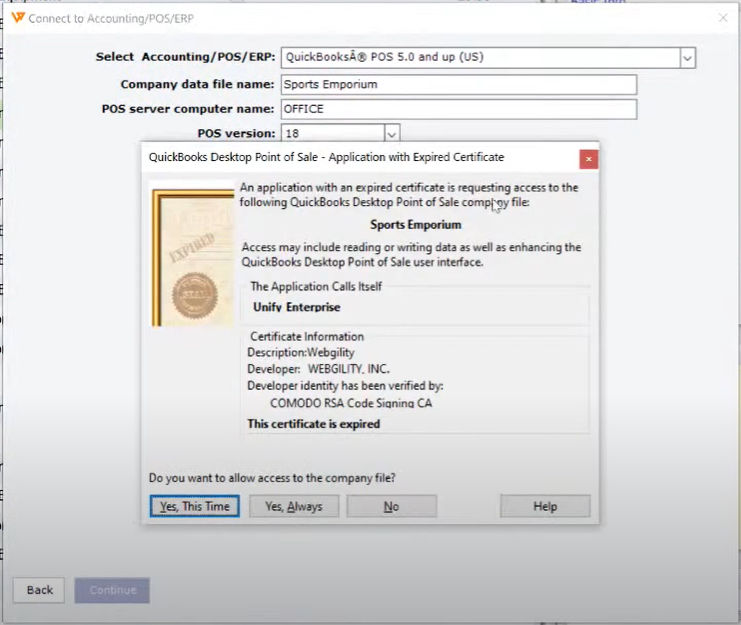
- Here in this window, QuickBooks Point of Sale will notify you that Webgility wants to access QuickBooks. It is advisable to click “Yes Always”. Wait for Webgility to connect to your Quickbooks then click “Continue”.
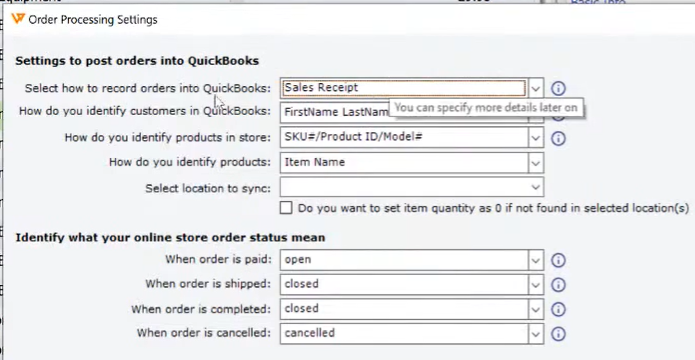
- Set the settings of your preference for this window. Then click “Continue”.
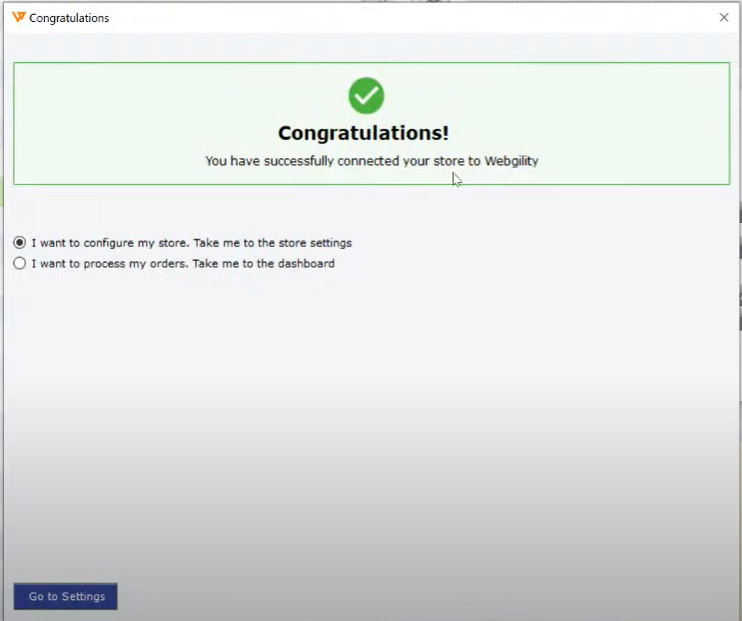
- Congratulations, you have connected your QuickBooks Point of Sale to Shopify through Webgility. Then choose on whether to proceed to process your orders or configure your store.