
Today we’re going to learn on how to synchronize your QuickBooks Point of Sale retail store to an online store. By using Webgility integration software that takes the products out of your item list and synchronizes them to your online store.
Here goes:
- So we’re going to use the “Dunlop SX 300 Tennis Racquet” item as the sample item that we’re going to synchronize to Shopify.

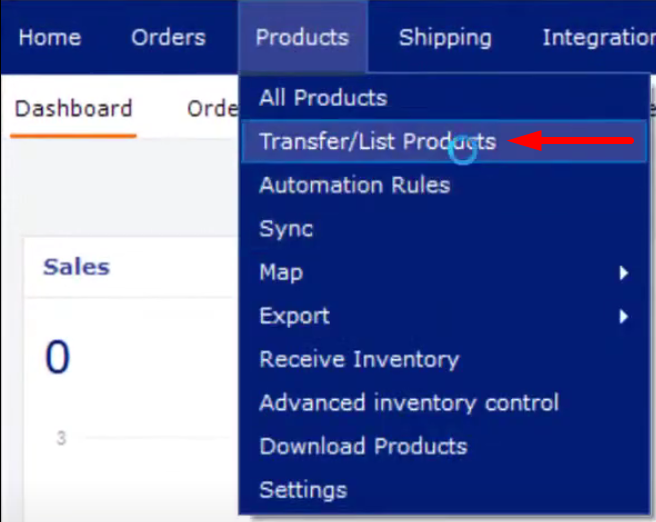
- First open “Webgility”, then click “Products” menu then select “Transfer/List Products”
- Click “Ok” when this pop-up window appears. Since we are uploading items to the online store.

- On this window, click on the “Transfer to Online Store” tab. Search for the item on the search bar. For this guide, “Dunlop SX 300 Tennis Racquet” is the selected item. Click on the checkbox to select the item.

- After selecting the item, you can view the item’s detail information on the lower left side of the screen. Click on “Save” and then “Transfer Product(s)”.

- You can now check your Shopify Online Store and see that the item has been synchronized from QuickBooks Point of Sale using the Webgility.
