Today we’re going to talk about vendor payment terms.
Let’s begin:
- On your QuickBook Point of Sale screen click “Vendor List”.
- Choose any of the vendor on your Vendor List. For example, click on Knives Unlimited as your vendor. Then click “Edit” on the right side of the screen.


- Edit Vendor will appear.

- Net due – Due date of the item.
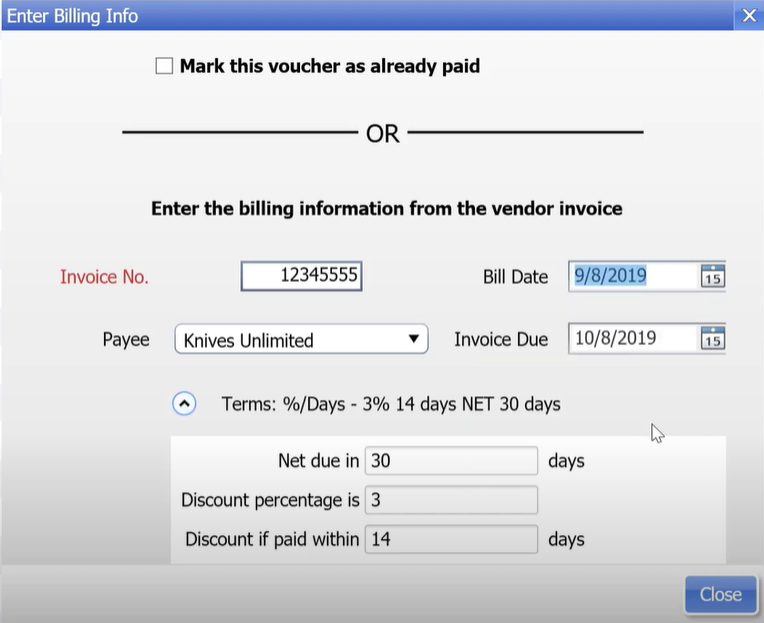
- Discount Percentage and Discount if paid – if you pay the item earlier on due date you can avail the vendors discount percentage. For example, if the vendor gives you 14 days to avail 3% discount on the item you should pay it before 14 days to avail the discount. If you go beyond that you’ll pay the regular price of the item.
Here’s a quick example:
- On your QuickBook Point of Sale screen click “Receiving Voucher”.
- On the Voucher screen click on the name of the vendor and the item you want to order.

- Click “Billing Info” on the left screen.

- Fill in the Invoice number and Bill date. Then click “Close”
- Click “Save” on the right corner of the screen.
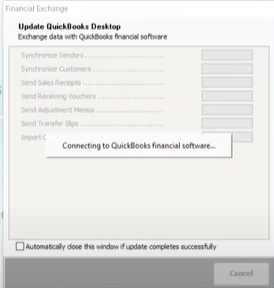
- Then go to “Financial” and click “Update QuickBooks Desktop”.

- Wait for the update to finished.
- Go back to QuickBook Point of sale, then click “Vendor”.

- On the left screen click on the example vendor we chose it’s the “Knives Unlimited”.

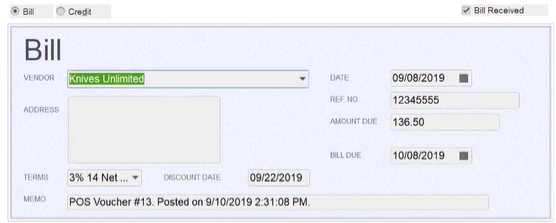
- It will show you a new bill on the screen double click on that.\

- Then it will show you the finished Bill.